
This guide walks you through routing Notecard data from Blues Notehub to NEQTO.ai over MQTT with TLS. By the end, live sensor readings from your Notecard will appear as auto-mapped Attributes inside NEQTO.ai — ready to chart, alert on, and map.
Requirements
- Notehub account with permissions to create routes
- Notecard (any cellular or Wi-Fi model)
- Host MCU running firmware that reads your sensor and writes notes to the Notecard (see Before You Begin)
- Sensor producing the temperature and humidity readings the firmware writes
- NEQTO.ai account with permissions to create device endpoints
Before You Begin
This guide picks up from the point where your Notecard is already provisioned and publishing data to Notehub. If you are starting from a brand-new Notecard, complete these prerequisites first. More details can be found in the Notehub guide.
1. Provision the Notecard to Notehub
-
1
Create a Notehub project (or use an existing one) and copy its ProductUID.
-
2
Connect to the Notecard from the in-browser terminal or your host MCU and set the ProductUID:
{"req":"hub.set","product":"com.your-co.you:project"} -
3
Verify the Notecard reaches Notehub by running
{"req":"hub.sync"}and confirming the device appears under Devices in your Notehub project.
2. Write sensor data into a notefile
The JSONata expression later in this guide reads from body.temp and body.humidity. Your host firmware must therefore add notes with that shape. Minimum payload:
{
  "req": "note.add",
  "file": "sensor.qo",
  "body": {
    "temp": 22.4,
    "humidity": 47.1
  }
}sensor.qo) is what you will filter on when configuring the Notehub route. Use a .qo (outbound queue) file so notes are uploaded to Notehub.High-Level Instructions
Here is the full flow at a glance. Detailed instructions for each step follow in the next section.
-
1
Create or open an MQTT with TLS device endpoint in NEQTO.ai. Keep the window open.
-
2
Create a new MQTT route in Notehub.
-
3
Copy the connection values from NEQTO.ai into Notehub: Broker URL (prefix with
mqtts://), Port, Username, Password, and Topic. Since Notehub and NEQTO.ai are both part of AWS, the CA certificate is not required. -
4
Set the Notefiles filter to the file your firmware writes (e.g.
sensor.qo). -
5
Under Data → Transform Data, select JSONata Expression and paste the expression from the JSONata Expression section below.
-
6
Save the route, then verify end-to-end: check the Notehub route log and then the NEQTO.ai inbound data view.
Video Walkthrough
Detailed Instructions
Part A — Create the device endpoint in NEQTO.ai
-
1
Navigate to Devices → Device Endpoints. This can be from the account or the application level.
-
2
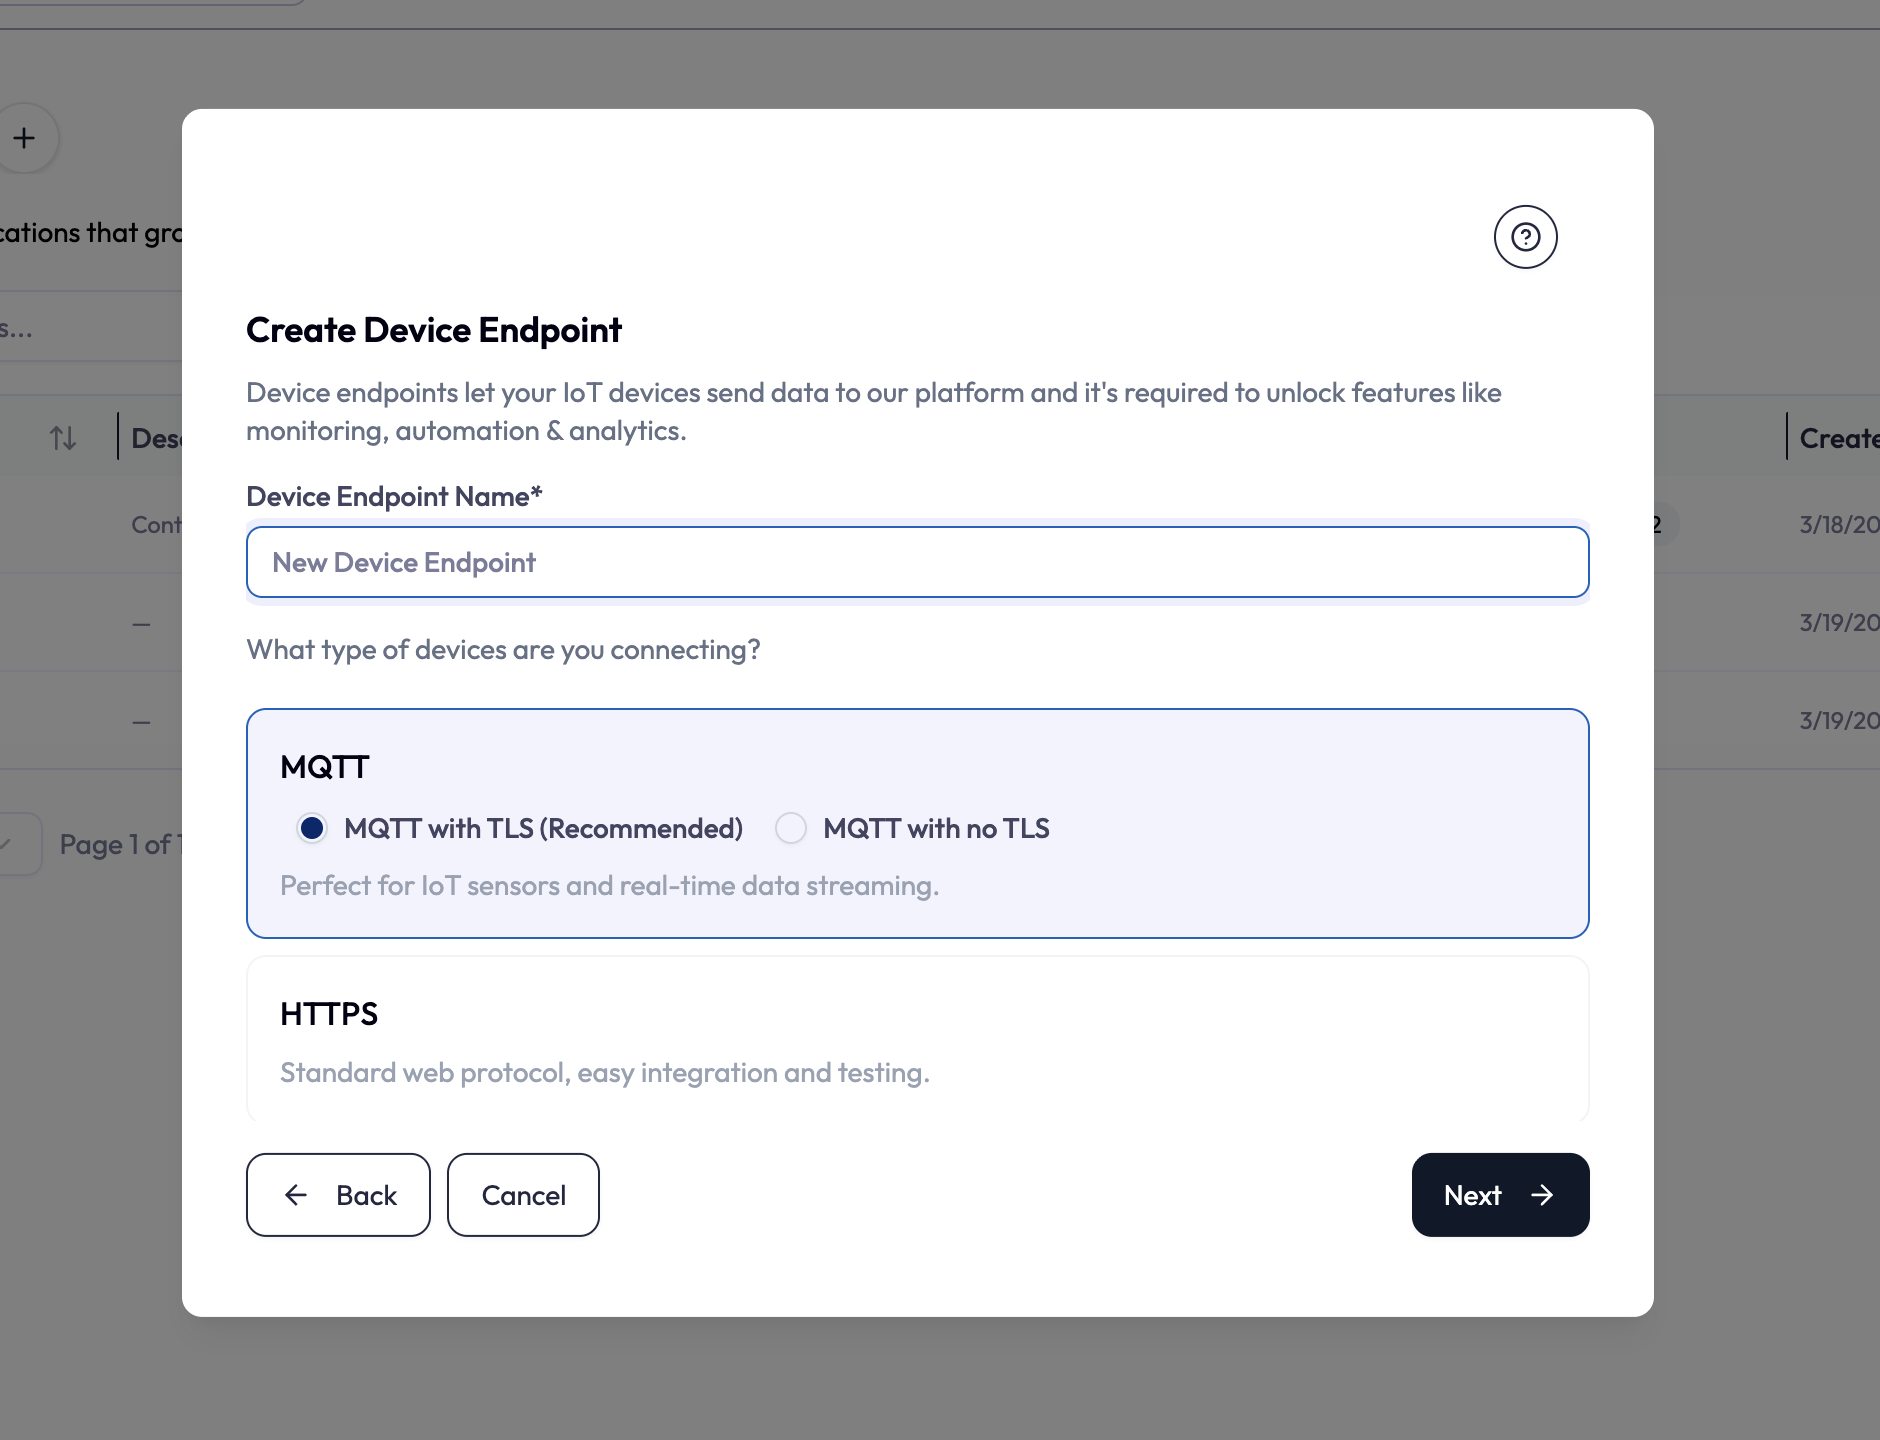
Click Add device endpoint, then Create Device Endpoint.
-
3
Select MQTT with TLS (Recommended), name the endpoint, and click Next.
-
4
On the credentials screen you will see five fields plus a CA certificate: Broker URL, Port, Topic, Username, Password, and CA certificate. Click Download details to save these as a text file, or leave the window open.
Part B — Confirm data is reaching Notehub
Before creating the route, confirm that the data you want to forward is actually arriving in Notehub. This step saves significant debugging time later.
-
1
In Notehub, open your project and go to Events.
-
2
Find a recent event from your device and click it. Look at the Body panel.
-
3
Verify that
body.tempandbody.humidityare present and contain the expected values. If your firmware uses different field names, note them — you will need to adjust the JSONata expression accordingly. -
4
While you have the event open, note the Notefile name (e.g.
sensor.qo) and the Best ID value. The Best ID is what Notehub resolves automatically — the device’s serial number if set, otherwise its device UID.
Part C — Create the MQTT route in Notehub
-
1
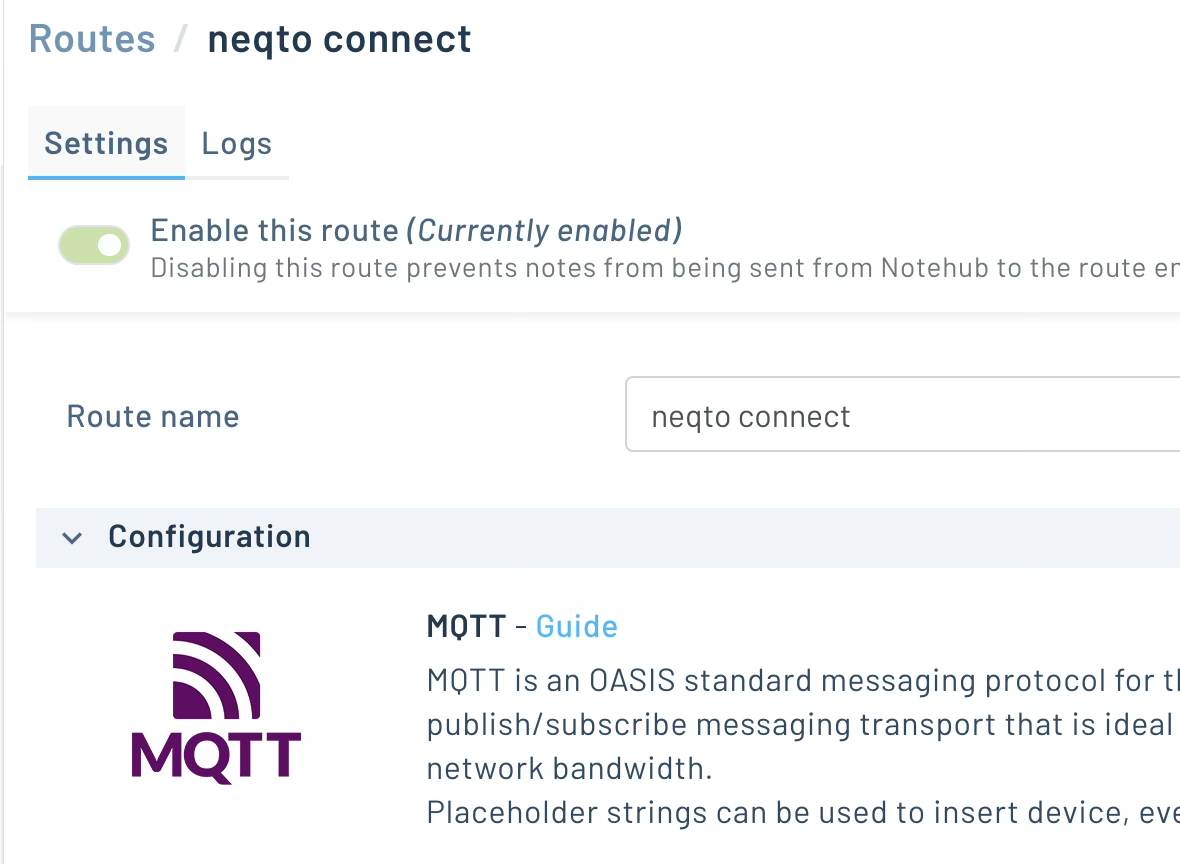
In your Notehub project, go to Routes and click Create Route.
-
2
Choose MQTT as the route type and give it a descriptive name (e.g. NEQTO.ai – production).
-
3
Fill in the connection fields by copying the corresponding values from the NEQTO.ai endpoint window:
| NEQTO.ai field | Notehub field | Notes |
|---|---|---|
| Broker URL | URL | Prefix with mqtts:// (e.g. mqtts://mqtt.neqto.ai) |
| Port | Port | Typically 8883 for MQTT over TLS |
| Topic | Topic | Paste exactly — no leading or trailing whitespace |
| Username | Username | Paste exactly |
| Password | Password | Paste exactly |
| CA certificate | Additional self-signed certificate | Not required — Notehub and NEQTO.ai are both on AWS |
-
4
In Filters → Notefiles, enter the notefile name your firmware writes (e.g.
sensor.qo). If you leave this blank, every notefile will be routed, including system files like_health.qo, which will pollute your NEQTO.ai data. -
5
In Filters → Fleets or Fleets to Exclude, select values as appropriate for your deployment.
-
6
Under Data → Transform Data, select JSONata Expression and paste the expression from the next section.
-
7
Toggle the route to Enabled and click Apply Changes.
JSONata Expression
when, best_id, body.temp, etc.). Paste it into the JSONata Expression field — not a plain JSON field — or Notehub will reject it.{
"payload_format": "neqtoai-std",
"timestamp": when,
"device_id": best_id,
"temperature_celsius": body.temp,
"humidity_percent": body.humidity
}Field-by-field reference
| Field | Description |
|---|---|
when |
Notehub event timestamp (Unix seconds, UTC). |
best_id |
Notehub-resolved device identifier. This is the device serial number if you have set one (via hub.set "sn"), otherwise it falls back to the Notecard’s device UID (dev:...). If you want NEQTO.ai to identify devices by MAC address, either set the Notecard’s serial number to the MAC during provisioning, or replace best_id with the specific field your firmware publishes (commonly body.uid or body.mac). |
body.temp |
Temperature value read directly from the note body. If your firmware uses a different key (e.g. body.temperature), update this path to match what you observed in Part B. |
body.humidity |
Humidity value read directly from the note body. Update if your firmware uses a different key. |
Verify End-to-End
Notehub’s built-in route test only validates the MQTT/TLS handshake — it does not confirm that NEQTO.ai received and parsed the payload. Run all three checks below.
1. Notehub route test
Open the route in Notehub and click Test Route. A green response means TLS, auth, and topic are valid.
2. Notehub route log
Open the route’s Logs tab. Wait for the next real device event (or trigger one with {"req":"hub.sync"} on the Notecard) and confirm the entry shows 200 OK or the broker’s equivalent ACK.
3. NEQTO.ai inbound data
-
1
In NEQTO.ai, open the device’s data or telemetry view.
-
2
Confirm a new record appeared with the expected
temperature_celsius,humidity_percent, anddevice_idvalues. -
3
If the route log shows success but no record appears here, the most likely cause is the device not being pre-registered in NEQTO.ai. Pre-register the device or align the identifier (see Before You Begin).
-
4
If all three checks pass and the NEQTO.ai endpoint window is still open, click Finish to close it.
Tips & Troubleshooting
- Missing
mqtts://prefix — without it, the route will not negotiate TLS and will fail with a connection error. The Broker URL field in Notehub must begin withmqtts://. - Hidden whitespace from copy/paste — Username, Password, and Topic are the usual culprits. Re-copy directly from the NEQTO.ai field rather than from a downloaded text file.
- Field path mismatch — if
temperature_celsiusorhumidity_percentis null in the JSONata preview, inspect a real event in Notehub’s Events page and confirm where your firmware actually puts the values, then update the expression paths accordingly. - TLS handshake failures other than the prefix — check that port
8883is reachable from Notehub (rare to be blocked, but possible behind some corporate proxies), and that any CA certificate is pasted in full including theBEGINandENDlines. - Route log shows success but no NEQTO.ai record — the device is not registered in NEQTO.ai, or the
device_idyou are sending does not match a registered device. Pre-register the device or align the identifier. - Route is forwarding too much — set the Notefiles filter to the specific outbound queue (e.g.
sensor.qo) so system files like_health.qoand_session.qoare not forwarded. - Password no longer visible — if you closed the endpoint window before completing verification, you will need to regenerate credentials in NEQTO.ai and update the Notehub route.
