
This guide walks you through configuring the HPE Networking integration so that BLE and EnOcean data received by the Aruba main unit is transmitted to NEQTO.ai.
Overview
The integration configures the HPE main unit to forward two types of wireless sensor data to NEQTO.ai.
- BLE report function (60-second intervals) — the Aruba main unit analyzes BLE advertisement scan data and periodically sends it to NEQTO.ai as reports.
- EnOcean USB transport function — serial data from a USB dongle connected to the HPE main unit is forwarded to NEQTO.ai, where the payload is analyzed. Requires a separate USB dongle.
Related Links
View Walkthrough
Preparation in HPE Networking Central
Before configuring the integration in NEQTO.ai, you must retrieve API credentials and verify device registration in Aruba Central. Sign in to HPE Networking Central to complete the steps below.
-
1
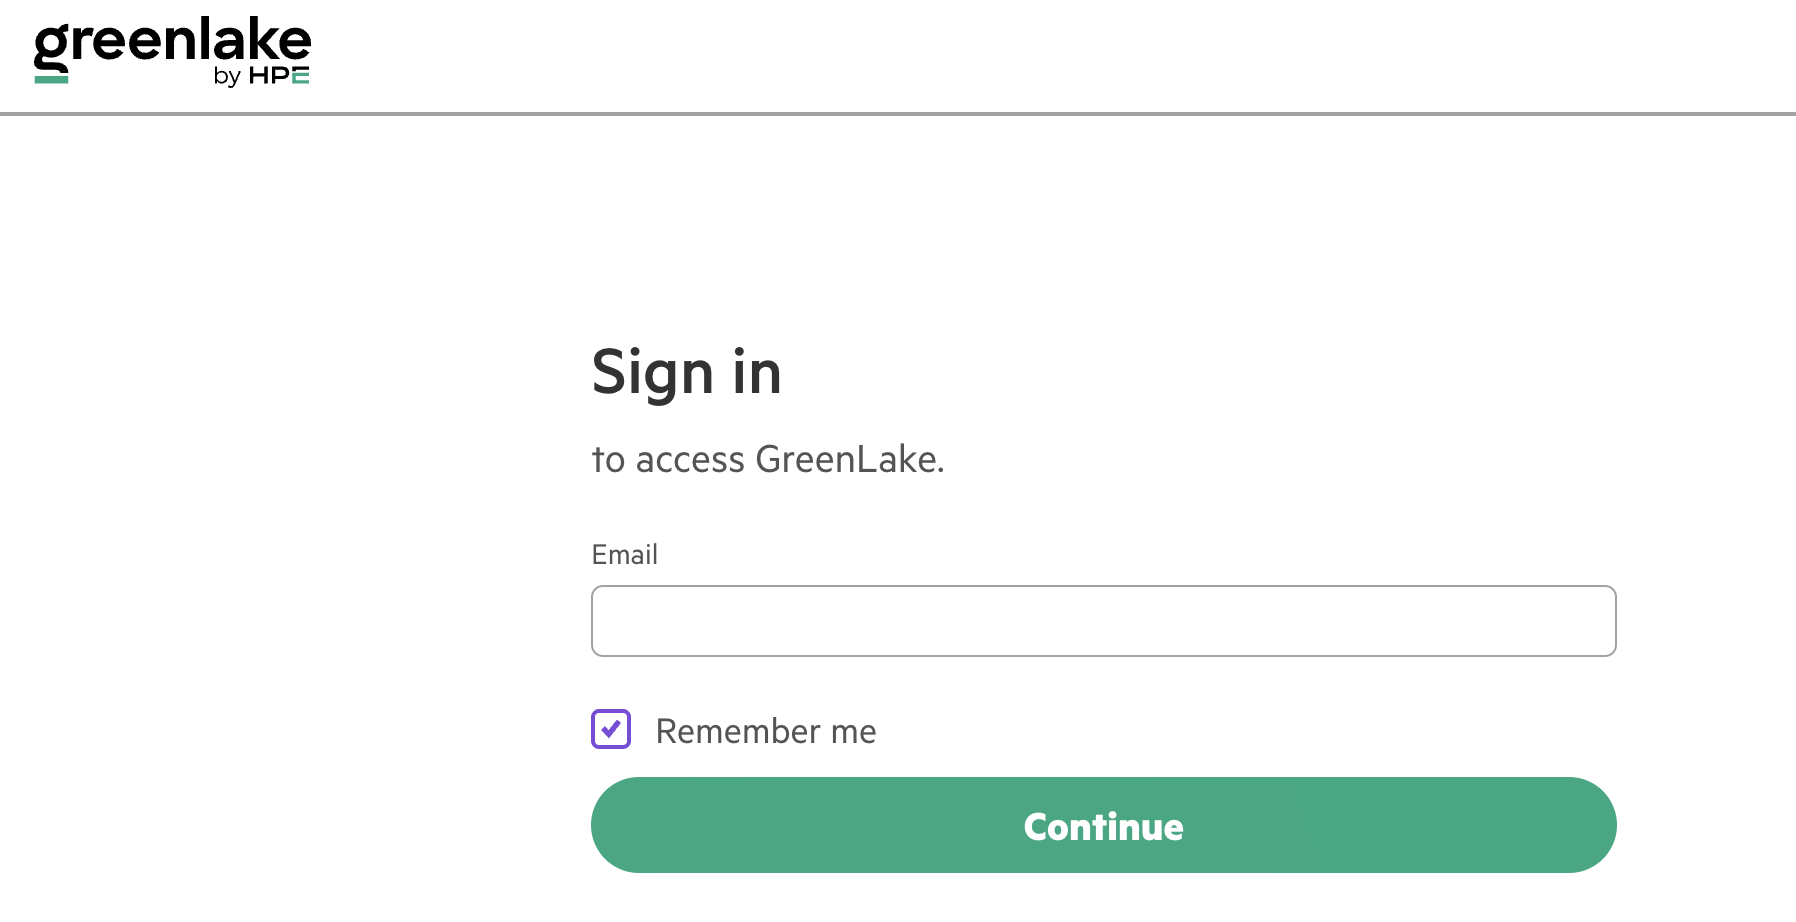
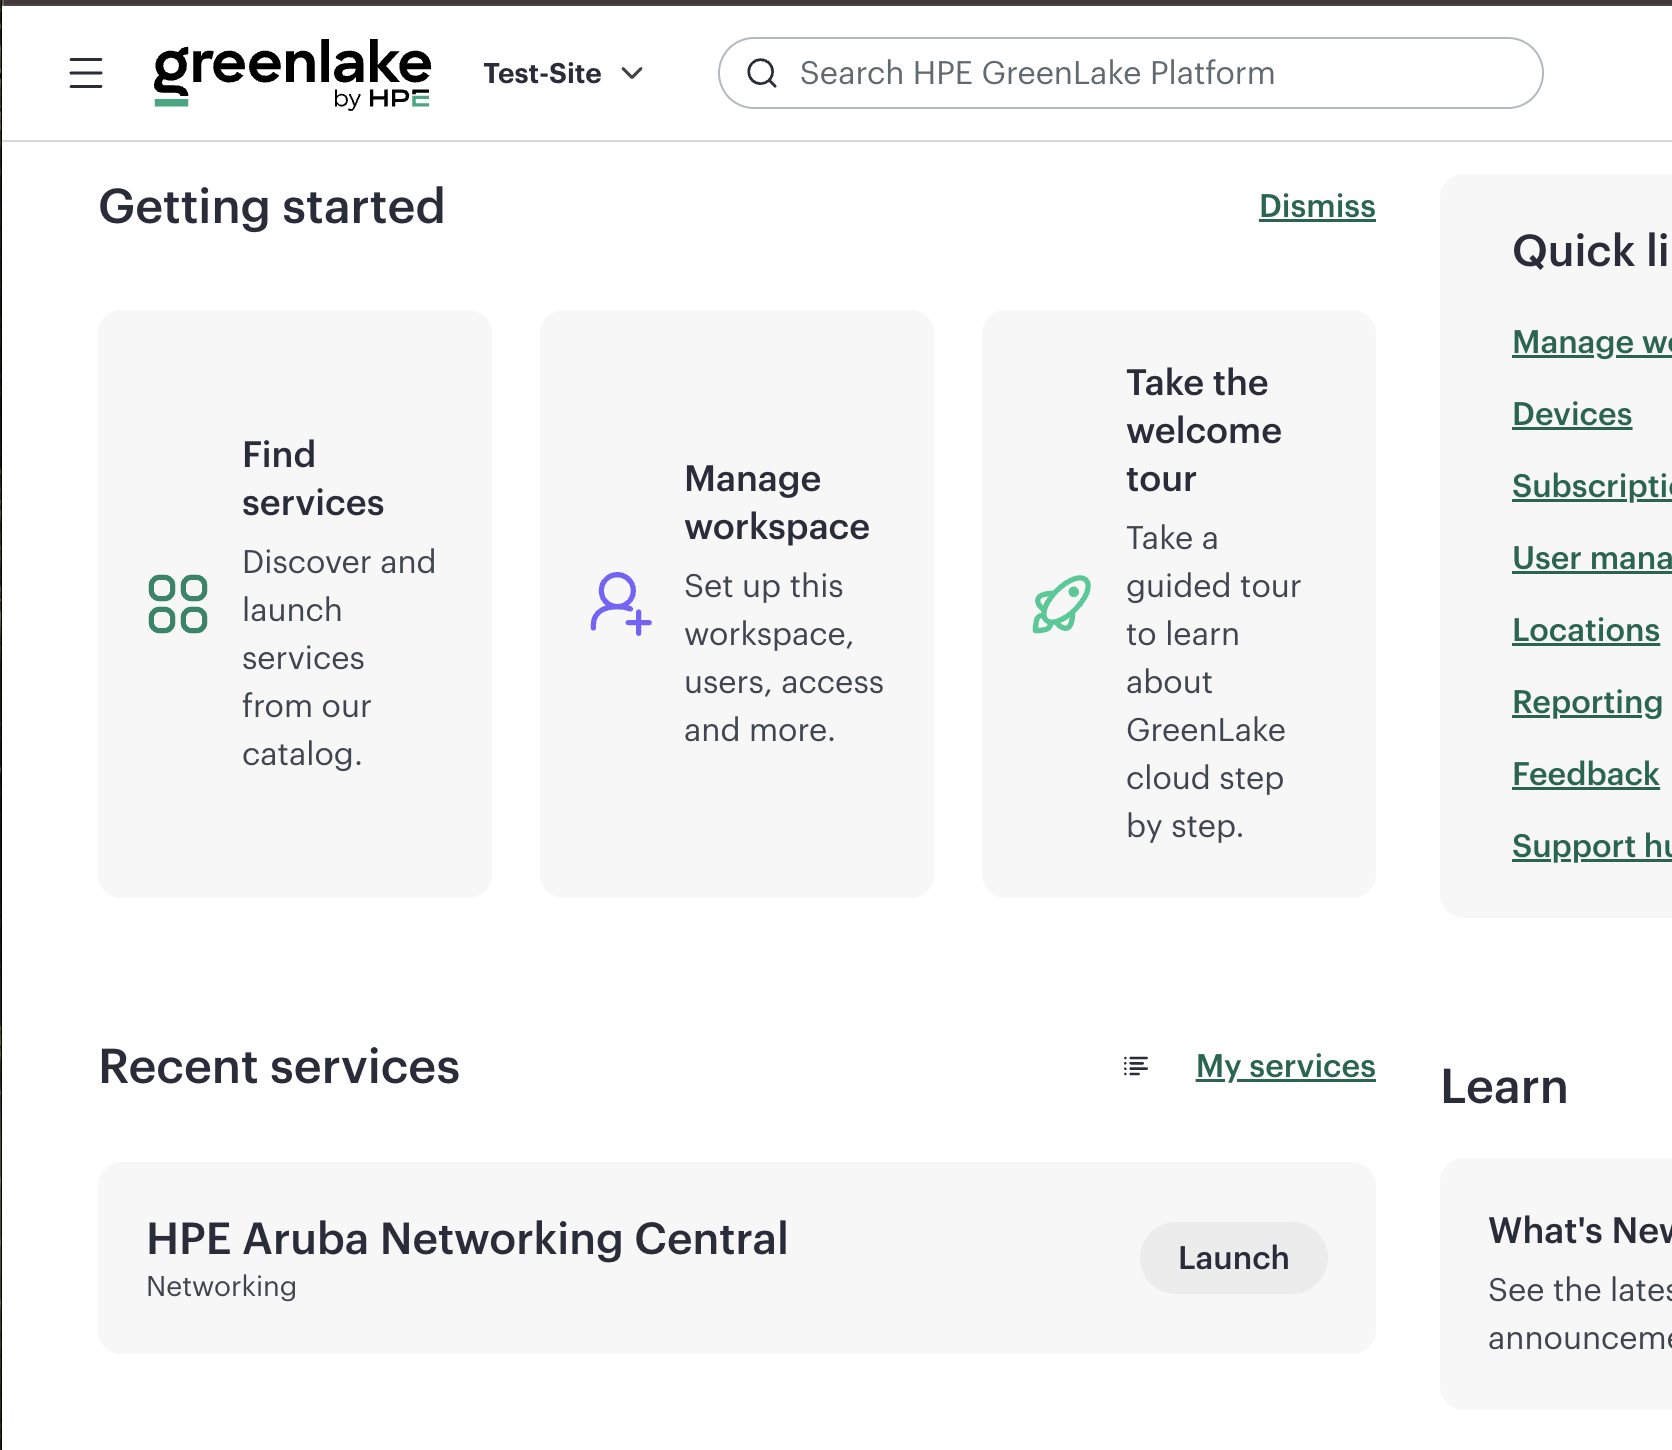
Sign in to HPE and launch GreenLake.
-
2
Launch HPE Networking Central.
-
3
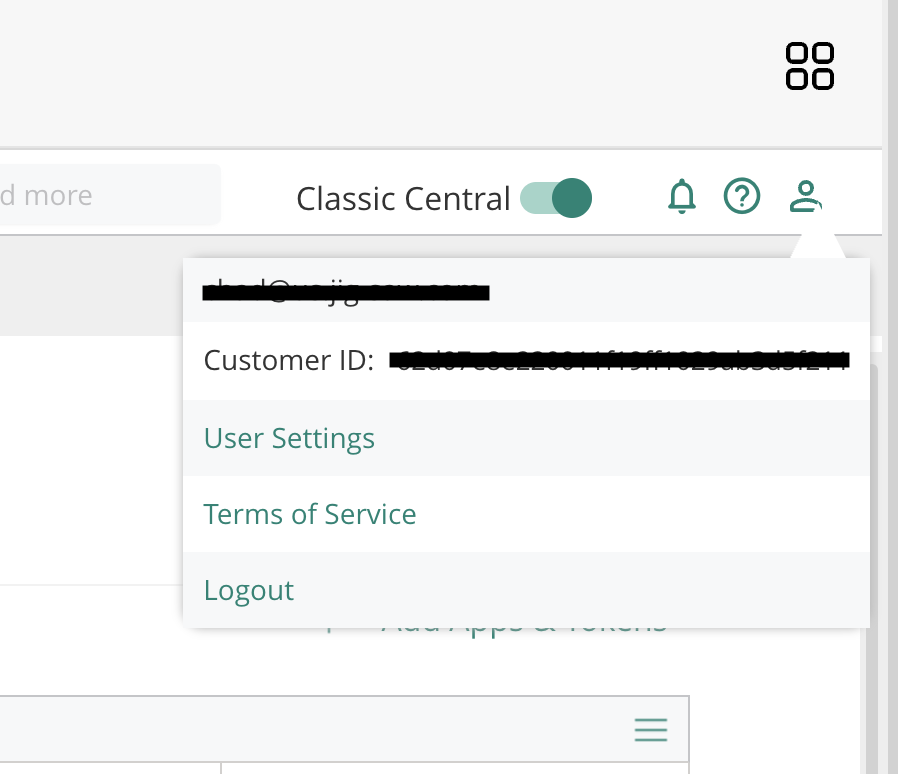
Turn ON Classic Central using the toggle at the top of the screen.

-
4
Obtain the information required for NEQTO.ai configuration. Confirm and take note of the following:
- API Address — found under Global › Organization › Platform Integration › APIs.
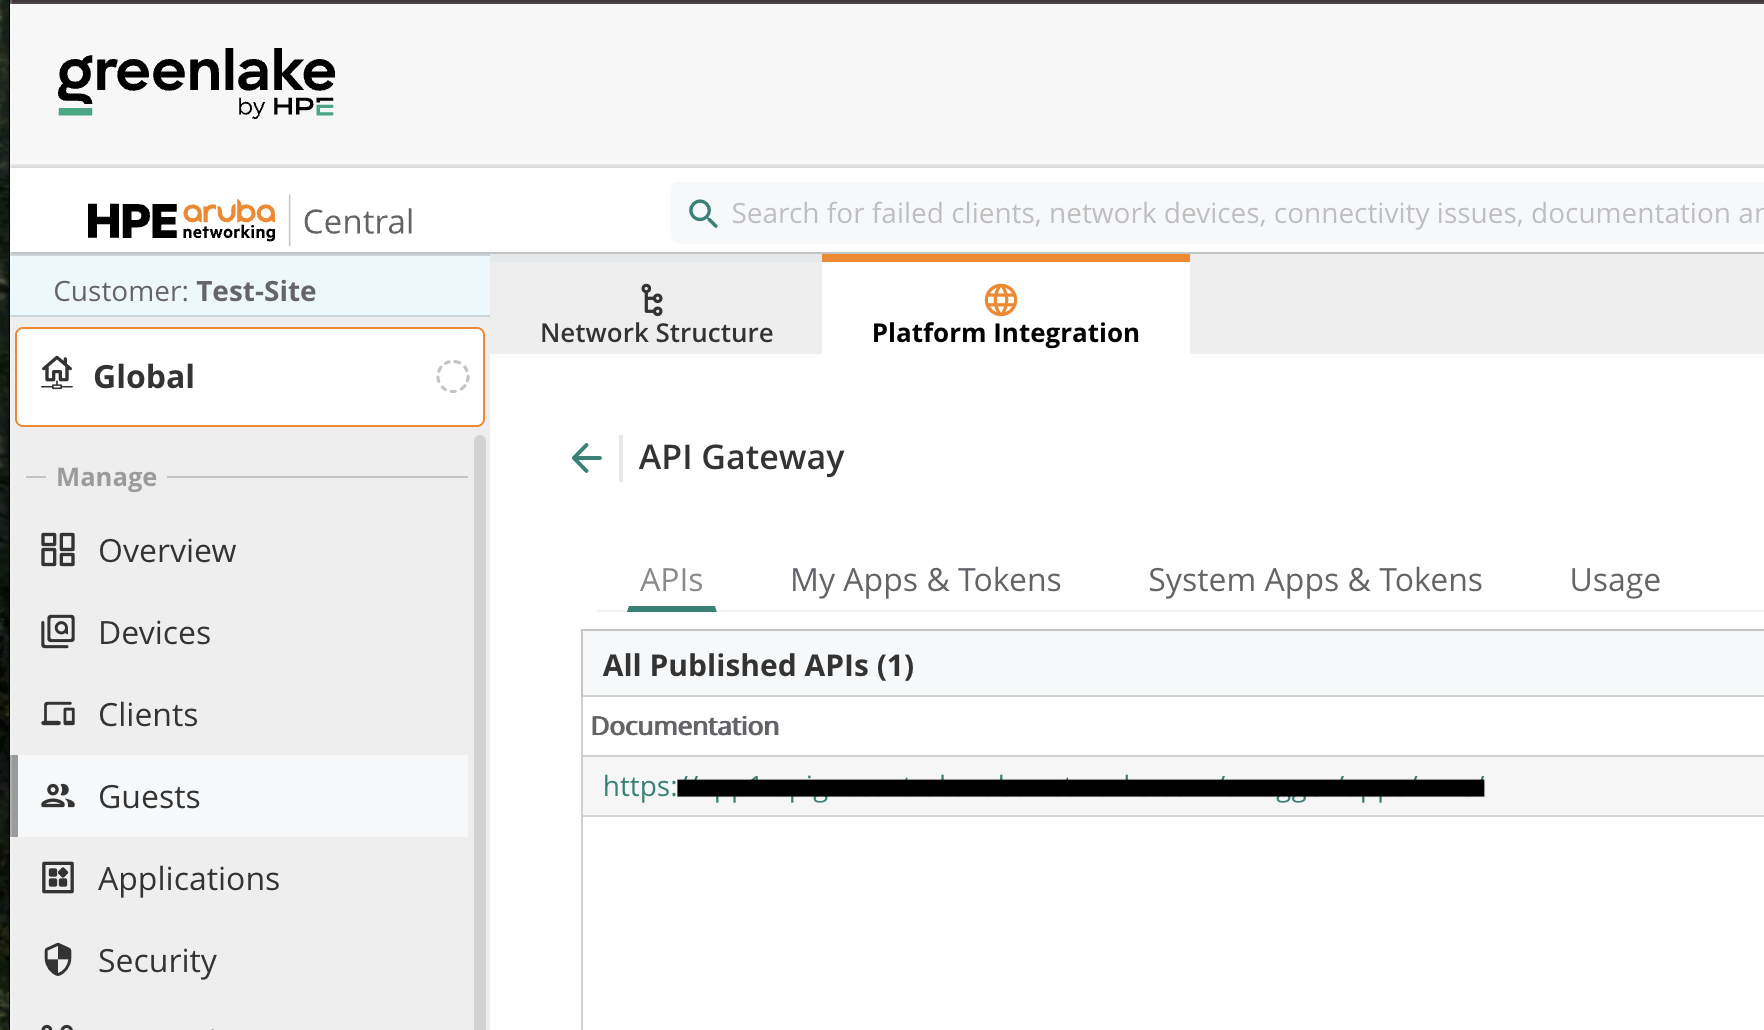
- Customer ID — found in the account information section at the top of the screen.
- Client ID / Client Secret — found under Global › Organization › Platform Integration › My Apps & Tokens. Add a new app or token if necessary.
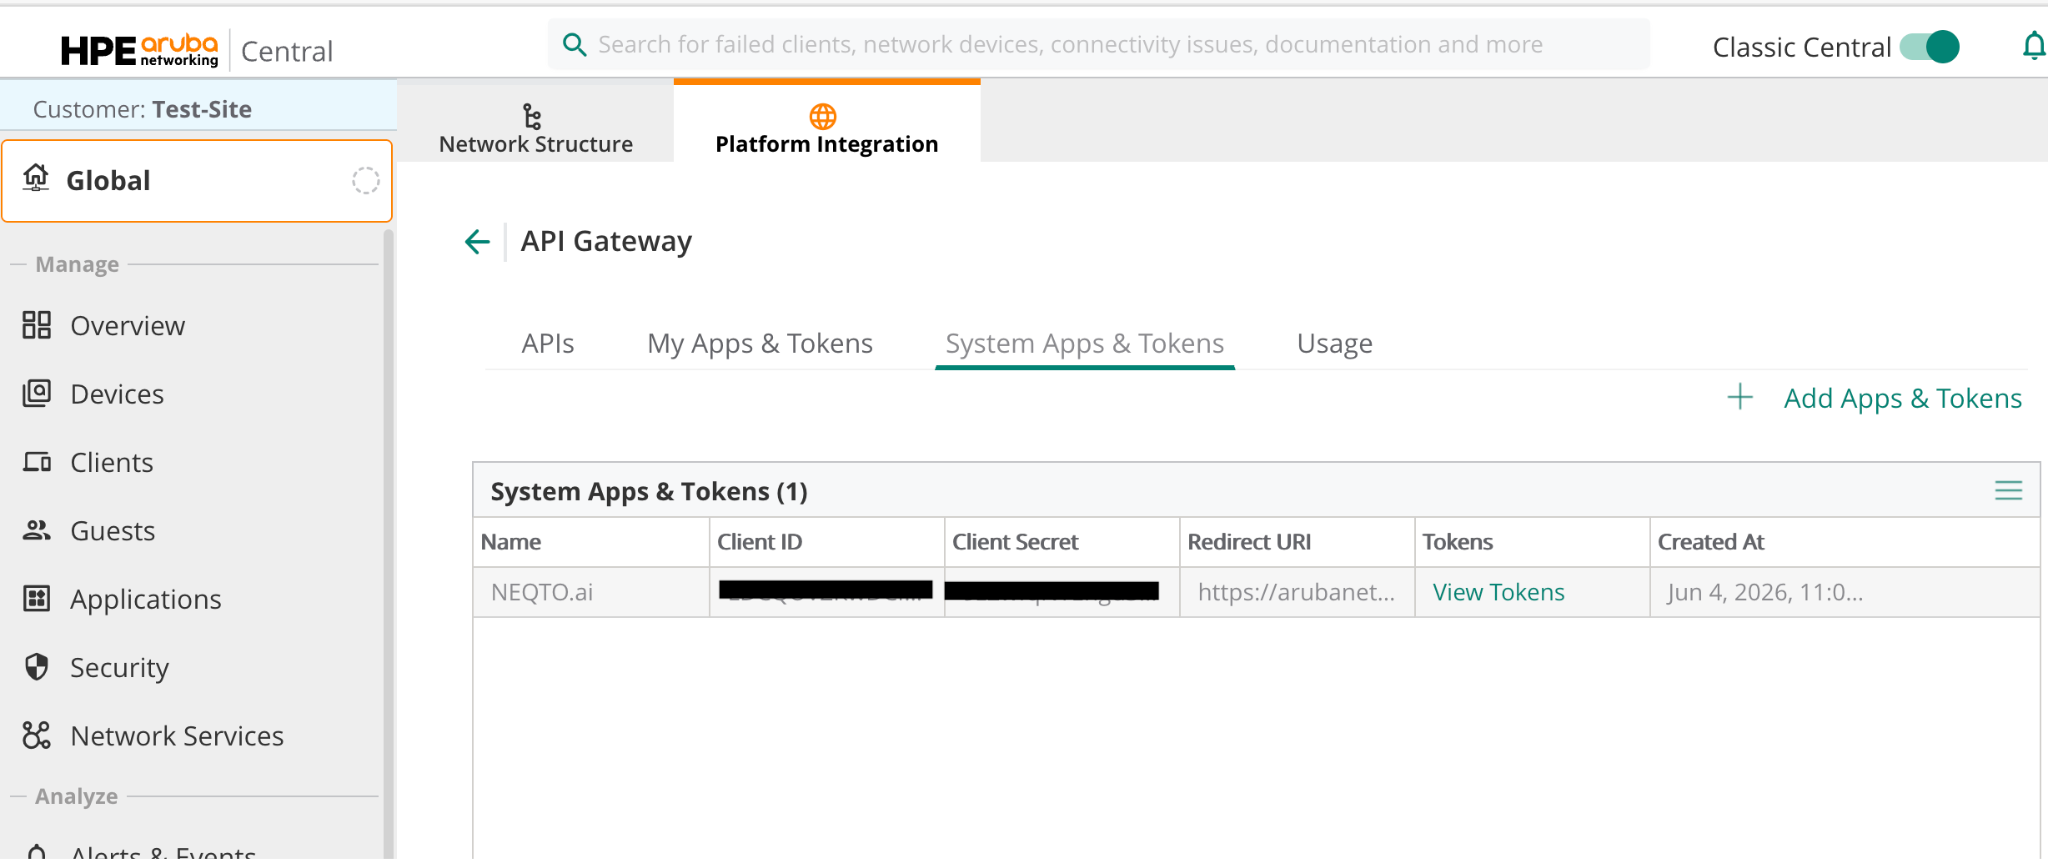
- User Name / Password — the same as your Aruba Central sign-in credentials.
-
5
Register devices to an Aruba Group and check connectors. Devices must be registered to a Group in Aruba in advance. Select the target Group and verify that your devices are registered.
- For AOS 10 — verify that the Connectors are registered under Applications for the target Group.
Setup Steps in NEQTO.ai
Step 1 — Launch the Wizard
-
1
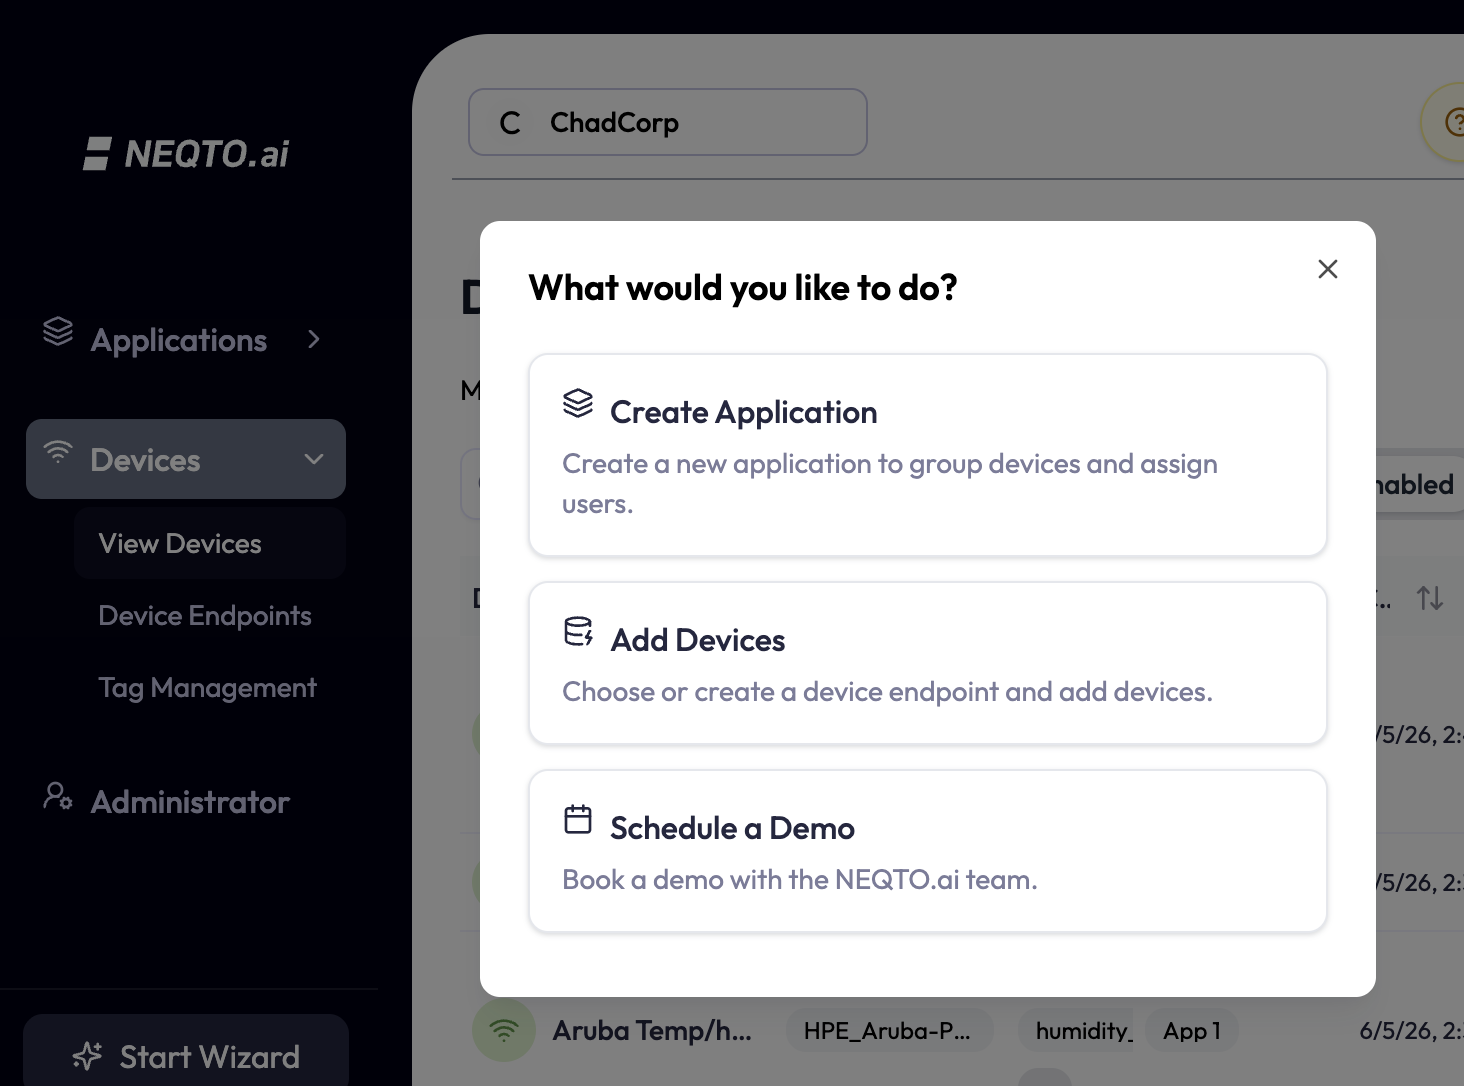
From the Start Wizard section in NEQTO.ai, select Add Devices.
-
2
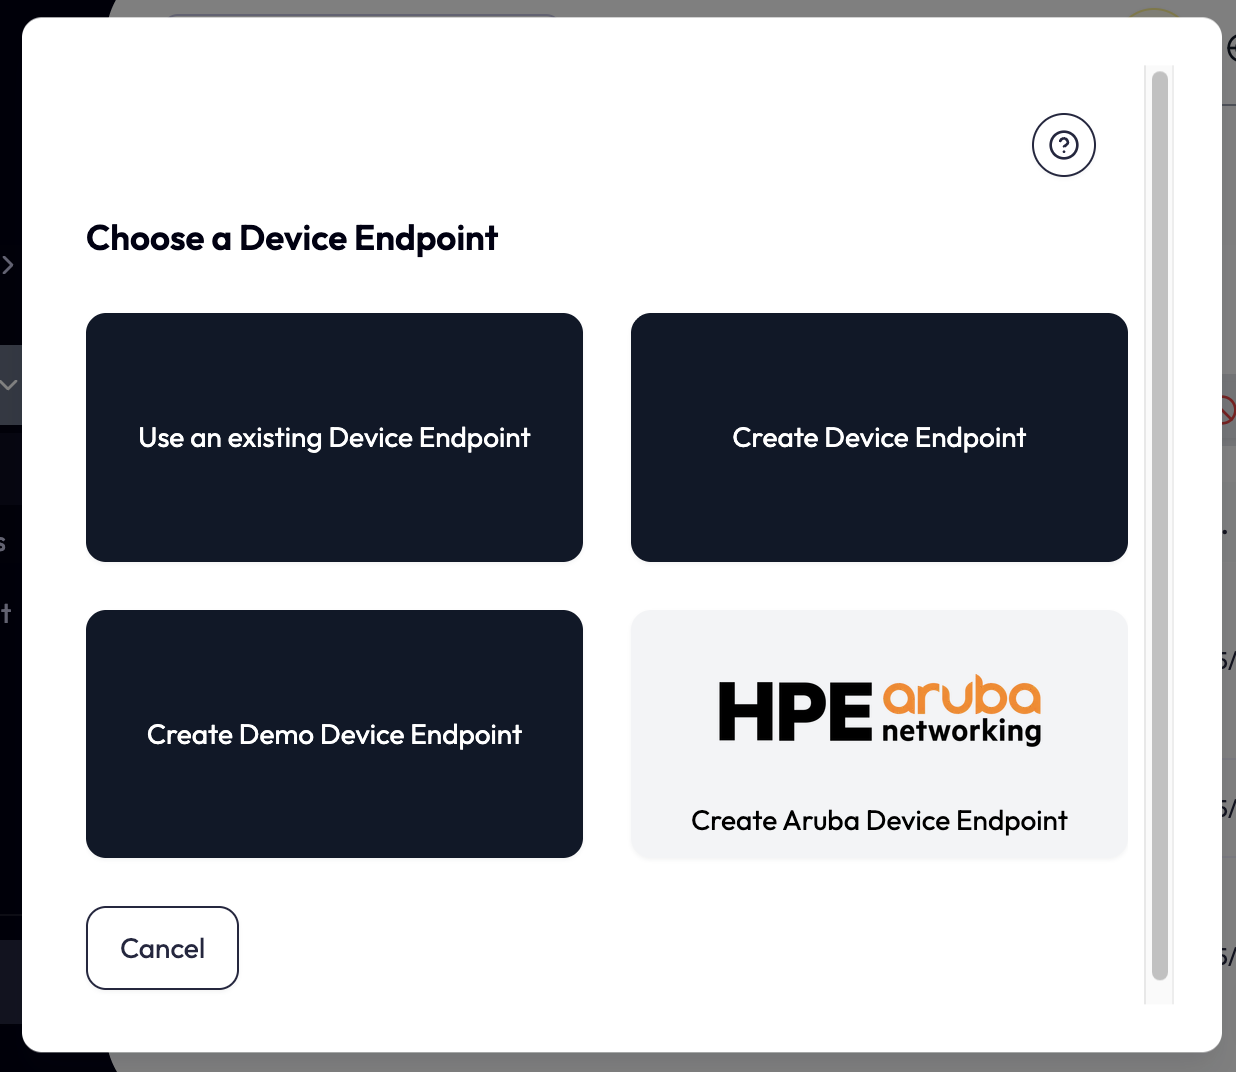
Select Create Aruba Device Endpoint.
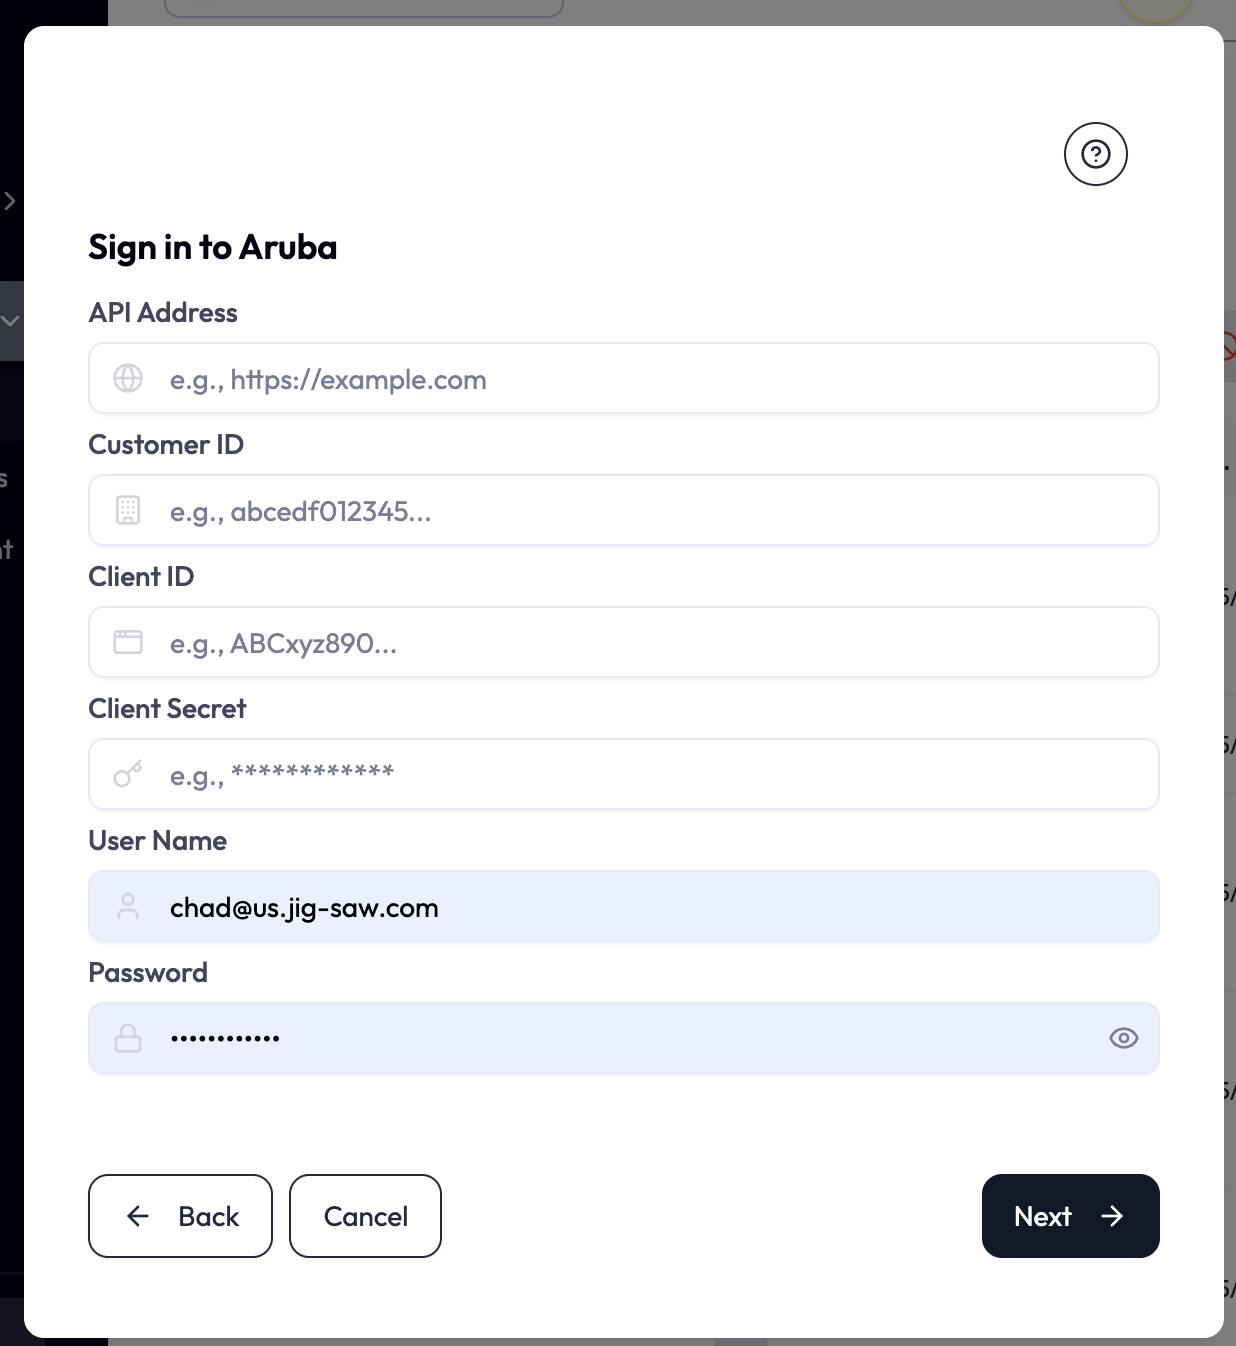
Step 2 — Sign In to Aruba
On the Sign in Aruba screen, enter the API Address, Customer ID, Client ID, and other details obtained during preparation, then click Next.
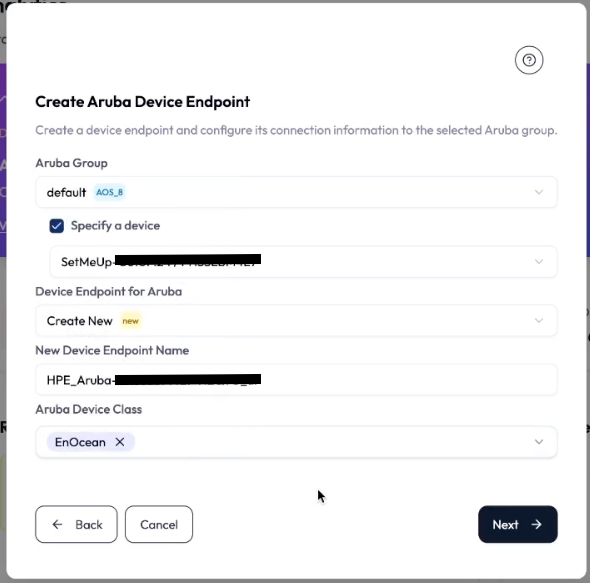
Step 3 — Configure the Integration
Associate a NEQTO.ai Device Endpoint with a Group or Device in Aruba. Select the target Aruba Group you wish to integrate, then configure the settings below. The displayed options vary depending on the AOS version of the selected Group.
| Setting | Description |
|---|---|
| Specify a device (AOS 8 only) | Enable to apply configurations to a single device under the Group; if enabled, select the target device. If you apply configurations to a Group instead, the settings apply to all devices under that Group. |
| Device Endpoint for Aruba | Create New assigns a brand-new NEQTO.ai Device Endpoint to the selected Aruba Group or Device. If you have already created Aruba Device Endpoints, they appear in the dropdown — select one to modify existing configurations. |
| New Device Endpoint Name (Create New only) | This name applies to both the Device Endpoint Name in NEQTO.ai and the IoT Transport Configuration Name in Aruba. Up to 32 characters (alphanumeric, hyphens, underscores). Cannot reuse a name already assigned to another Aruba Device Endpoint. If the names in either system are later changed so they no longer match, you lose the ability to update settings via the Wizard. |
| Aruba Device Class | A list of Device Classes supported by NEQTO.ai is displayed. Select the Device Classes you want to enable — the target BLE or EnOcean devices to receive data from. |
Click Next to create the Device Endpoint in NEQTO.ai and complete the IoT Transport configuration in Aruba. Data transmission from Aruba to NEQTO.ai will begin at this point, and BLE or EnOcean devices (such as temperature sensors or door contact sensors) will be detected in NEQTO.ai.
Troubleshooting
- AOS 8 IoT Transport registration limit — if Aruba already has 8 registered IoT Transport configurations, or 3 of them are set to Enable (Active), you cannot add new configurations or change settings via the Wizard. Manually delete unused configurations before starting the Wizard again.
- Cautions on AOS 8 Group configurations — in AOS 8, applying settings to a Group applies them to all devices under it. If the same IoT Transport configuration name exists on both the Group and its sub-devices with different details, the settings fail to apply. Delete them first and start the Wizard again.
- Recognition of EnOcean USB on AOS 10 — if you apply configurations that include EnOcean USB as a Device Class while the Aruba main unit has not correctly recognized the EnOcean USB dongle, the configuration fails. Reboot the Aruba main unit or unplug and replug the EnOcean USB. Once its status shows as online in Aruba Central, start the Wizard again.
- EnOcean USB conflicts on AOS 10 — if another IoT Transport configuration already uses the EnOcean USB, its data will not be transmitted to any newly added configurations. Delete all existing IoT Transport configurations first, then start the Wizard again.
- NEQTO.ai registered device limit — there is a maximum number of devices you can register on NEQTO.ai. If you reach the limit, new devices are not added. Disable or delete unnecessary devices as needed.
- LEARN button — some EnOcean devices must be recognized by pressing their LEARN button. Press it on the device and wait a short while before checking NEQTO.ai for the device.
Other Cautions
- Deleting IoT Transport configurations — there is no automatic feature to delete NEQTO.ai Device Endpoints or Aruba Central IoT Transport configurations created by this Wizard integration. Delete them manually as needed.
- Uninstalling applications on AOS 10 — there is no automatic feature to uninstall applications installed in Aruba Central via this Wizard integration. Uninstall them manually as needed.
With the integration configured, BLE and EnOcean devices detected by your HPE Networking environment now flow into NEQTO.ai, where you can monitor and analyze them.
