Maps
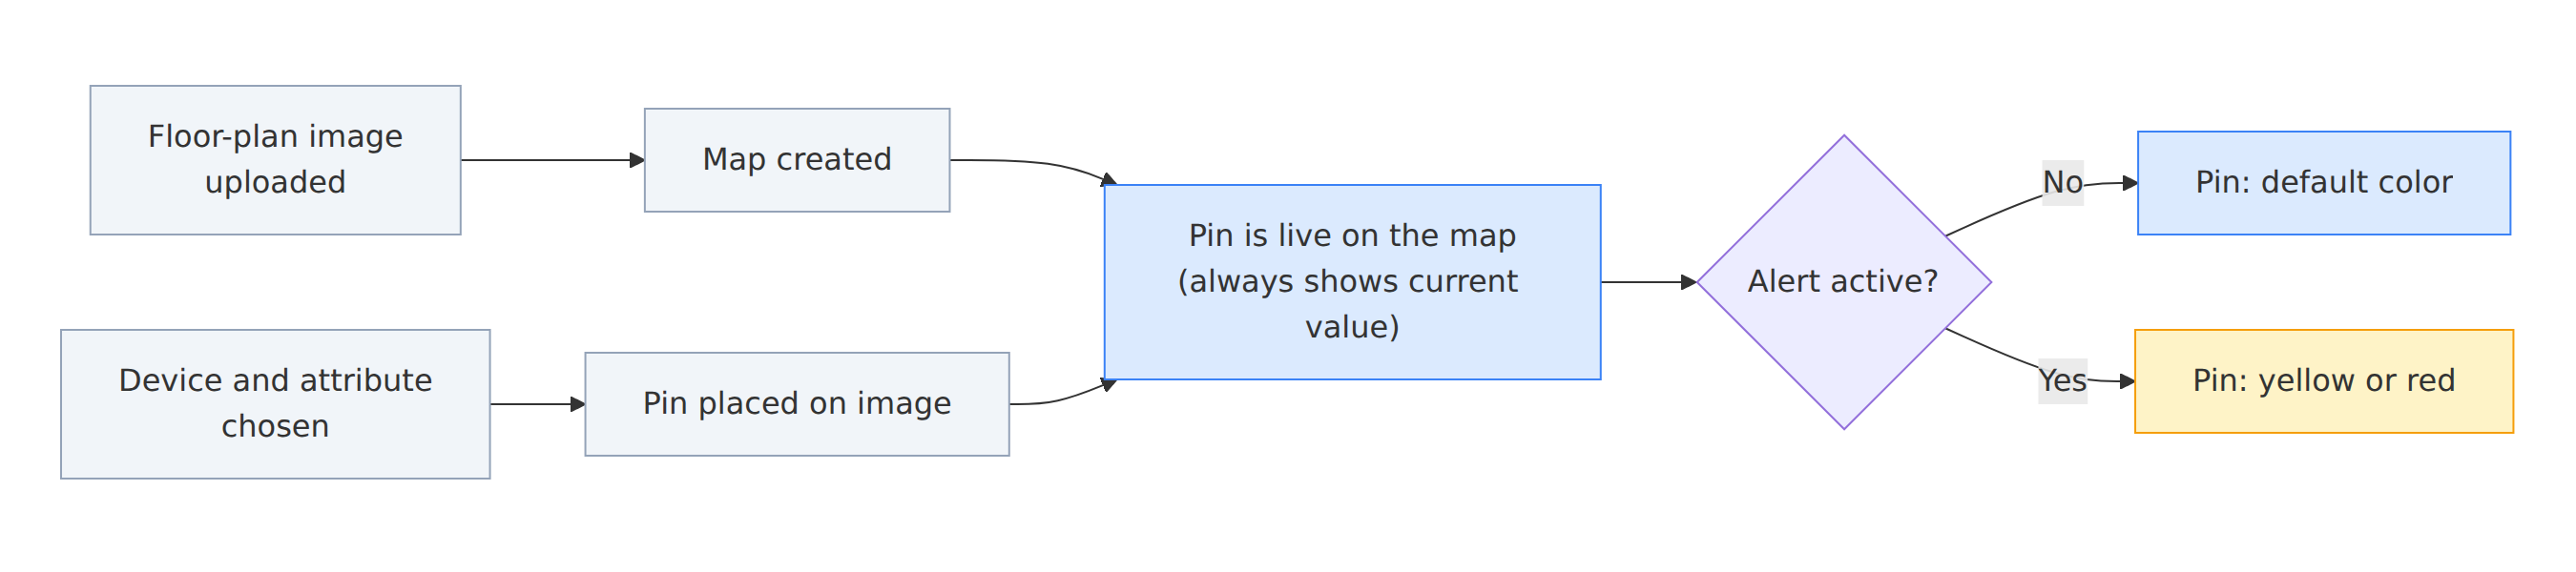
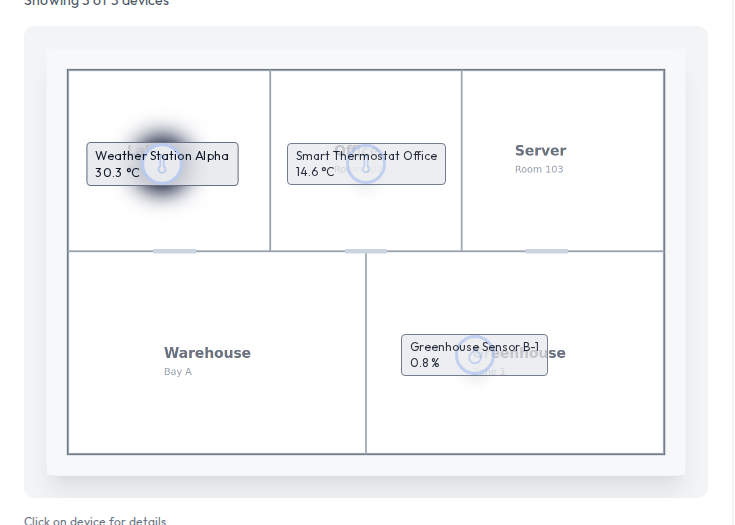
The Map page places device pins on an image of a physical space, such as a floor plan, site layout, rack diagram, or piece of equipment. Each pin shows a live reading and changes color when an alert fires.
Quick start
Use these steps if you are already familiar with NEQTO.ai.
-
1Open an application and go to Map. In the left sidebar, click Add map. Enter a title and upload a PNG, JPEG, or WebP image.
-
2Click Add device, then click a spot on the image to choose where the pin goes.
-
3Select a Device, the Attribute to show, and a Category icon. You can also add a text label and one or more click-charts. Click Save.
-
4The pin appears with its live value. Click any pin to open its details in the right-hand panel. Use Edit position to fine-tune placement later.
The Map page layout
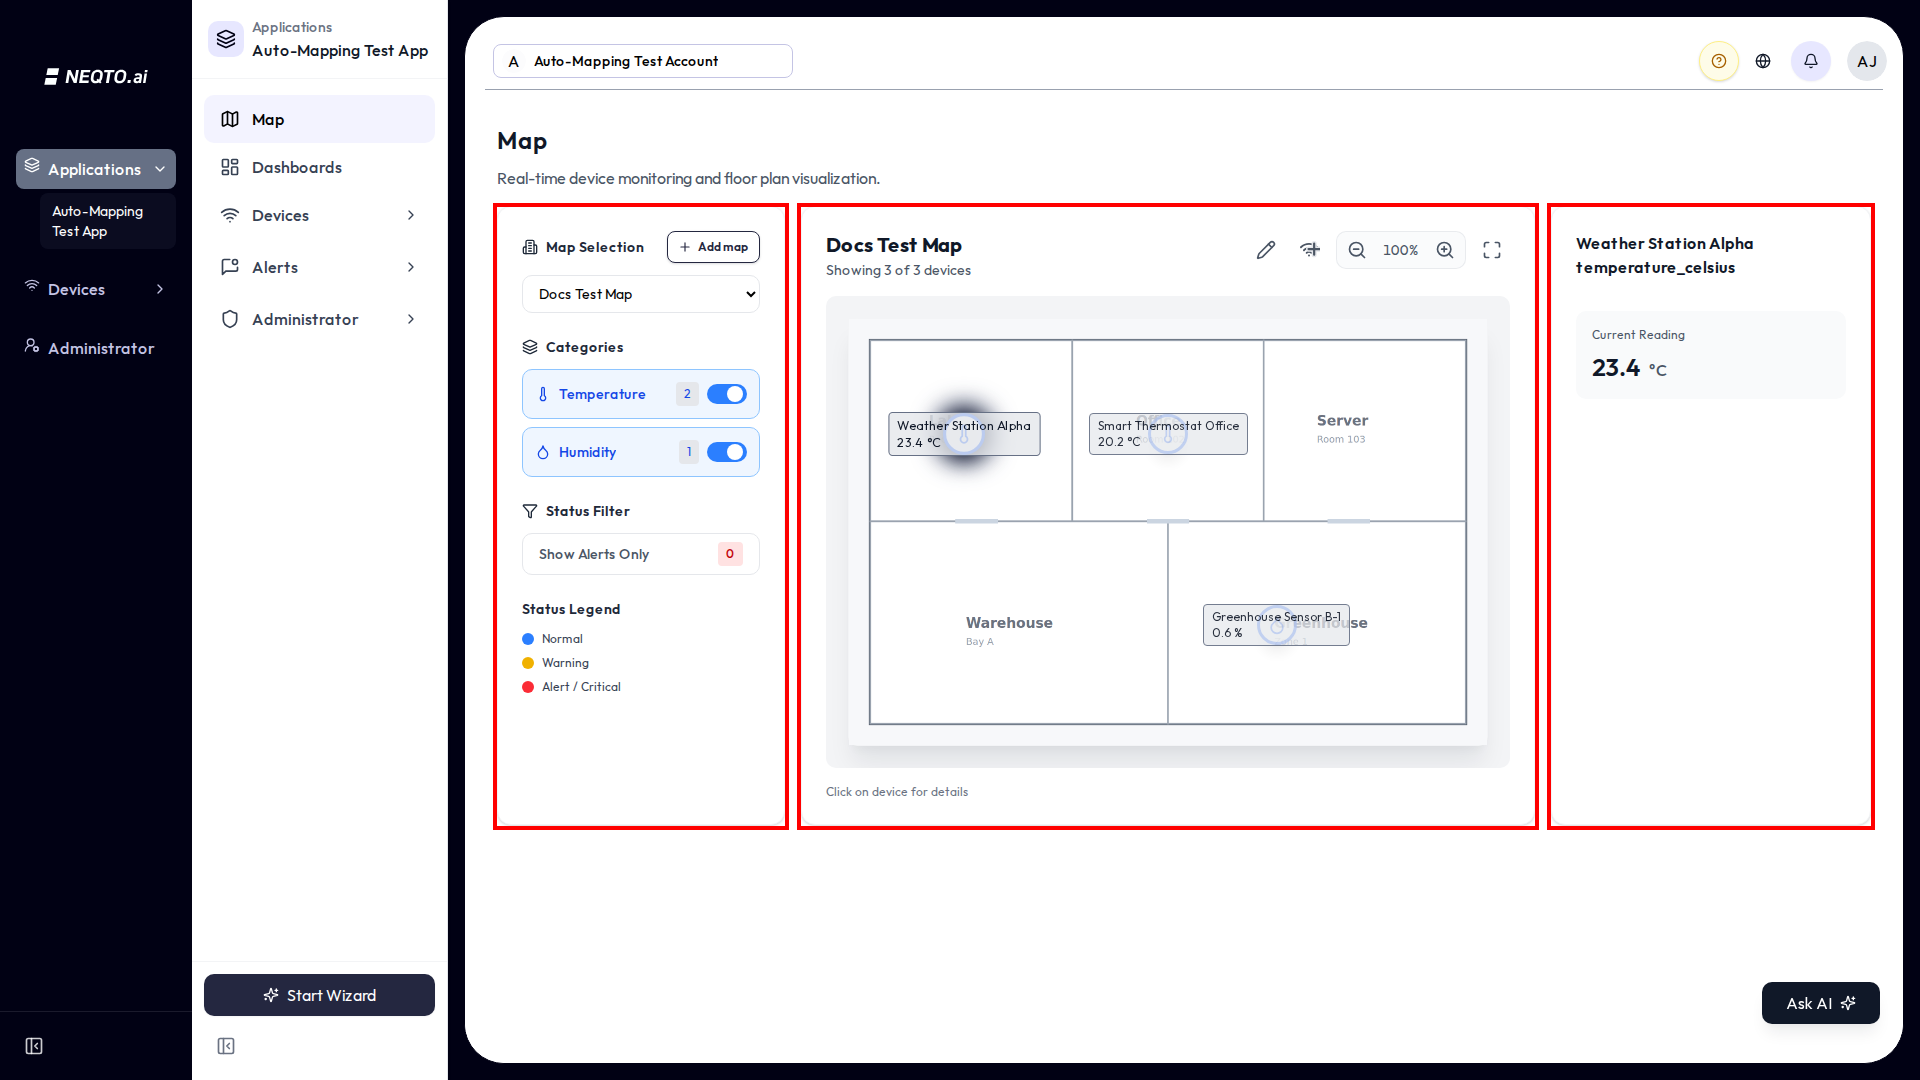
The Map page is inside an application. The page is titled Map and described as “Real-time device monitoring and floor plan visualization.” On a desktop, it has three panels.
| Panel | What’s there |
|---|---|
| Filter sidebar (left) | The Map Selection dropdown to switch maps, the Add map button, category filters, a status filter, and the status legend. |
| Map (center) | The floor-plan image with pins on top. Use the controls to zoom in, zoom out, or enter full screen. Click a pin to select it. |
| Device (right) | The selected pin’s current reading and any click-charts. The panel is empty until you select a pin. |
On a phone, the three panels become Filters, Map, and Device tabs. Tapping a pin opens a sheet with Show device info and the edit and delete actions.
Creating and organizing maps
An application can have several maps, such as one per floor or area. Use the Map Selection dropdown to switch between them.
Create a map
-
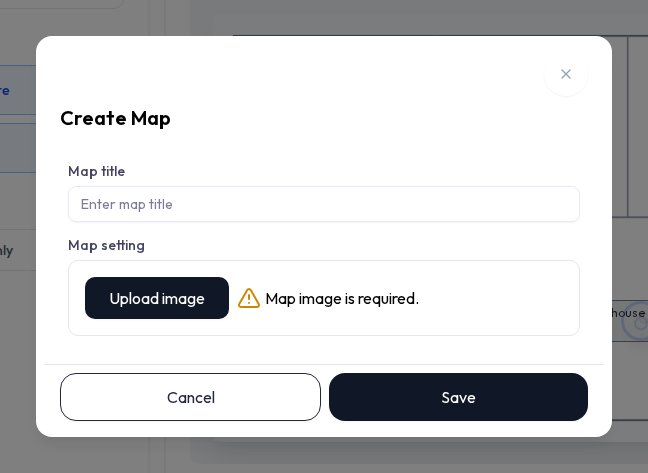
1Click Add map in the sidebar to open the Create Map dialog.
-
2Enter a Map title (up to 255 characters).
-
3Click Upload image and choose a
PNG,JPEG, orWebPimage. Click Save.
Switching, editing, and deleting
-
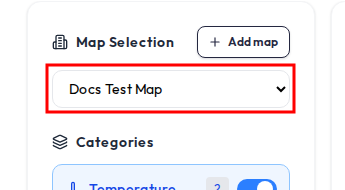
Switch maps with the Map Selection dropdown. The page stores
your choice in the URL as a
mapIdquery parameter, so you can share a link to the selected map. - Edit a map by clicking the pencil button labeled Edit floor map on the map toolbar. You can change the title or replace the floor image.
- Delete a map by clicking the trash button in the edit dialog and confirming the deletion. Deleting the map also removes its stored image.
Placing devices on the Map
Each pin links one attribute of one device to a spot on the image. You place pins by clicking the map, then filling in a short form.
-
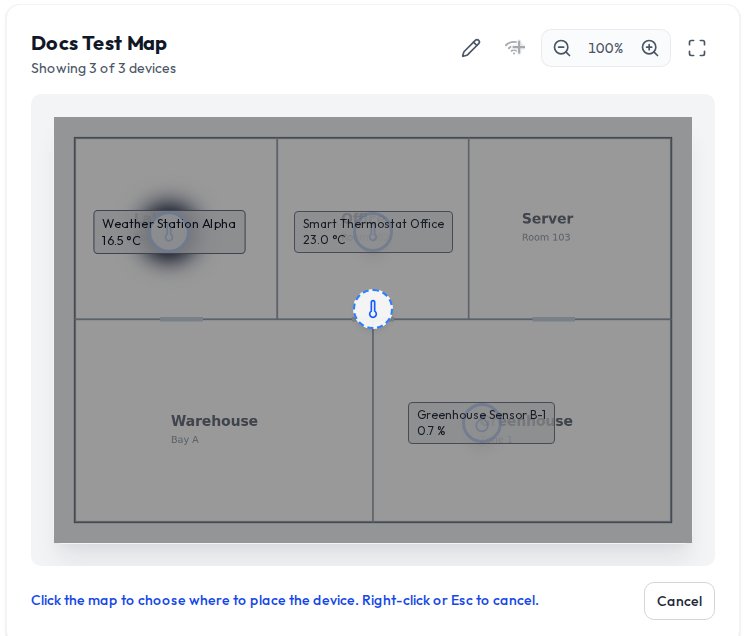
1Click Add device. The cursor shows a ghost pin. Click the spot on the image where you want to place the device. Right-click or press Esc to cancel.
-
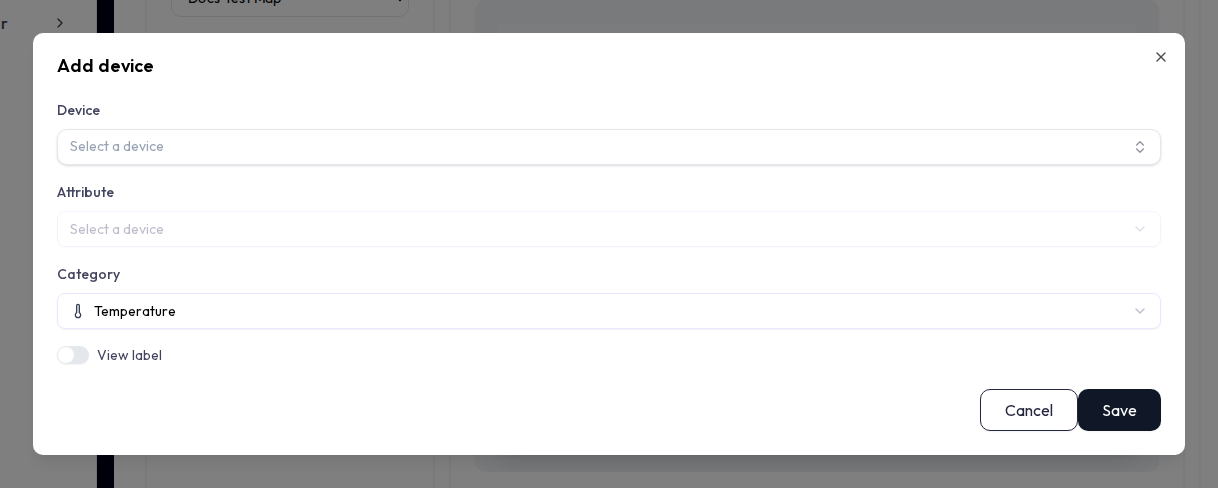
2In the dialog, choose a Device from the searchable list. Then choose the Attribute to display. The list does not show devices that are already pinned to this map.
-
3Select a Category to set the pin’s icon. Add an optional label and any click-charts, then click Save.
Category icons
The Category sets the pin’s icon but does not change its data. The available categories are:
| Category | Icon |
|---|---|
| Air Flow | Wind |
| Temperature | Thermometer |
| Humidity | Droplet |
| CO2 | Tree |
| Acceleration | 3D move |
| Door | Open door |
| Brightness | Sun |
| Motion | Custom motion artwork |
| Occupancy | Person |
| Other | Circle |
The default category for a new pin is Temperature.
Pin labels
Turn on View label to show text next to the pin. You can enter a fixed label, turn on Place value to show the live reading, or show both. Use Label position to place the text in the center or at the top, bottom, left, or right of the pin. The dialog shows a live preview.
Click-charts for numeric attributes
For a numeric attribute, you can add one or more history charts under Charts when clicking this device. The charts appear in the right-hand device panel when you select the pin. For each chart, choose its type, color, time window, and Y-axis bounds. The time window can be a live relative window or a daily rotation. The dialog shows a live preview. These options do not appear for text or state attributes.
Reading the Map
After you place the pins, their values update live. Their colors change when alerts fire.
Status colors
A pin’s color reflects the most severe active alert on its device or attribute. The Status Legend in the sidebar identifies each color:
| State | Pin color |
|---|---|
| Normal, no active alert | Default / info blue |
| Warning | Yellow |
| Alert / Critical | Red |
The map ignores completed or resolved alerts. A pin returns to normal when its alert clears.
The device panel
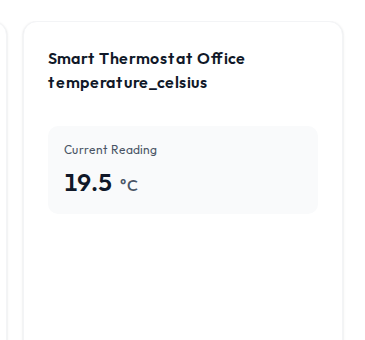
Click a pin to select it. The device panel shows its current reading, including the value, unit, and arrival time in your timezone. It also shows any click-charts. If no pin is selected, the panel prompts you to select a device on the map. When a map has pins, the first pin is selected by default.
Filtering what you see
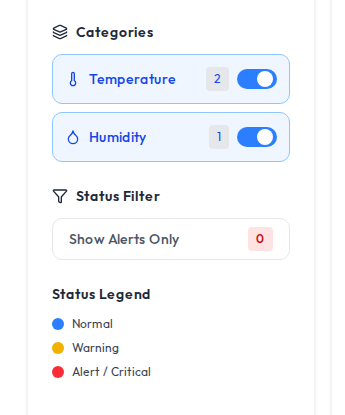
- Categories lists each category present on the map; uncheck one to hide those pins.
- Show Alerts Only hides pins that do not have an active alert.
Zoom and full screen
The map has Zoom in, Zoom out, and Full screen controls. Pin positions are stored as percentages of the image, so they remain in place when you zoom or resize the screen.
Editing pins
Adding, moving, editing, and removing pins requires edit permission for the application. Without that permission, the map is view-only.
| Action | What it does |
|---|---|
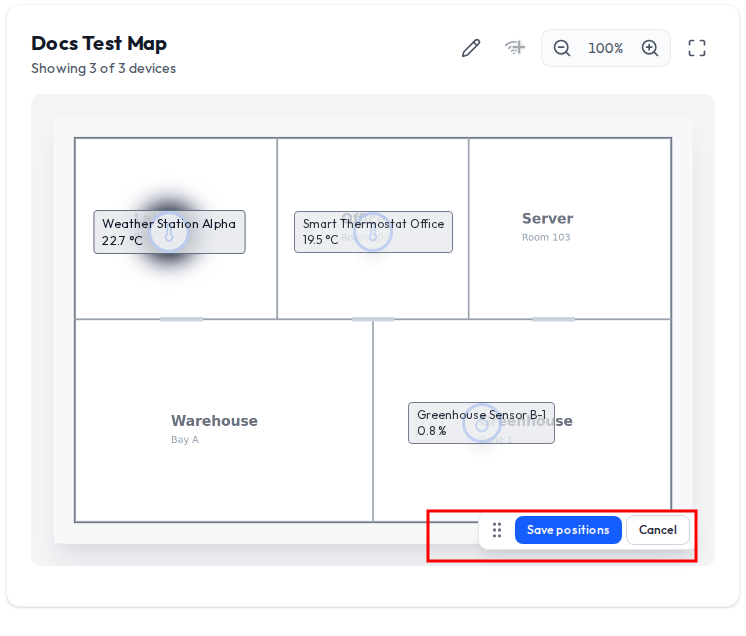
| Edit position | Drag the pin to a new spot, then Save. Only that pin’s coordinates change. Press Esc or click Cancel to discard the change. |
| Edit | Reopen the device dialog to change the attribute, category, label, or click-charts for that pin. |
| Delete | Confirm “Remove device from map?” to remove the pin. This does not delete the device, and you can add it to the map again later. |
On a desktop, these actions appear in a menu on the selected pin. On a phone, they appear in the pin’s bottom sheet.
Maps on dashboards
You can show a map as a dashboard widget. The widget mirrors the map created on the Map page.
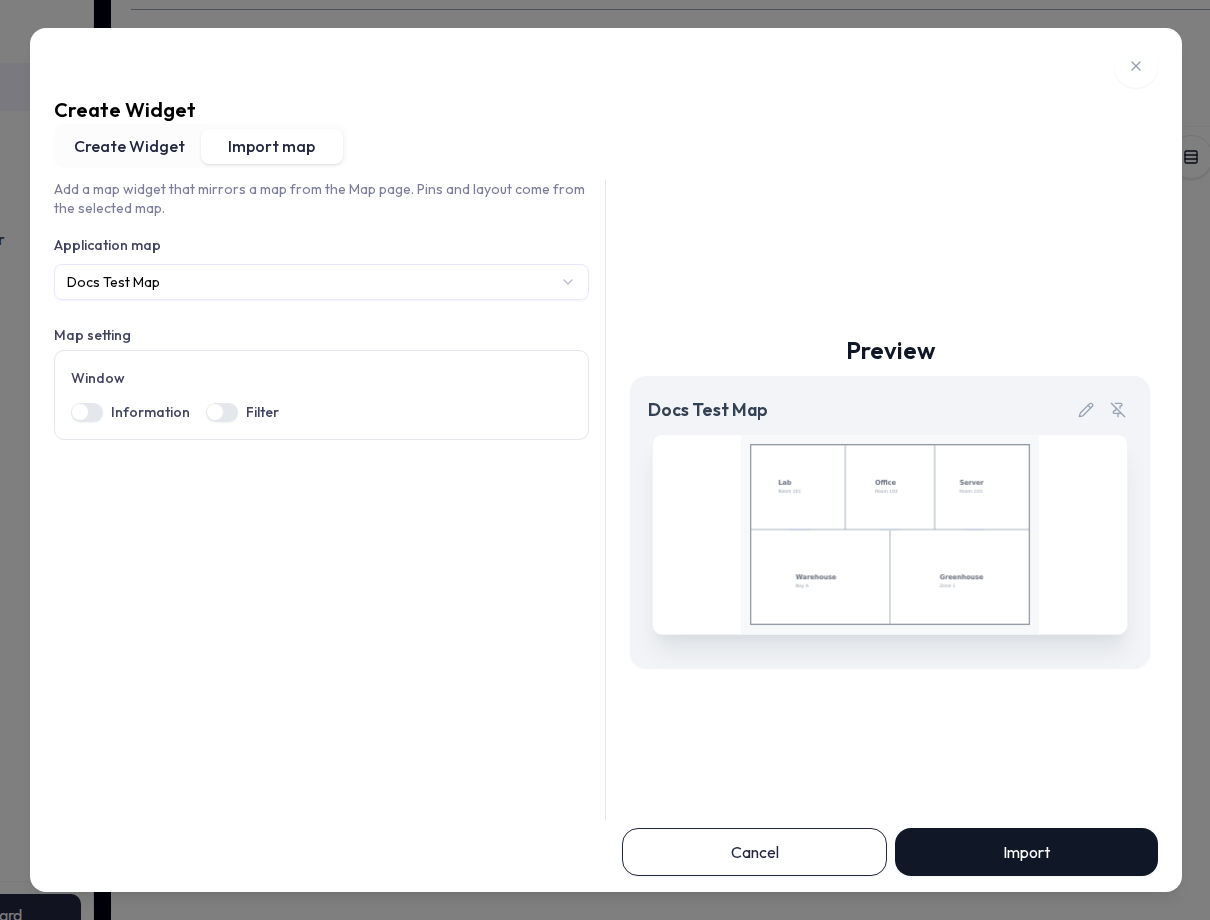
- Under Map setting, the widget has a Window section with Information and Filter toggles to show or hide the map’s information and filter windows on the dashboard.
- A widget created as a map widget cannot be changed into another widget type afterward.
- The Map page appears in an application’s navigation only when its route is enabled in the application sidebar.
Limits and other details
Use this table as a quick reference.
| Limit | Value |
|---|---|
| Maps per application | 15 |
| Floor image types | PNG, JPEG, WebP |
| Map title length | 255 characters |
| Categories (pin icons) | 10 (Air Flow, Temperature, Humidity, CO2, Acceleration, Door, Brightness, Motion, Occupancy, Other) |
| Pins per device, per map | 1. A pinned device is hidden from the picker. |