
Add a HPE Networking Device
Connect HPE Aruba Networking equipment to NEQTO.ai to receive readings from supported Bluetooth Low Energy BLE and EnOcean sensors. The Aruba equipment receives the radio messages and forwards them to a NEQTO.ai Device Endpoint. After processing, supported sensors appear as Devices with Attributes you can chart and monitor.
Overview
The setup uses Aruba Central to configure the Aruba equipment and a NEQTO.ai Endpoint to receive its data.
- BLE reports. Aruba equipment collects BLE advertisements and sends reports at 60-second intervals for this setup. NEQTO.ai decodes supported sensor data from those reports.
- EnOcean USB transport. An EnOcean USB dongle connected to the Aruba equipment receives radio telegrams. Aruba forwards the serial data for NEQTO.ai to decode. Choose a dongle and sensors for the same radio region.
Check the ArubaOS version first. This guide covers AOS 8 and AOS 10. AOS 8 can target a Group or an individual Aruba device. AOS 10 uses the Group and its connectors. Prepare the relevant equipment and credentials before opening the NEQTO.ai setup.
Related links
- HPE Aruba Networking and EnOcean
- EnOcean USB dongles and radio regions
- Supported Devices for sensor families and decoding support.
View Walkthrough
The video provides an overview of the connection process. Follow the written steps below for the current NEQTO.ai entry point and labels.
Preparation in HPE Networking Central
Use an Aruba Central account with permission to view the target Group, manage its IoT configuration, and obtain the required API credentials. You also need permission to create or configure Device Endpoints in NEQTO.ai.
Open Classic Central
-
1
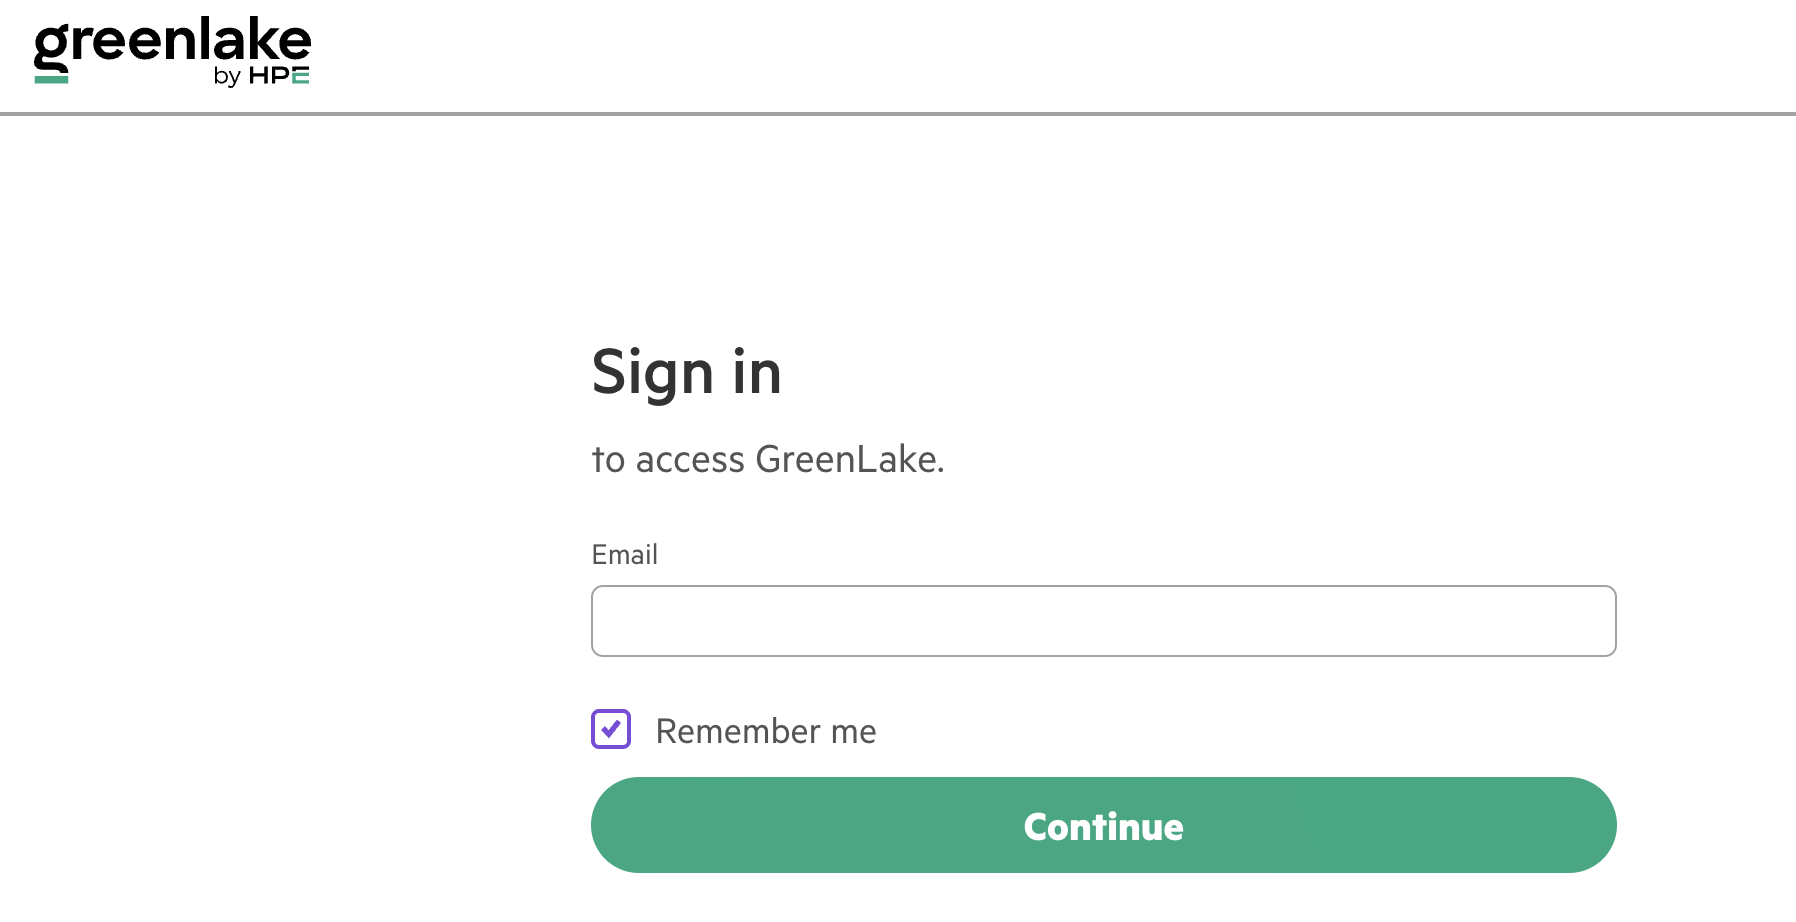
Sign in to HPE GreenLake with the account that manages your Aruba equipment.
-
2
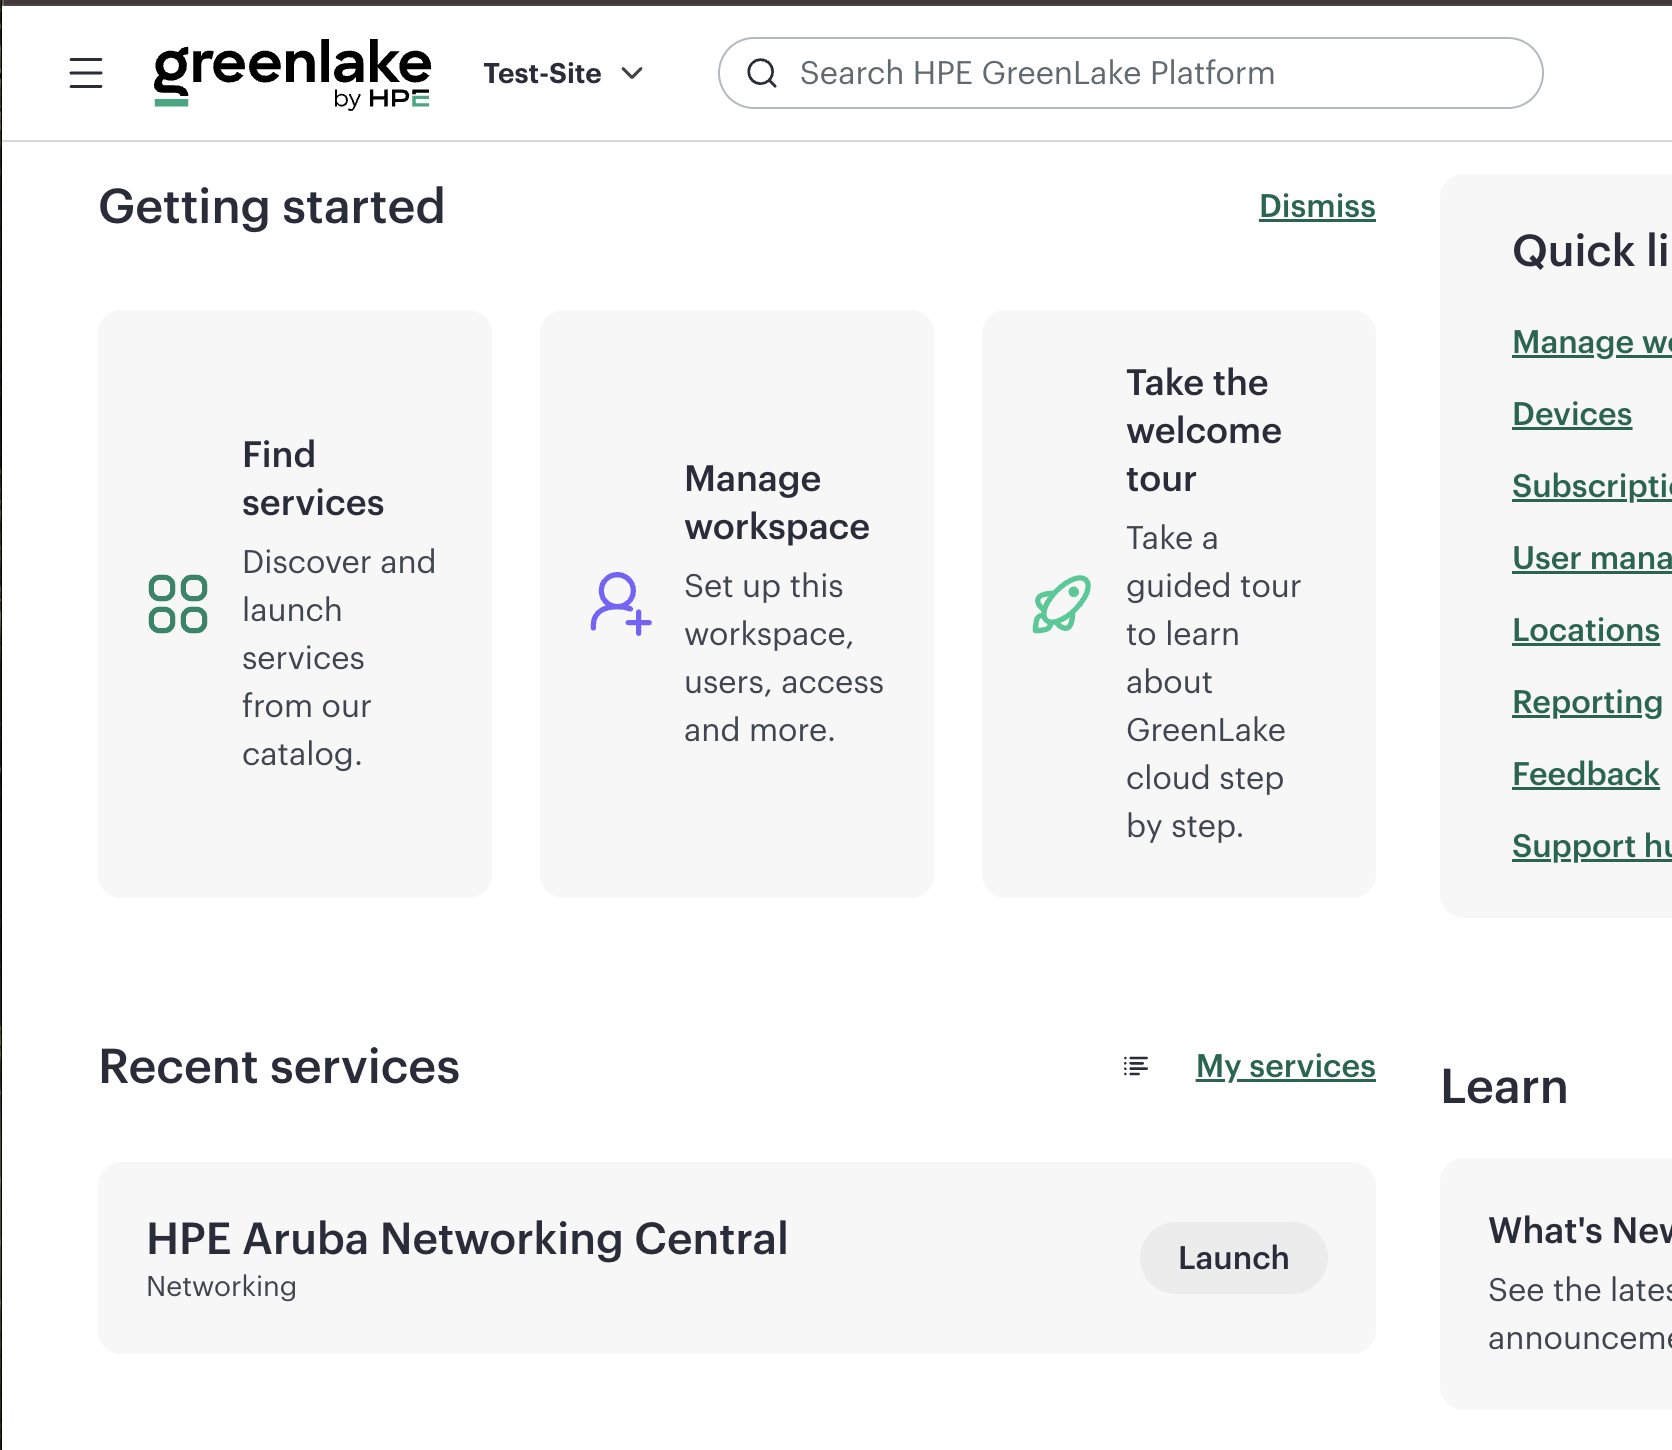
Launch HPE Aruba Networking Central from GreenLake.
-
3
Switch to Classic Central if you are in the newer Central interface. The API and Group navigation described below uses Classic Central.

Find the API Address
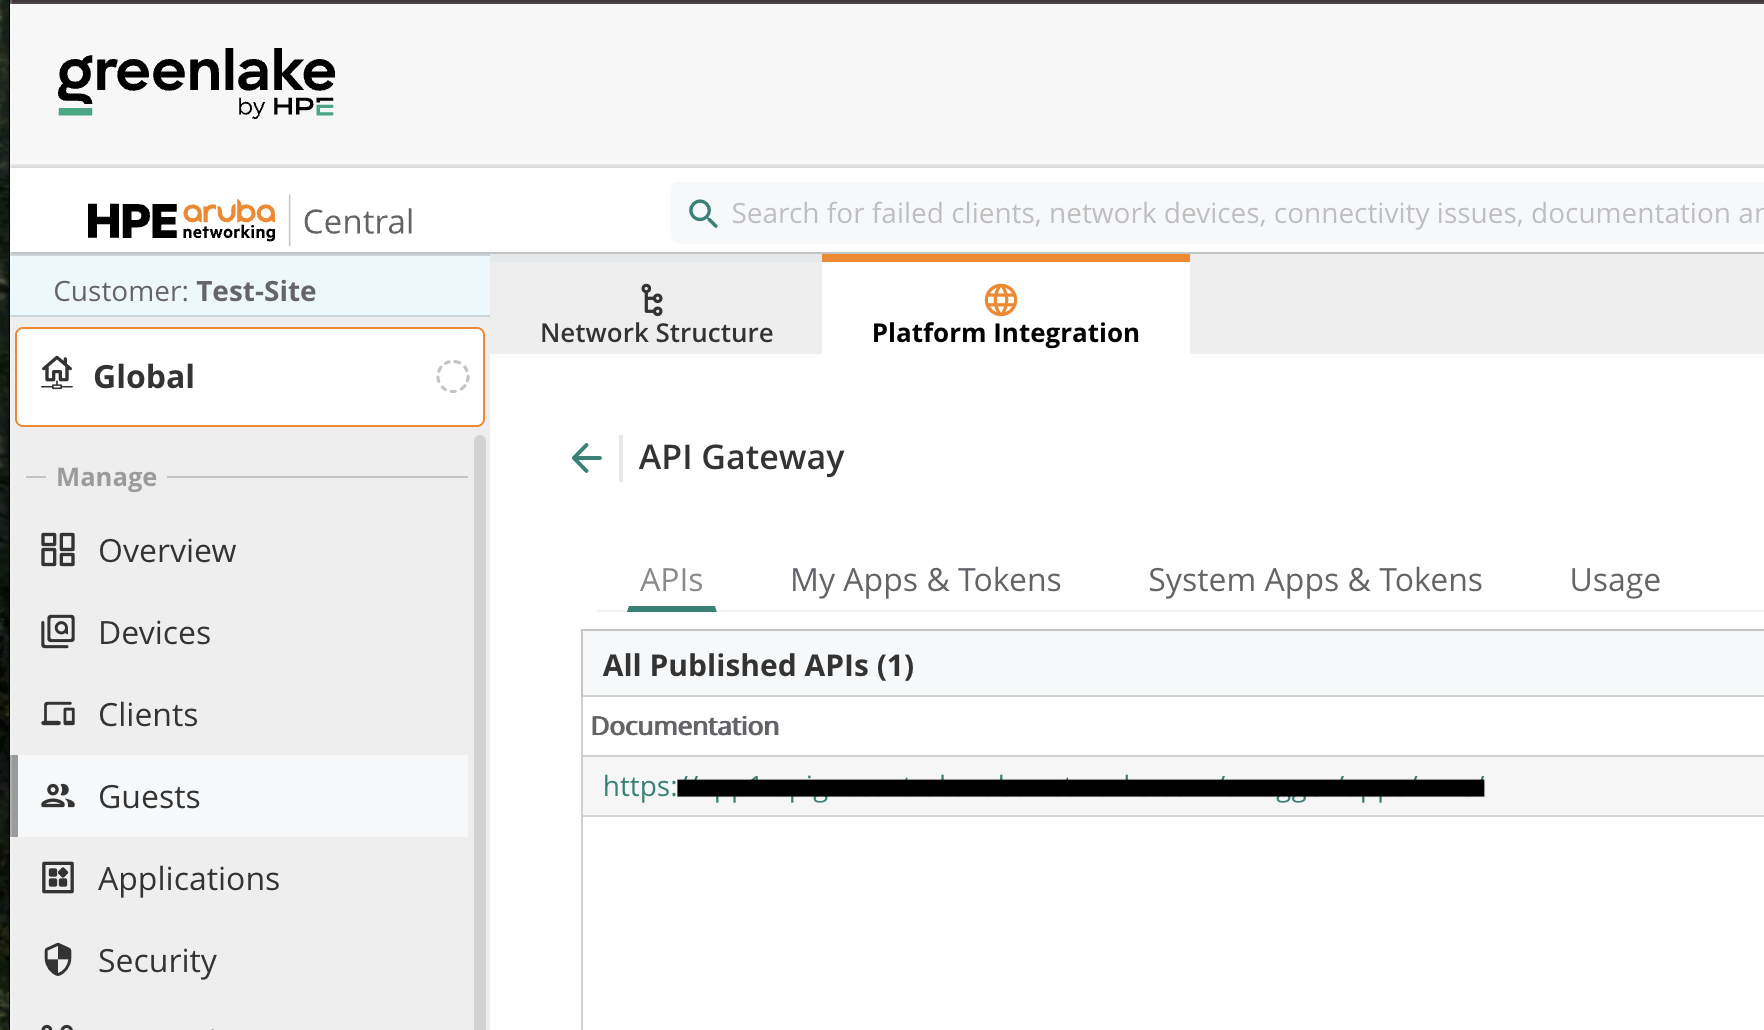
At Global scope, open
Organization > Platform Integration > APIs. Copy the API address for your
Central environment. Use your own regional address, including https://; do not copy
a value from a screenshot.
Find the Customer ID and client credentials
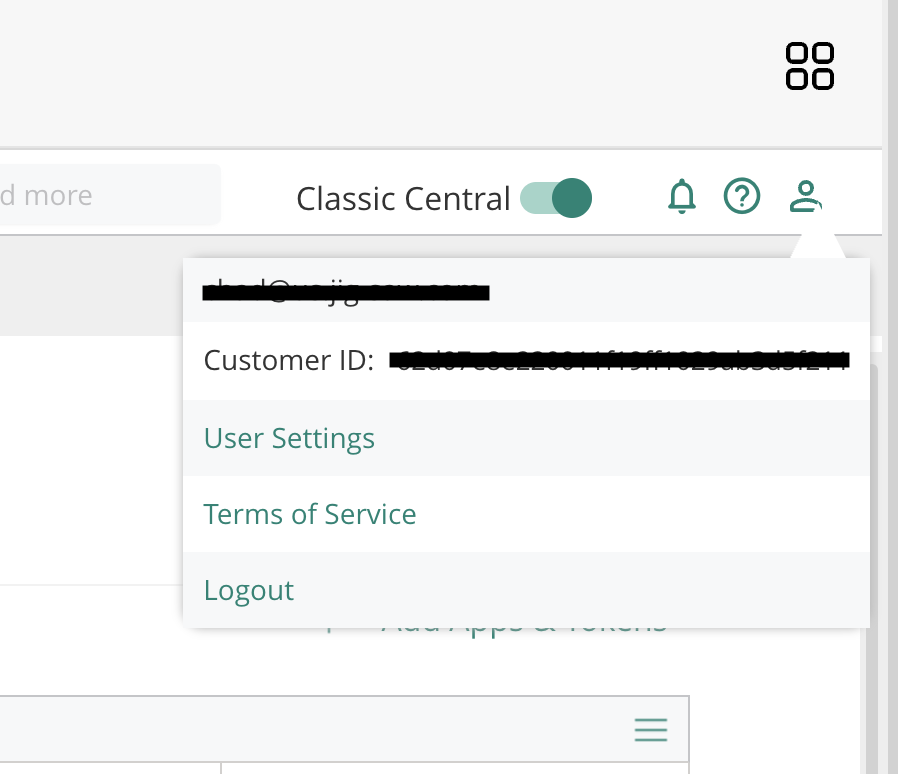
Open the account menu at the top of Central and copy Customer ID. This identifies the Central customer account you are connecting.
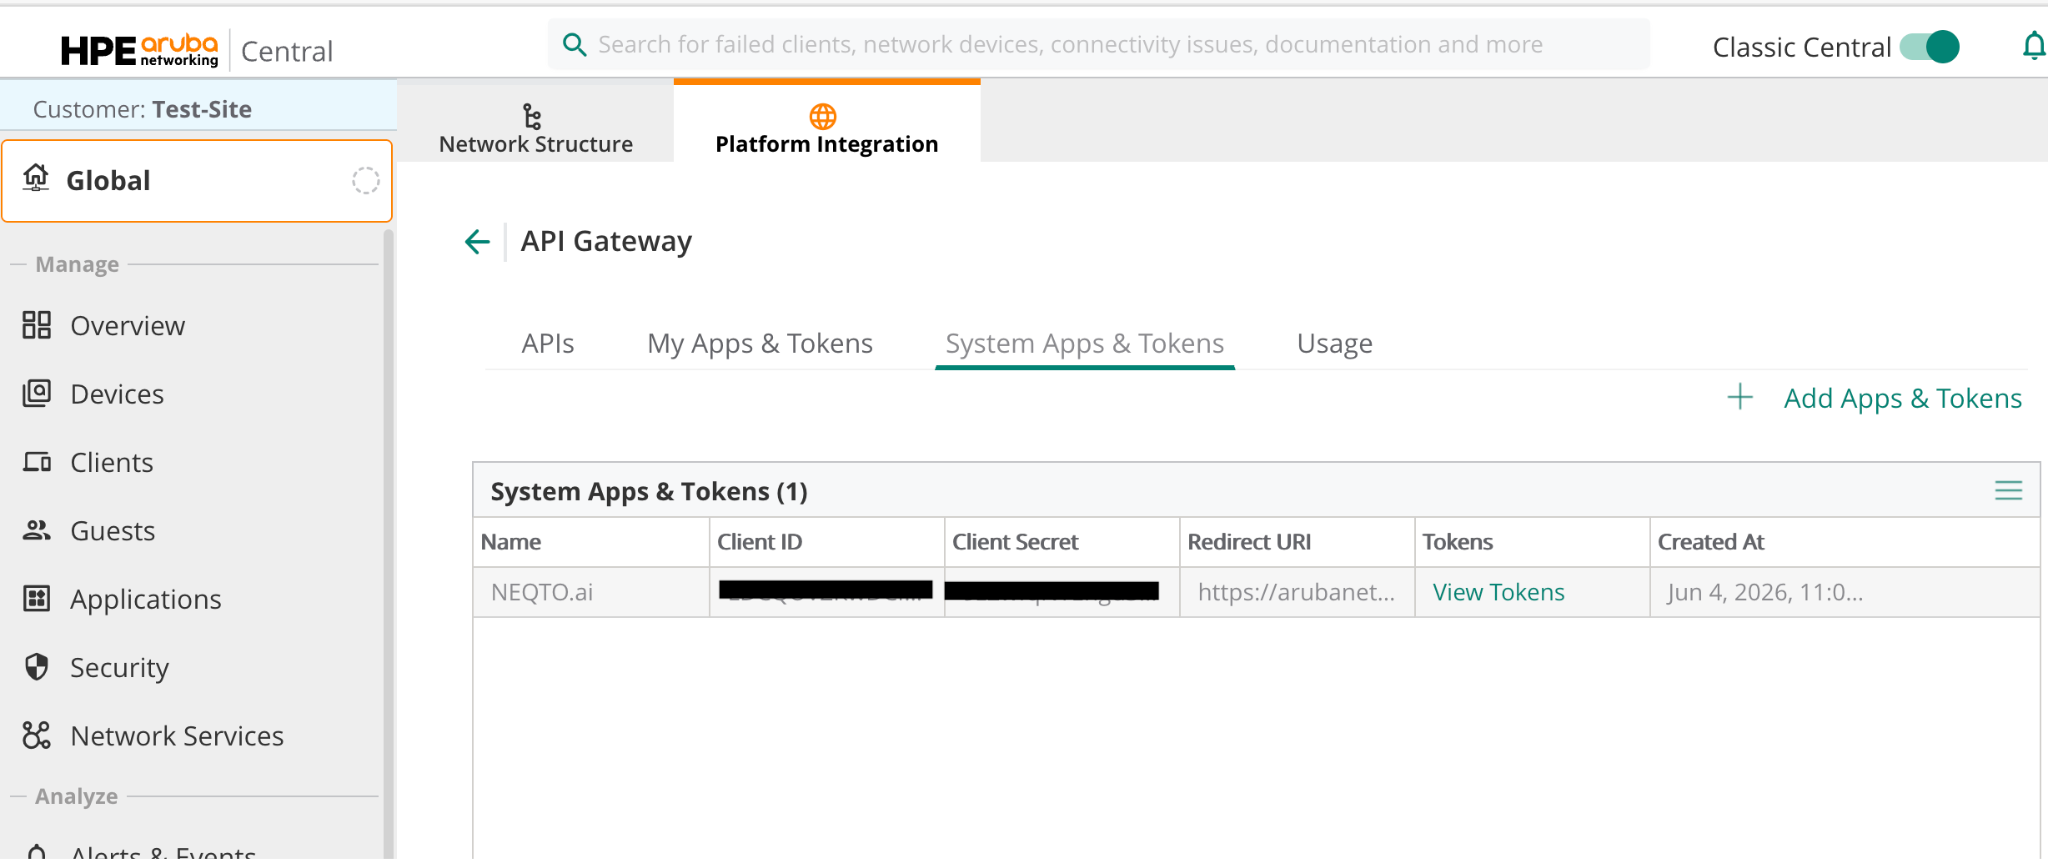
In Global > Organization > Platform Integration, open the app/token tab containing your registered API client. Central provides My Apps & Tokens and System Apps & Tokens; the screenshot below shows System Apps & Tokens. Obtain the Client ID and Client Secret for the client you will use. Ask your Central administrator if a client must be registered or its permissions changed.
Have the User Name and Password required for this Aruba Central connection available as well. These are Aruba credentials, not your NEQTO.ai sign-in details. Store all copied credentials securely.
Check the Aruba Group and connectors
-
1
Select the target Group in Aruba Central and confirm that the Aruba equipment is registered there.
-
2
For AOS 10, open Applications for that Group and confirm the required connectors are registered.
-
3
For EnOcean, connect the USB dongle and confirm it is recognized and online. Check that the sensor radio region matches the dongle.
Use Central help for environment-specific preparation. Aruba menus and registration steps can differ by Central version and permissions. Use HELP or DOCUMENTATION CENTER in your environment for device registration, API client setup, and connector installation.
Setup Steps in NEQTO.ai
Open the Aruba Endpoint setup, sign in to Central, and select the equipment and sensor classes to connect.
Step 1: open the Aruba Endpoint setup
-
1
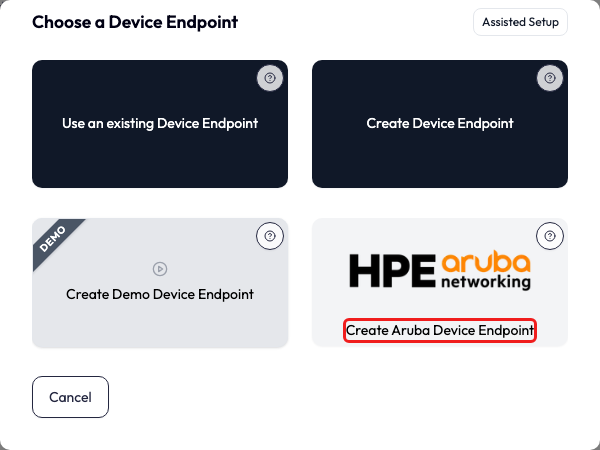
Open Devices > Device Endpoints in NEQTO.ai. Select Add Device Endpoint.
-
2
Select Create Aruba Device Endpoint to open the Aruba configuration wizard.
Step 2: sign in to Aruba
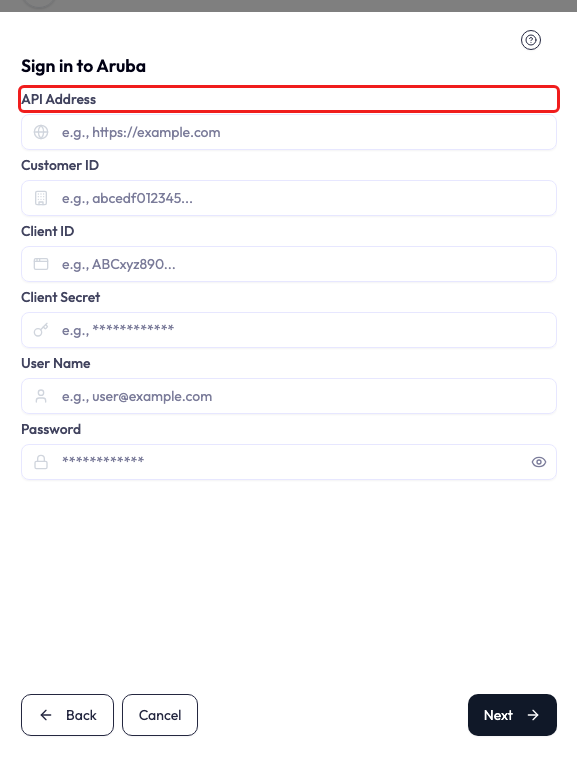
On Sign in to Aruba, enter API Address, Customer ID, Client ID, Client Secret, User Name, and Password from your Central preparation. All fields are required. Select Next and resolve any credential or connection error before continuing.
Step 3: configure the integration
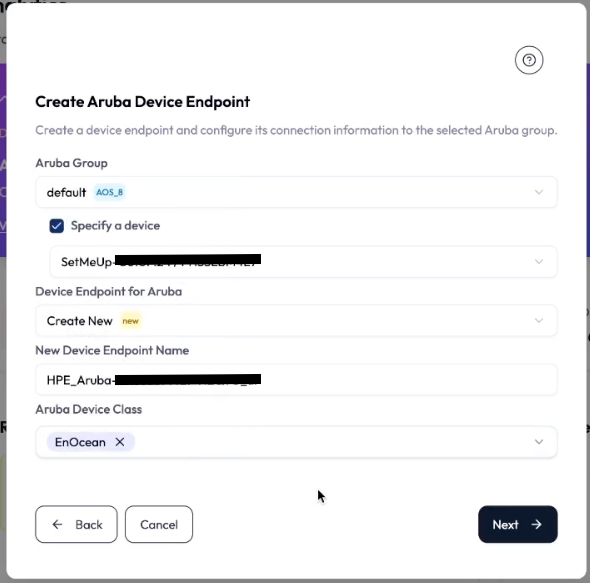
Select the target Aruba Group. The form displays the Group’s AOS version and the options it supports. Check the Group carefully before applying settings to equipment used by other services.
| Setting | What to enter or select |
|---|---|
| Specify a device, AOS 8 only | Enable this option to configure one Aruba device in the Group, then select that device. Leave it off to apply the Group configuration to devices under that Group. |
| Device Endpoint for Aruba | Choose Create New for a new NEQTO.ai Endpoint. To update an existing Aruba configuration, select its existing Aruba Endpoint from the dropdown. |
| New Device Endpoint Name | For Create New, enter a unique name of up to 32 characters using letters, digits, hyphens, or underscores. It becomes both the NEQTO.ai Endpoint name and the Aruba IoT Transport Configuration name. |
| Aruba Device Class | Select the supported BLE or EnOcean Device Classes you need, up to 16. If the form reports the class limit, reduce the selection before continuing. |
Apply and check the connection
-
1
Select Next to create or update the NEQTO.ai Endpoint and apply the IoT Transport configuration in Aruba. Read the completion or error message.
-
2
Allow several minutes for configuration and transmission to begin. Keep the sensors within range and confirm that the Aruba equipment and any required USB dongle are online.
-
3
Open the target Endpoint in NEQTO.ai and check ingestion feedback. Find the detected sensors in Devices and confirm their Attributes, reading times, values, and units.
Keep the configuration names aligned. The NEQTO.ai Endpoint name and Aruba IoT Transport Configuration name identify the same connection. Changing one independently can prevent the wizard from updating that configuration later.
Troubleshooting
Check the configuration error and the affected Group or device before removing anything. A successful setup message still needs confirmation with actual sensor readings.
Aruba configuration limits and conflicts
- AOS 8 transport limit. This setup cannot add or change configurations when the target already has 8 registered IoT Transport configurations or 3 enabled configurations. Review them in Central and remove unused configurations before retrying.
- AOS 8 Group conflict. A transport name on both a Group and one of its devices can prevent configuration if the details differ. Identify the conflicting entries and reconcile them before running setup again. Group changes affect devices under that Group.
- Device Class limit. Select no more than 16 classes in the Aruba setup. Include only the sensor classes required for this connection.
EnOcean USB on AOS 10
- USB dongle not recognized. If Central does not show the EnOcean USB dongle online, reconnect it or restart the affected Aruba equipment. Retry the configuration after the dongle is recognized.
- USB already assigned. Another IoT Transport configuration using EnOcean USB can prevent data from reaching the new configuration. Review those assignments and remove the conflicting configuration when it is no longer needed. Check its consumers before changing it.
- Sensor not detected. Check the sensor and dongle radio regions, range, and power. Some EnOcean sensors require a press of their LEARN button. Follow the sensor’s instructions, then check for new readings.
Missing Devices or readings in NEQTO.ai
- No incoming data. Confirm the Aruba equipment, selected Group or device, Device Classes, connector, and IoT Transport status. Check the Endpoint’s ingestion feedback for rejected or unmapped payloads.
- Data arrives but the sensor is missing. Check that the sensor is supported and sending a stable identifier. Allow processing to finish and inspect the resulting Device list and Attributes.
Preserve working connections while troubleshooting. If a configuration must be recreated, first record its Group, target device, Endpoint, transport name, and selected classes. Remove only the affected configuration after checking which services depend on it. Contact your administrator or support if the failure remains unclear.
Other Cautions
NEQTO.ai and Aruba Central keep separate connection resources. Review both systems when changing or retiring an integration.
- Deleting an Endpoint or retiring this connection does not automatically clean up every Aruba IoT Transport configuration. Review and remove unused resources in the appropriate system.
- Applications installed in Aruba Central for AOS 10 are not automatically uninstalled by this setup. Remove them manually only when they are no longer required.
- After changing a Group, Endpoint, or transport configuration, verify an actual sensor reading again. See Endpoints & Devices for Device and ingestion checks.