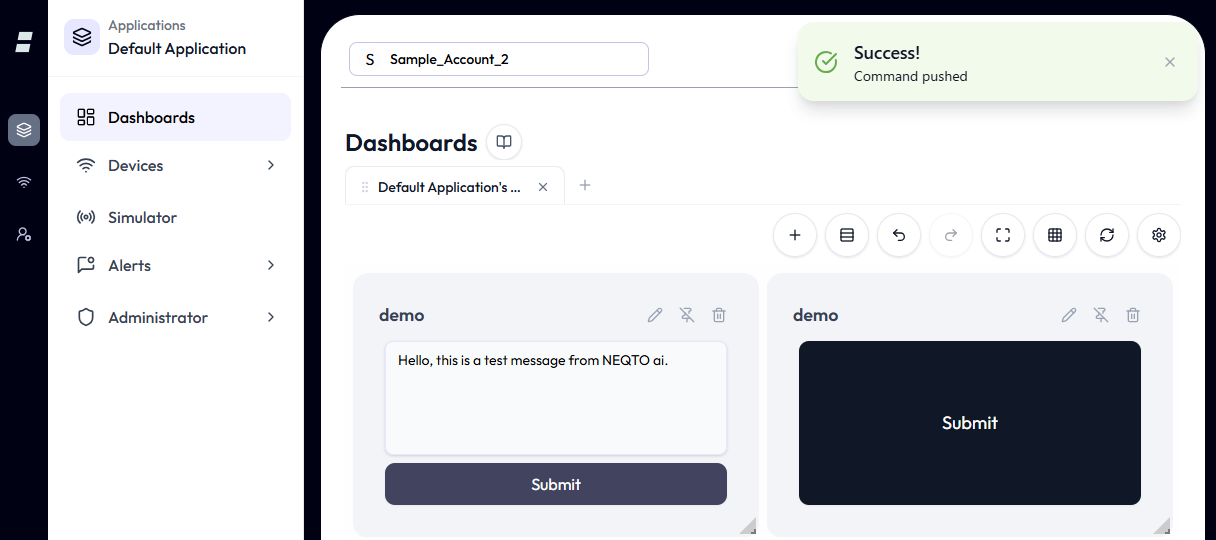
Data Push
Data Push sends a payload on demand from NEQTO.ai to an MQTT or WebSocket Device Endpoint. Use the Data Push screen for one-off sends and access to transmission history. For commands you use often, add a Data Push widget to a dashboard.
Supported Data
Enter the payload as text. NEQTO.ai determines whether to send it as Text, JSON, or Binary data. The 4,096-character input limit includes formatting spaces, line breaks, and binary separators.
| Format | How NEQTO.ai recognizes and sends it | Input limit |
|---|---|---|
| Text | Any input not recognized as JSON or Binary. Leading and trailing whitespace is removed before transmission. | 4,096 characters |
| JSON |
A valid JSON object or array whose first character is { or [.
NEQTO.ai parses the value and removes formatting whitespace before transmission.
|
4,096 input characters, before minification |
| Binary | A nonempty, even-length sequence of hexadecimal digits. Internal spaces and hyphens are ignored when the value is converted to bytes. | 2,048 bytes when entered as 4,096 hexadecimal digits without spaces or hyphens |
- If the input begins or ends with whitespace, NEQTO.ai trims that whitespace and sends the remaining value as Text. It does not then try to interpret the value as JSON or Binary.
-
To send an even-length, hexadecimal-only value such as
1234as Text, add a trailing space. The space forces Text classification and is removed before transmission. -
Top-level JSON primitives such as
"ready",true, or12are not classified as JSON. They are handled as Text or, when the value is an even-length hexadecimal sequence, as Binary.
Send from the Data Push Screen
You open this screen from an endpoint’s Action menu on the Devices > Device Endpoints list. One dialog holds the payload field, the send action, and the transmission history for that endpoint.
Open the Data Push screen
-
1Open Devices > Device Endpoints. Find the target endpoint, open its three-dot Action menu, and select Data Push.
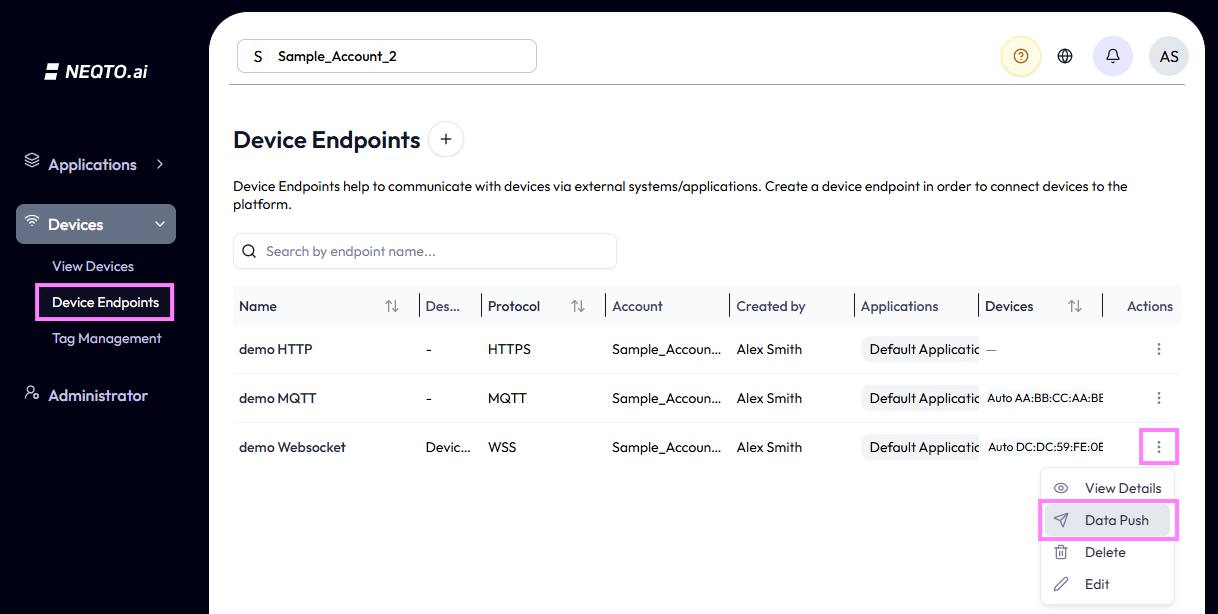
Open Data Push from the target endpoint’s Action menu. -
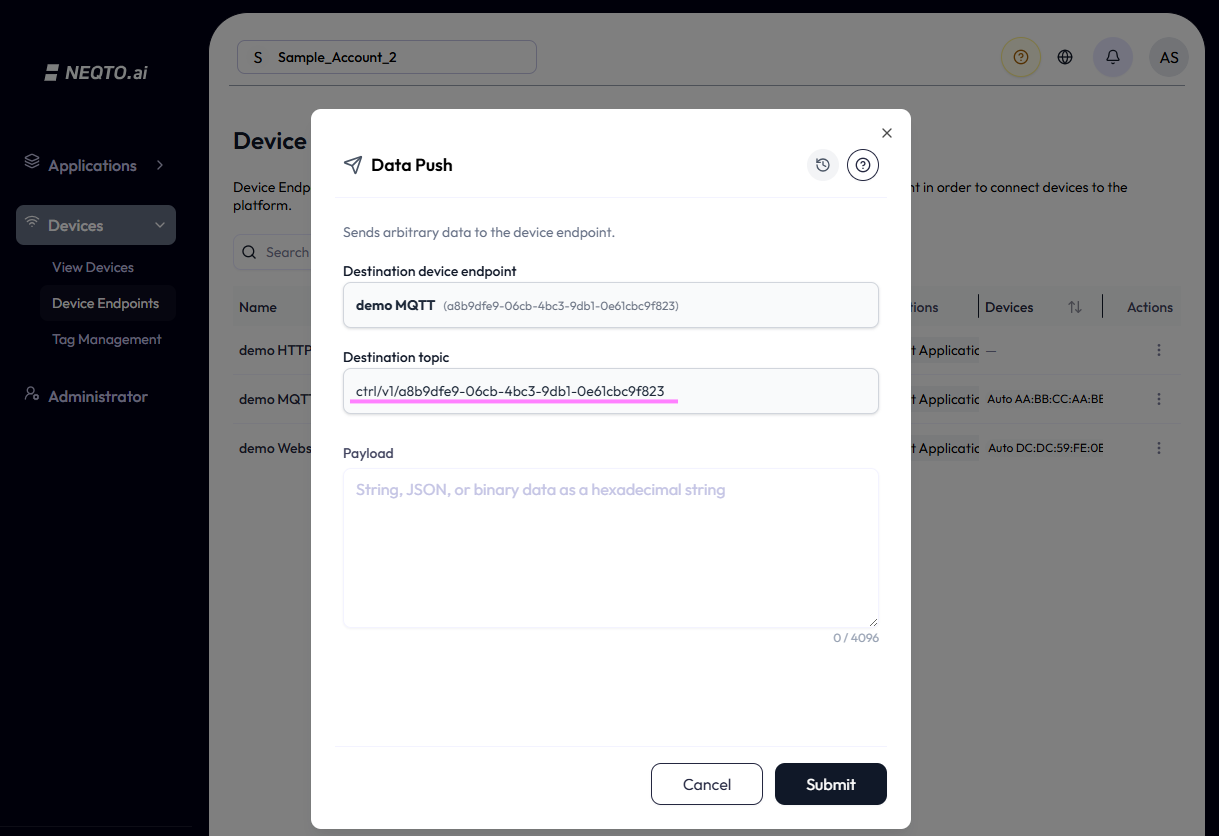
2Confirm the Destination device endpoint. The Payload field shows a character counter, such as
0 / 4096.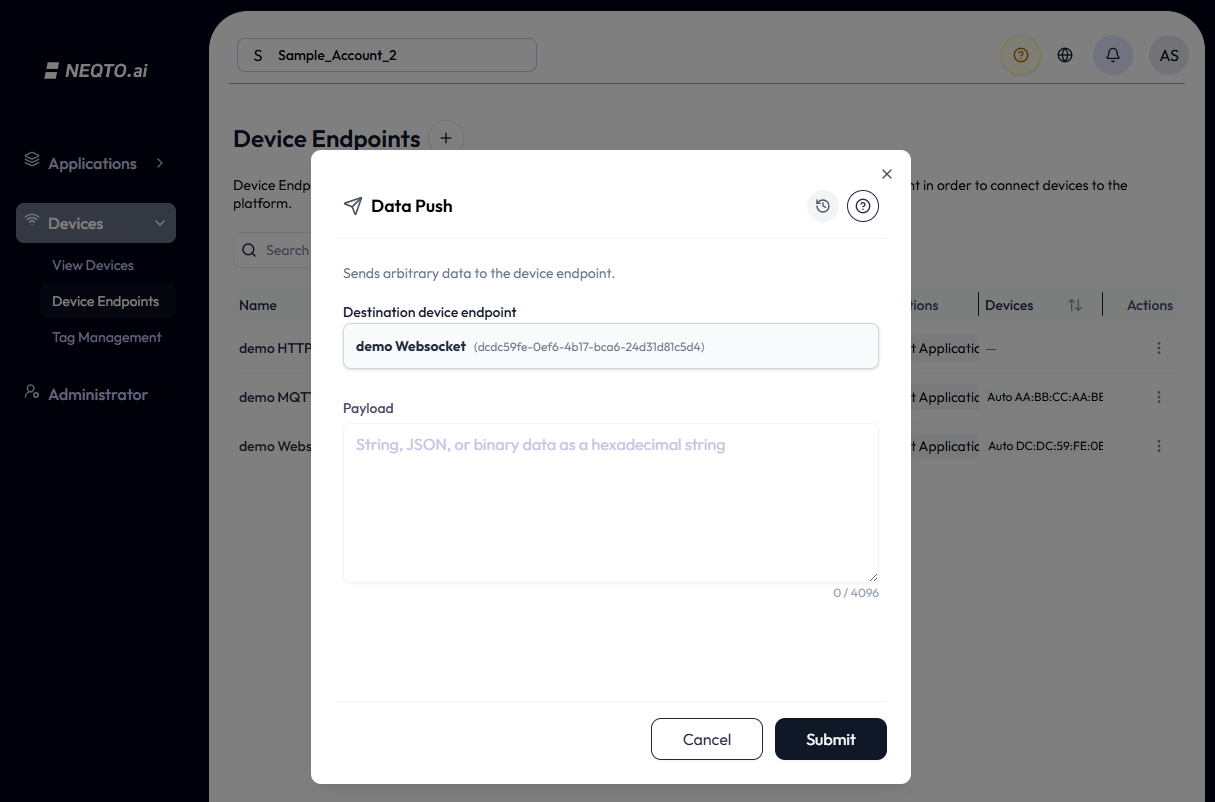
Confirm the endpoint before entering a payload.
Enter and send a payload
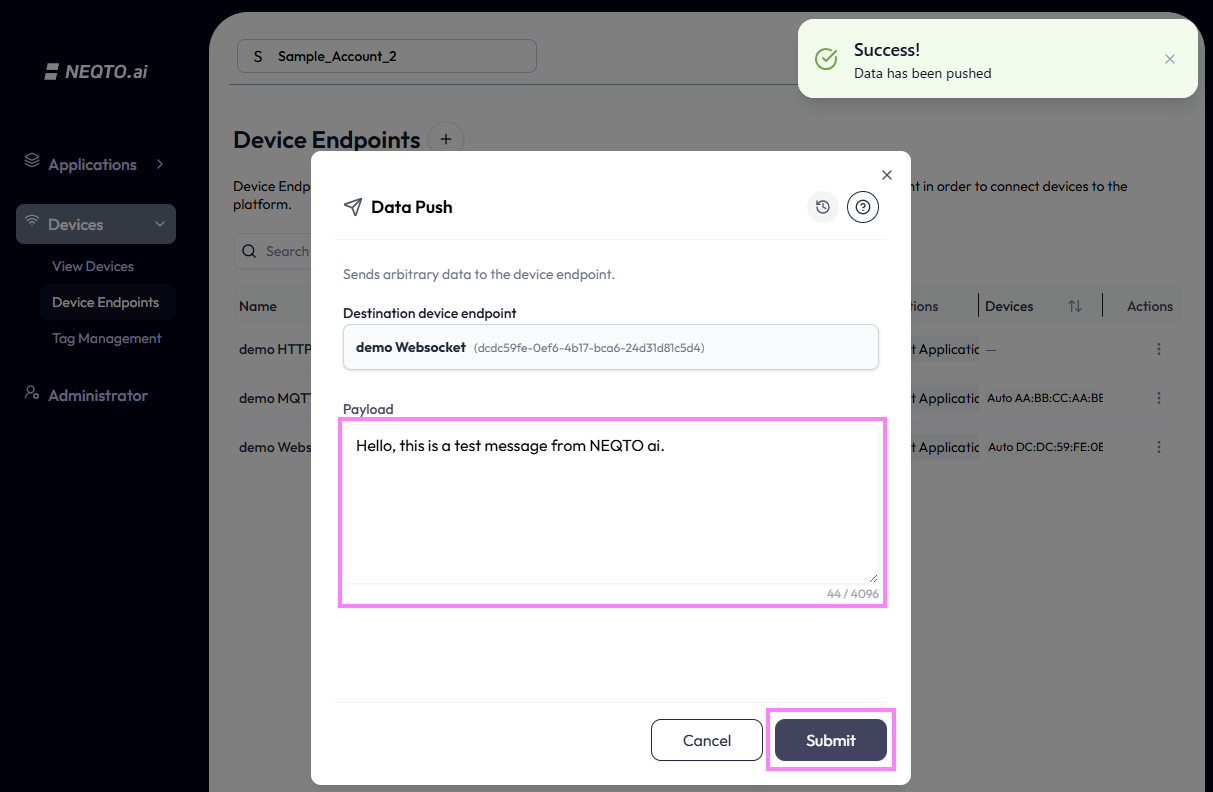
Enter the payload and select Submit. A success toast means NEQTO.ai accepted the request. Transmission runs asynchronously, so the toast is not a device-level acknowledgement. Use transmission history to check whether processing is Pending, Succeeded, or Failed.
JSON and Binary examples
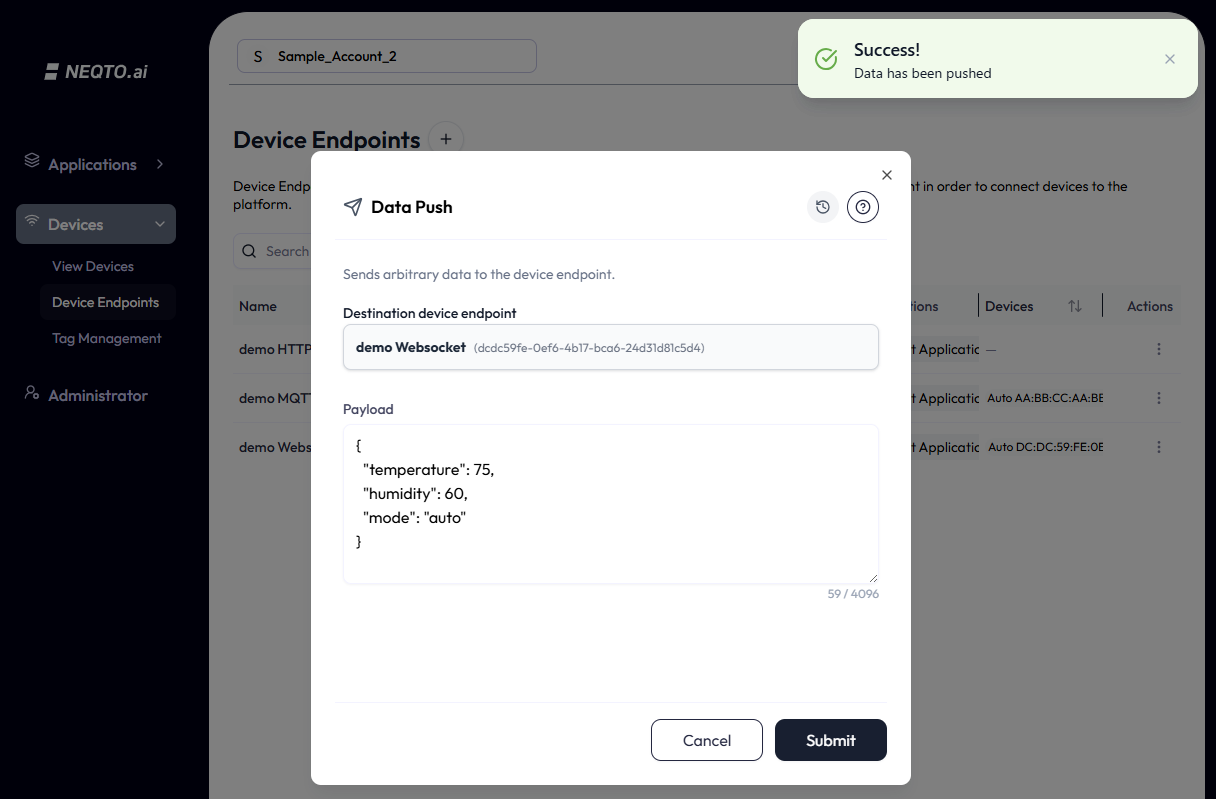
JSON can include spaces and line breaks inside the object or array for readability. NEQTO.ai sends the parsed value in compact form.
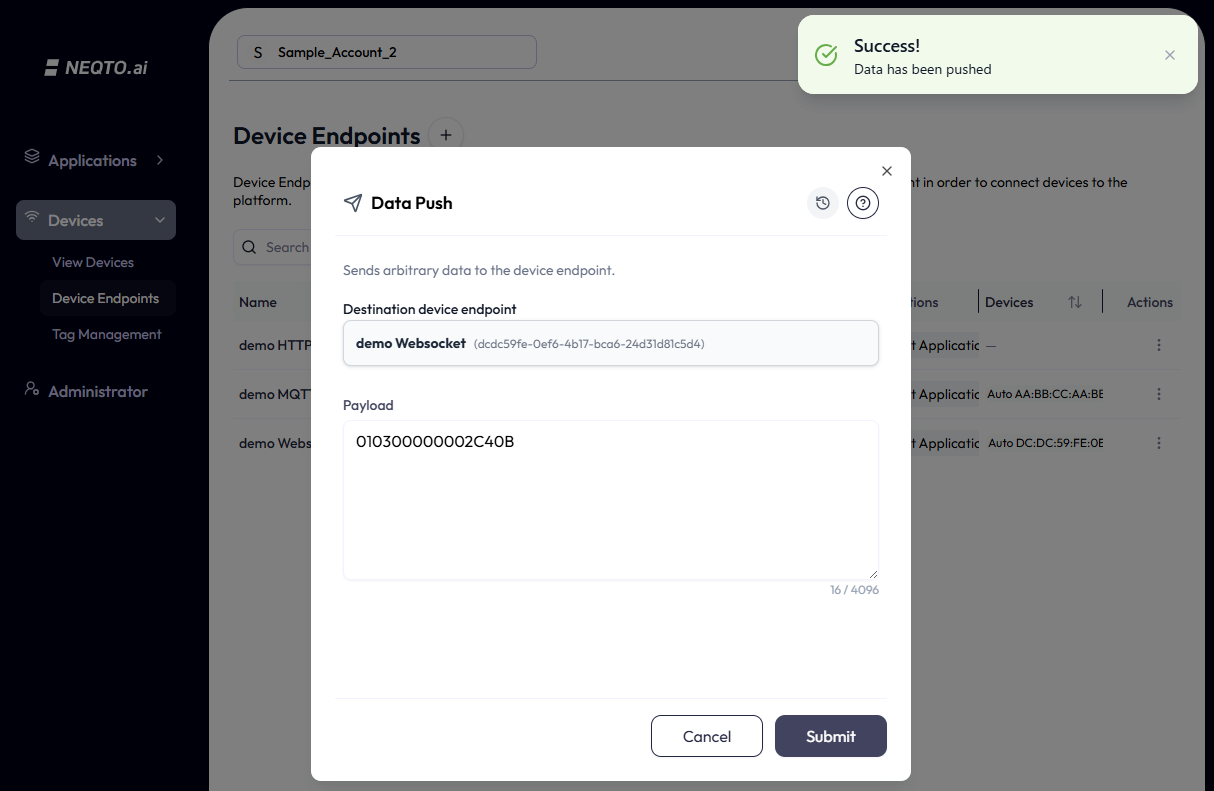
Enter Binary data as hexadecimal byte pairs. For example, 010300000002C40B is eight
bytes. Letter case does not matter. You may place spaces or hyphens between byte pairs, but do
not add whitespace before the first digit or after the last digit.
View and reuse transmission history
History includes pushes sent to this endpoint from the Data Push screen and from dashboard widgets. Entries are retained according to the account plan.
-
1Select the History button at the top right of the dialog.
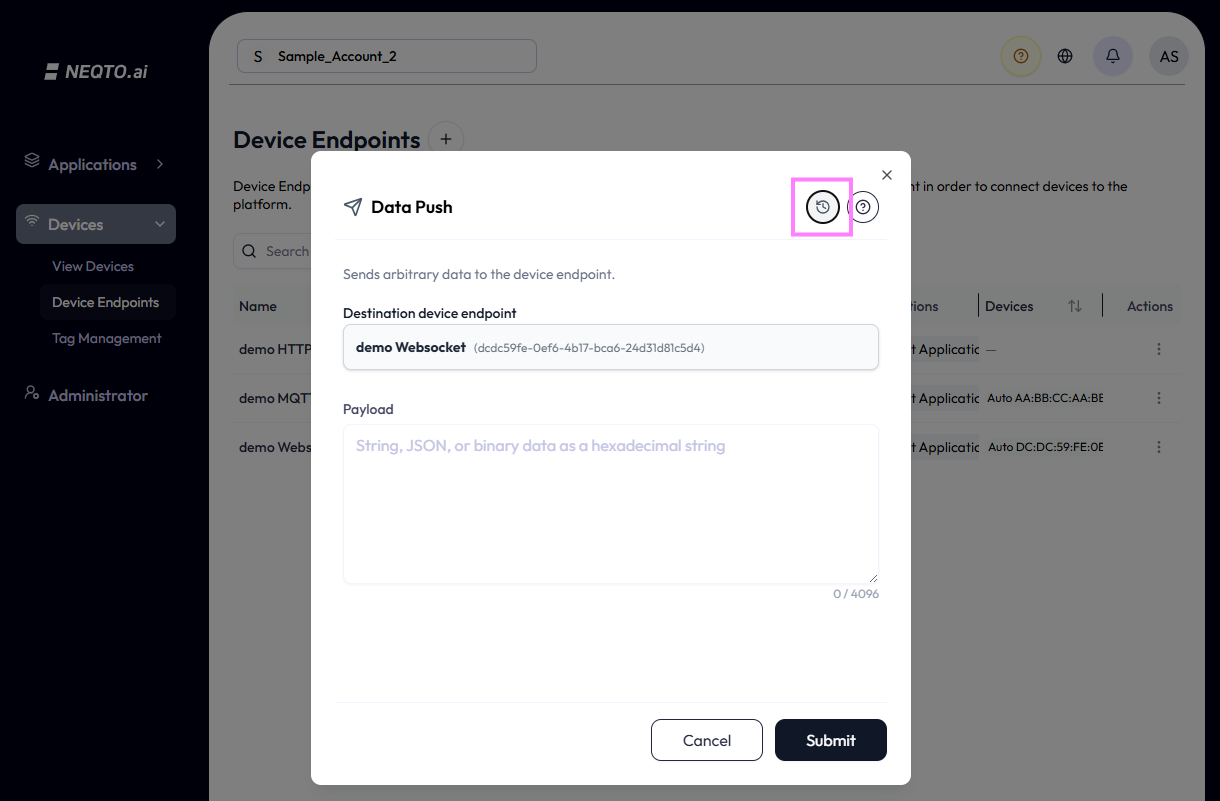
Open transmission history from the History button. -
2Review the entries, with the newest first. Each row shows a TEXT, JSON, or BIN badge; the send time in your local time zone; and a Pending, Succeeded, or Failed status. When a reason is available, hover over the status to read it.
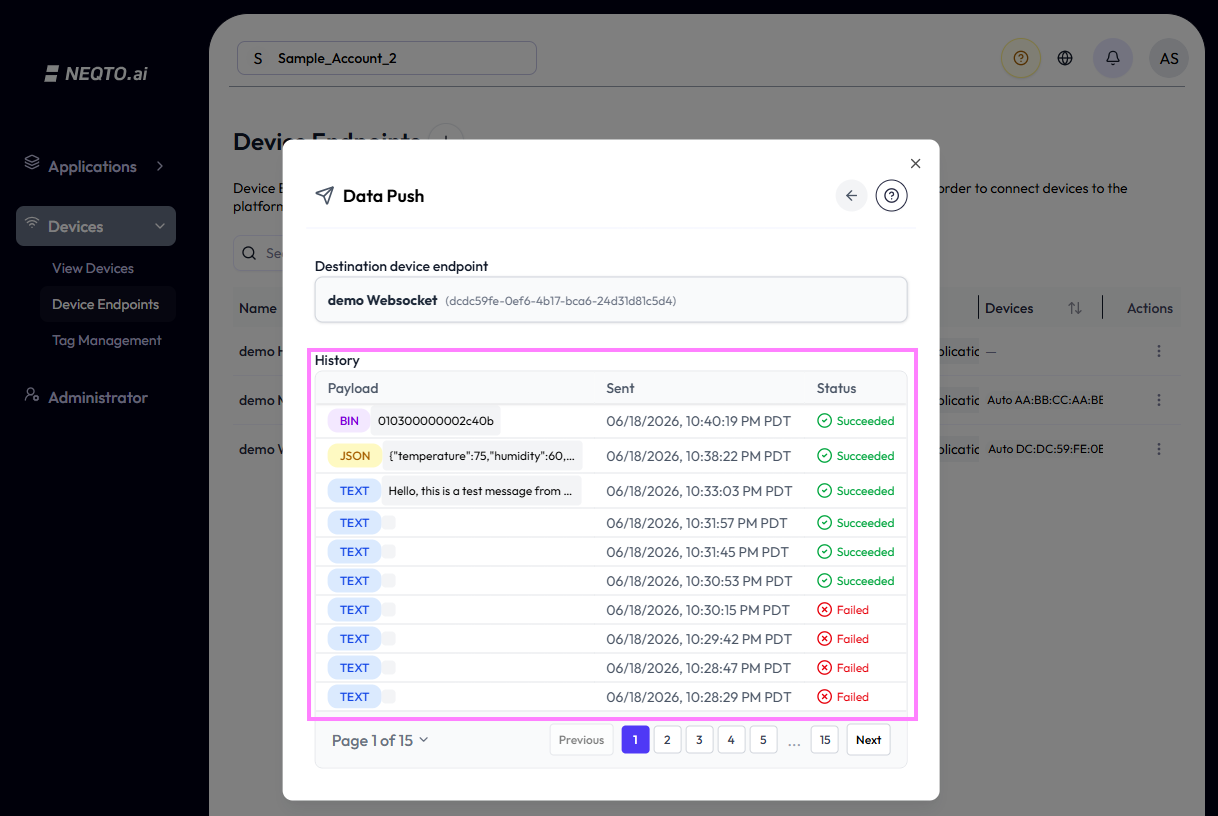
History shows the format and processing result of each push.
From the history view, you can:
-
Return to payload entry: select the back button at the top of the dialog.
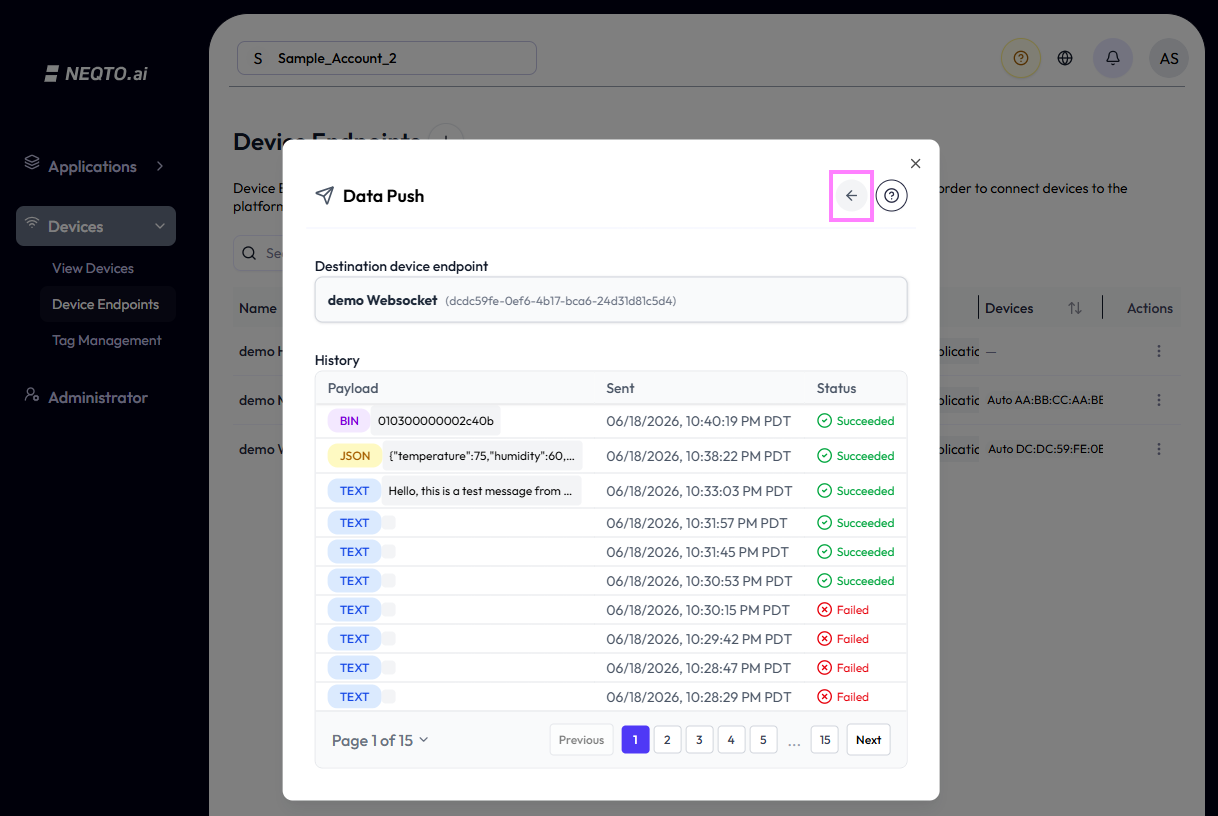
Return to the Payload field without closing the dialog. -
Navigate history: each page contains up to 10 entries. Use
Previous or Next, or select the page indicator to jump to a
specific page.
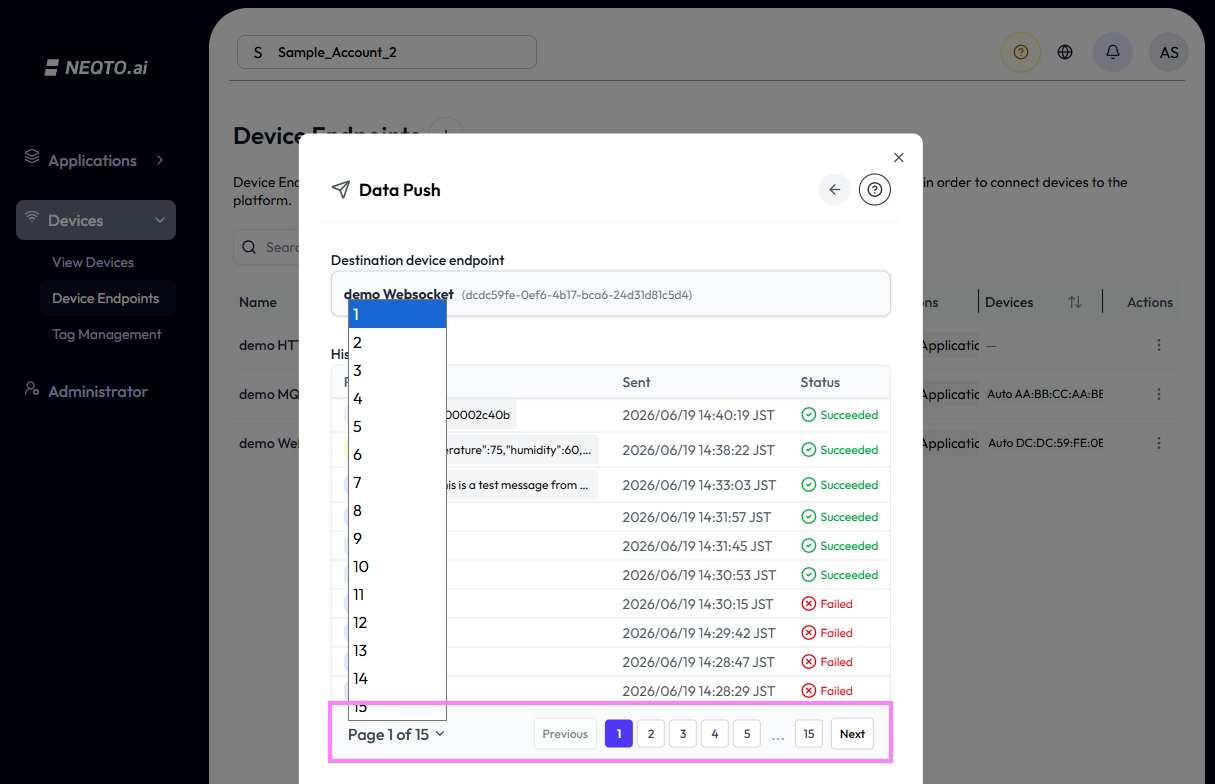
Use the page controls to browse older entries. -
Reuse a payload: select its payload in the history table. NEQTO.ai returns to
the input view and fills the Payload field. JSON is formatted for readability, and Binary data
is restored as hexadecimal digits.
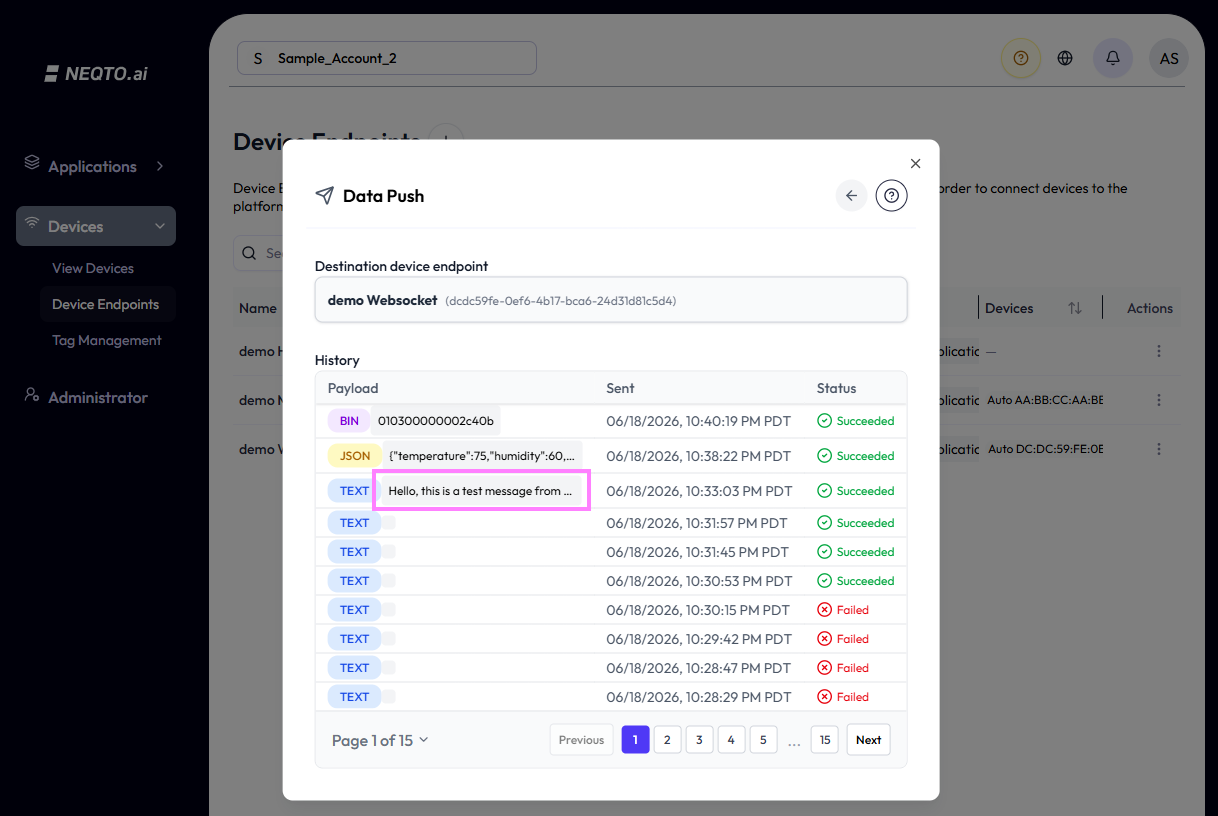
Select a payload to reuse it. 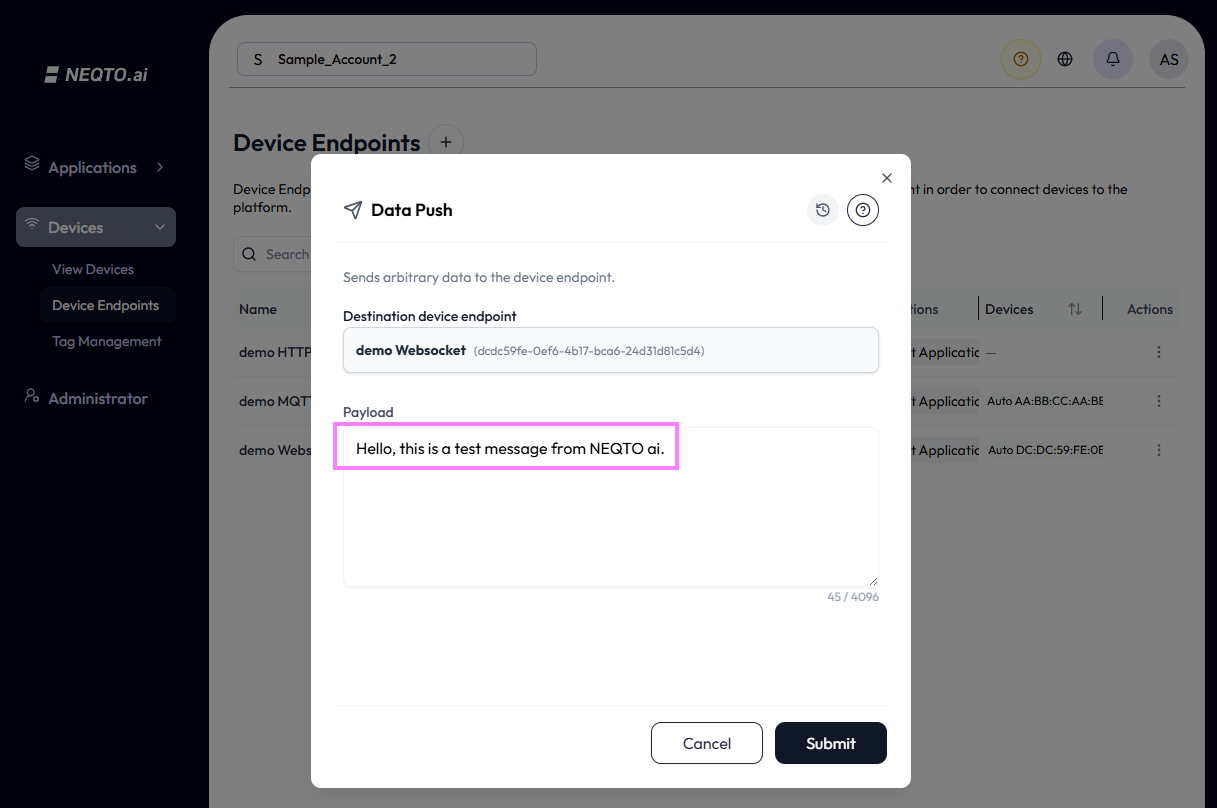
The selected value is ready to review or resend. Reused Text may show one extra character: NEQTO.ai adds a trailing space when it restores Text so that a hexadecimal-looking value is not reclassified as Binary. The space is stripped if you submit the payload, so it does not change the transmitted Text.
Send from a Widget
A Data Push widget places a reusable Form or Button control on a dashboard.
Create a Data Push widget
-
1Open the dashboard and select Create Widget (+) in the toolbar.
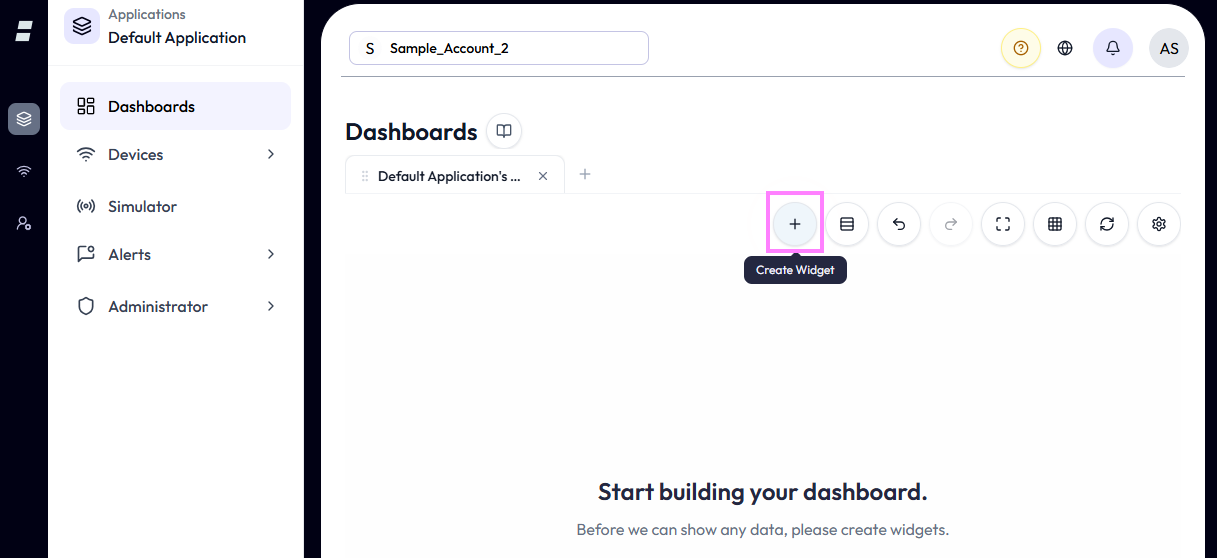
Start from the dashboard’s Create Widget button. 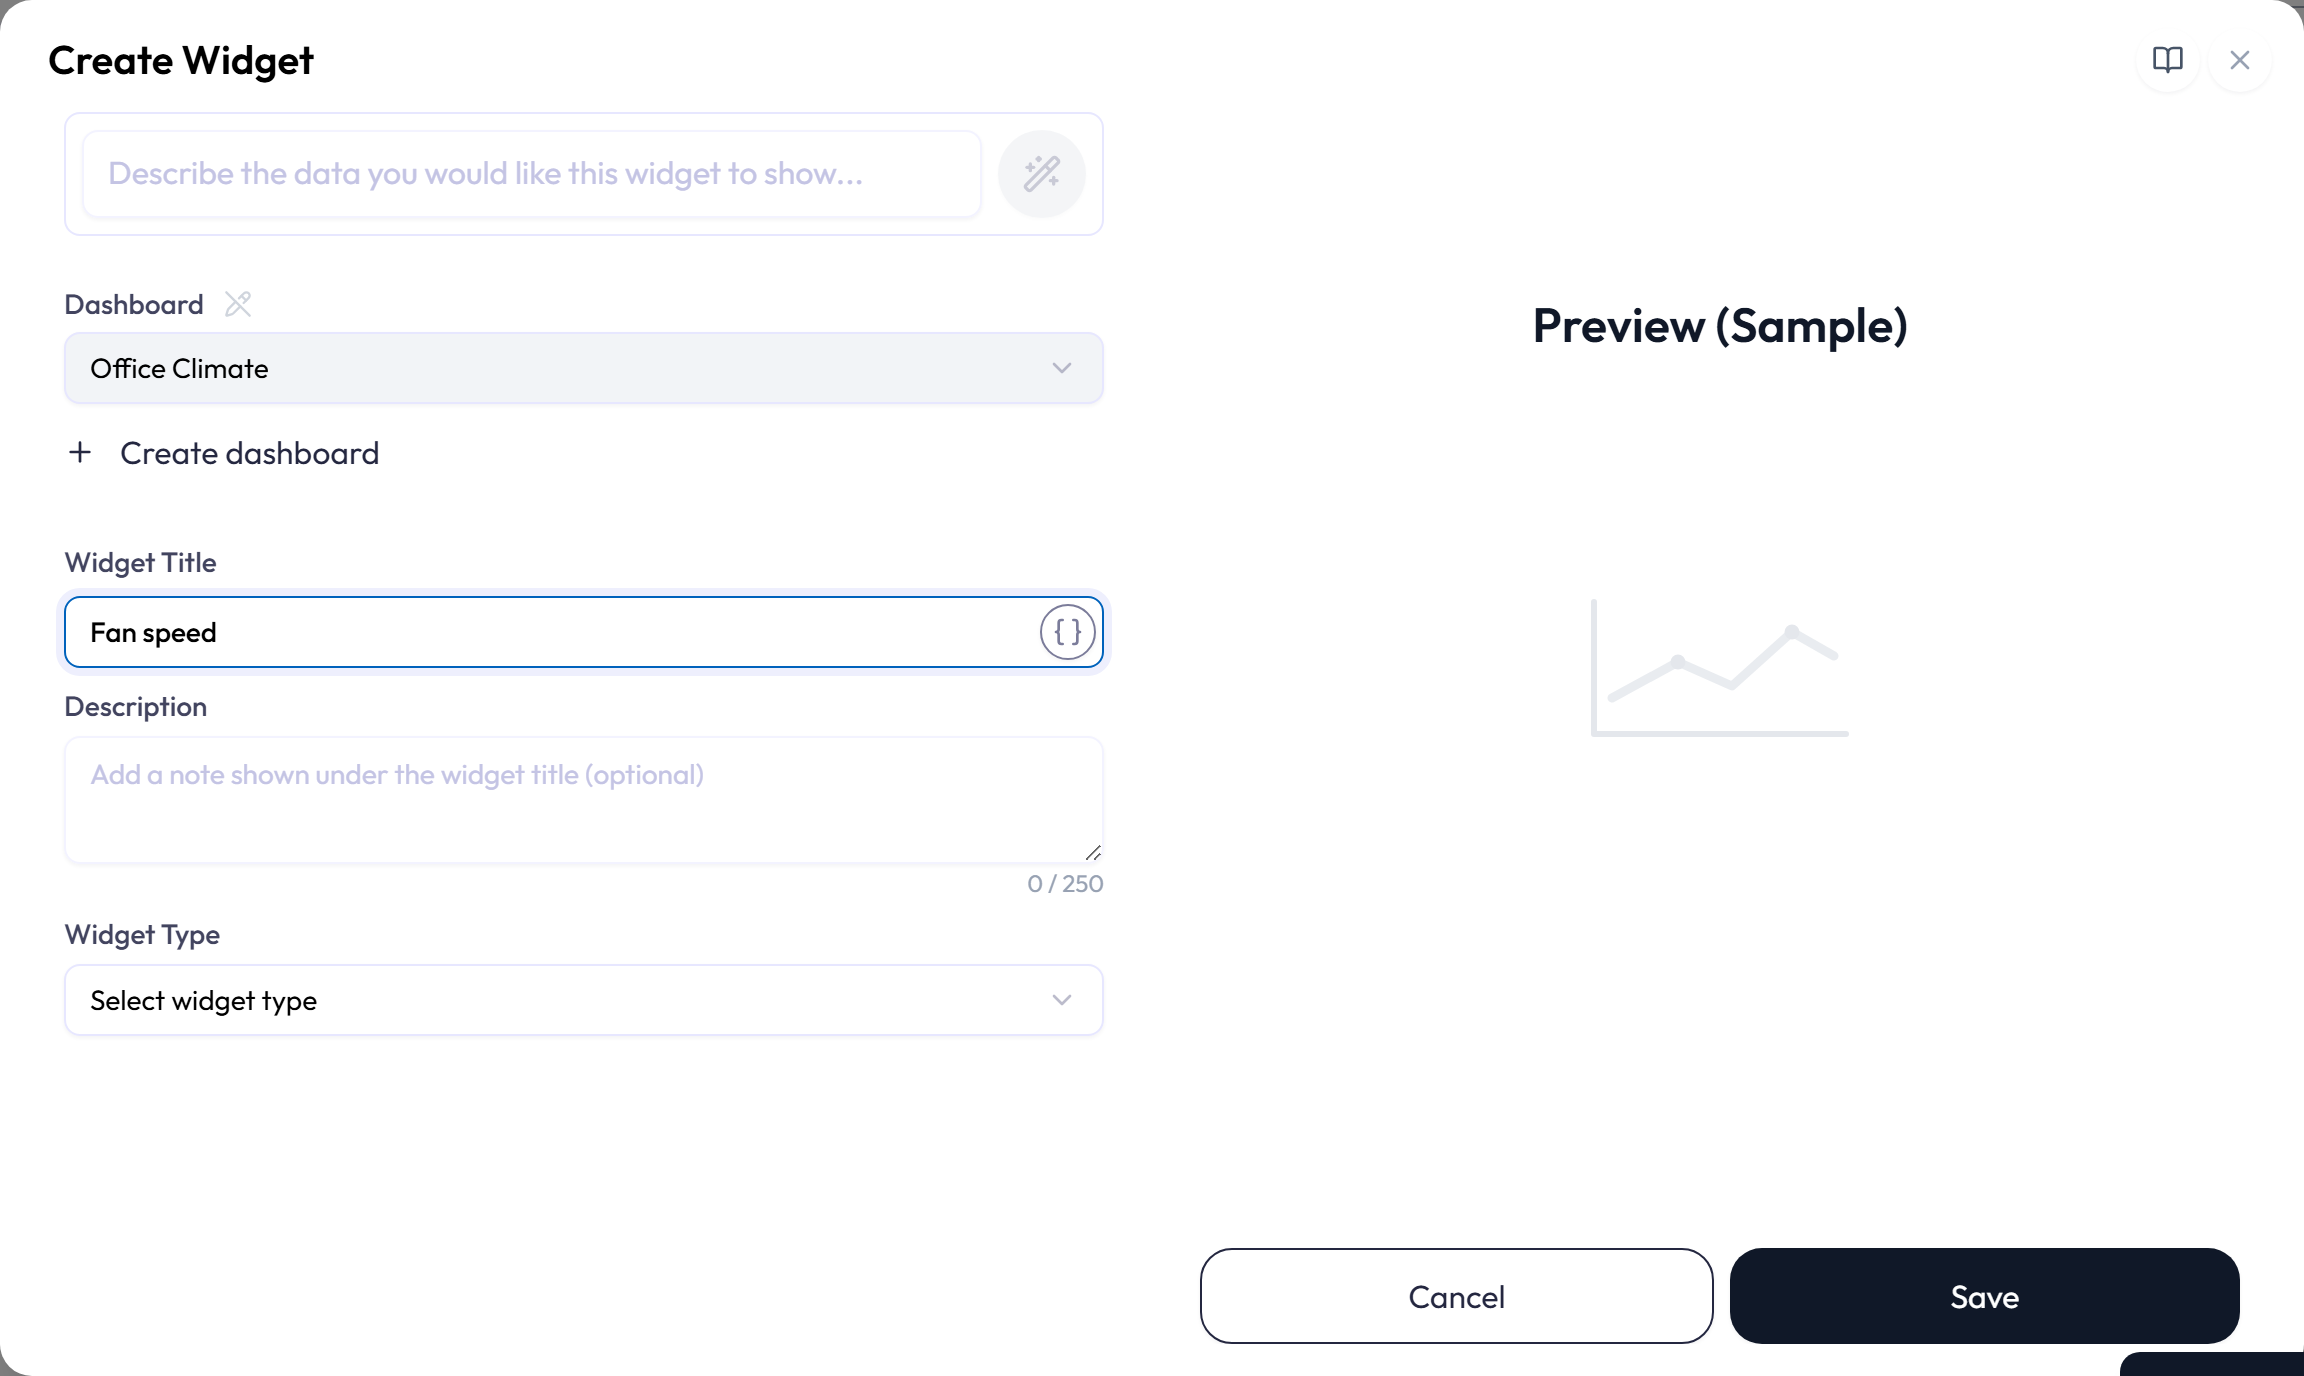
Enter the widget’s shared settings before choosing its type. -
2Under Widget Type, select Data Push. The menu also lists Chart, Single Status, Multi Status, XY-Chart, Device List, and Alert List.
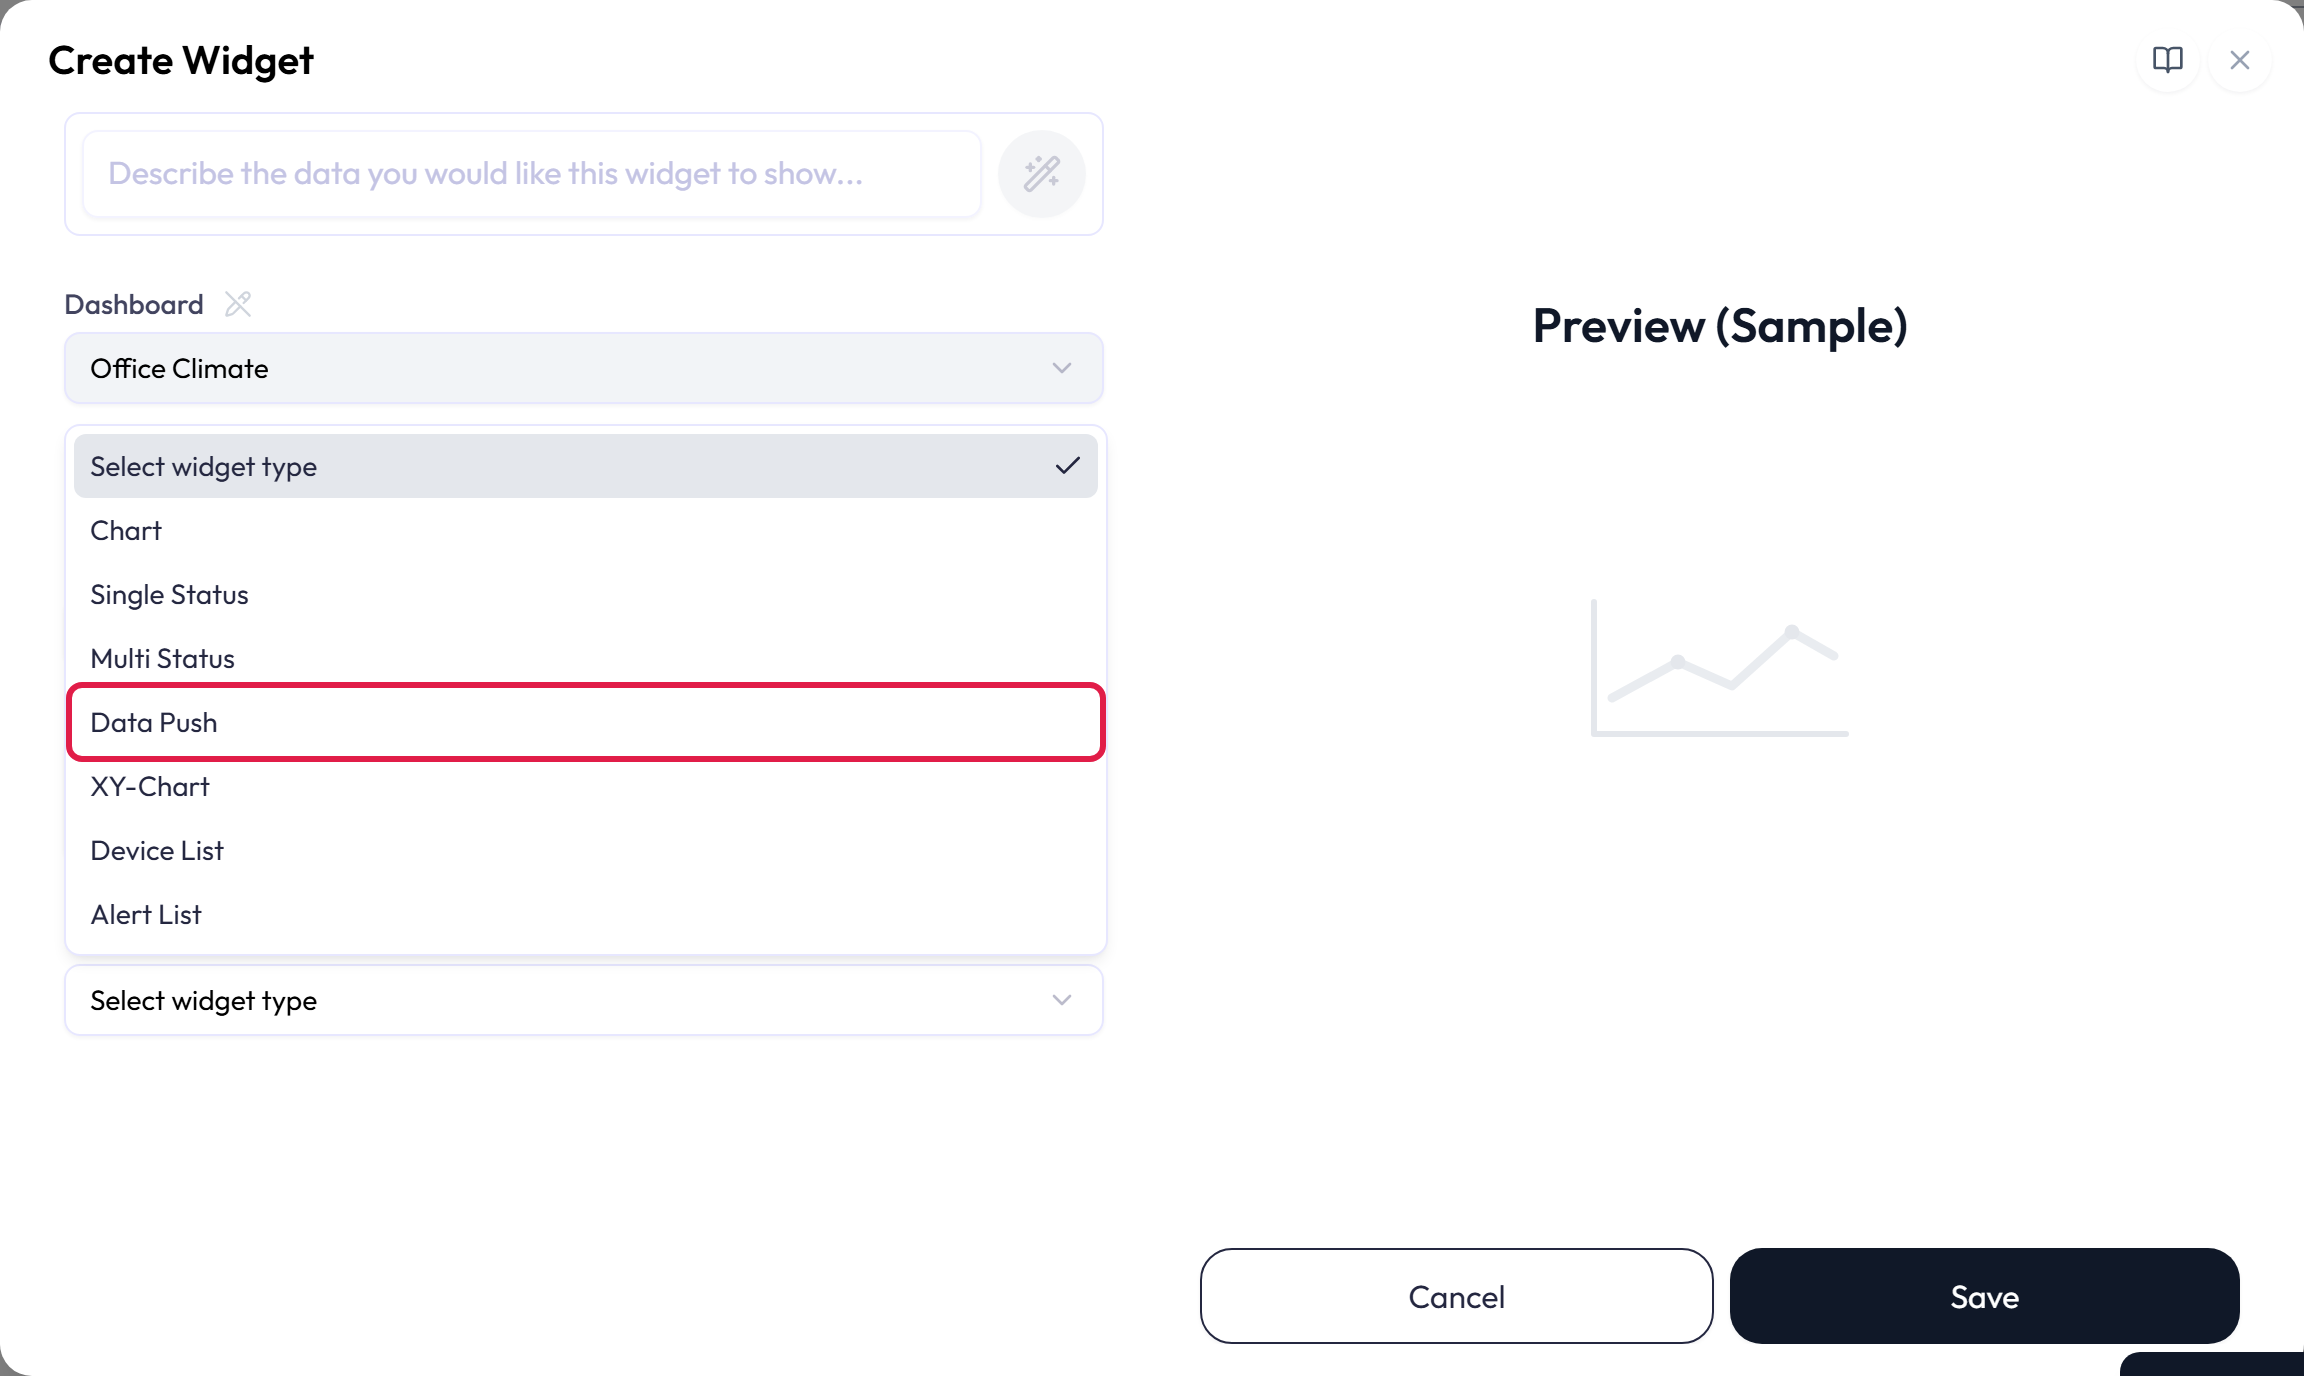
Select Data Push as the widget type. -
3Under Style, select Form or Button.
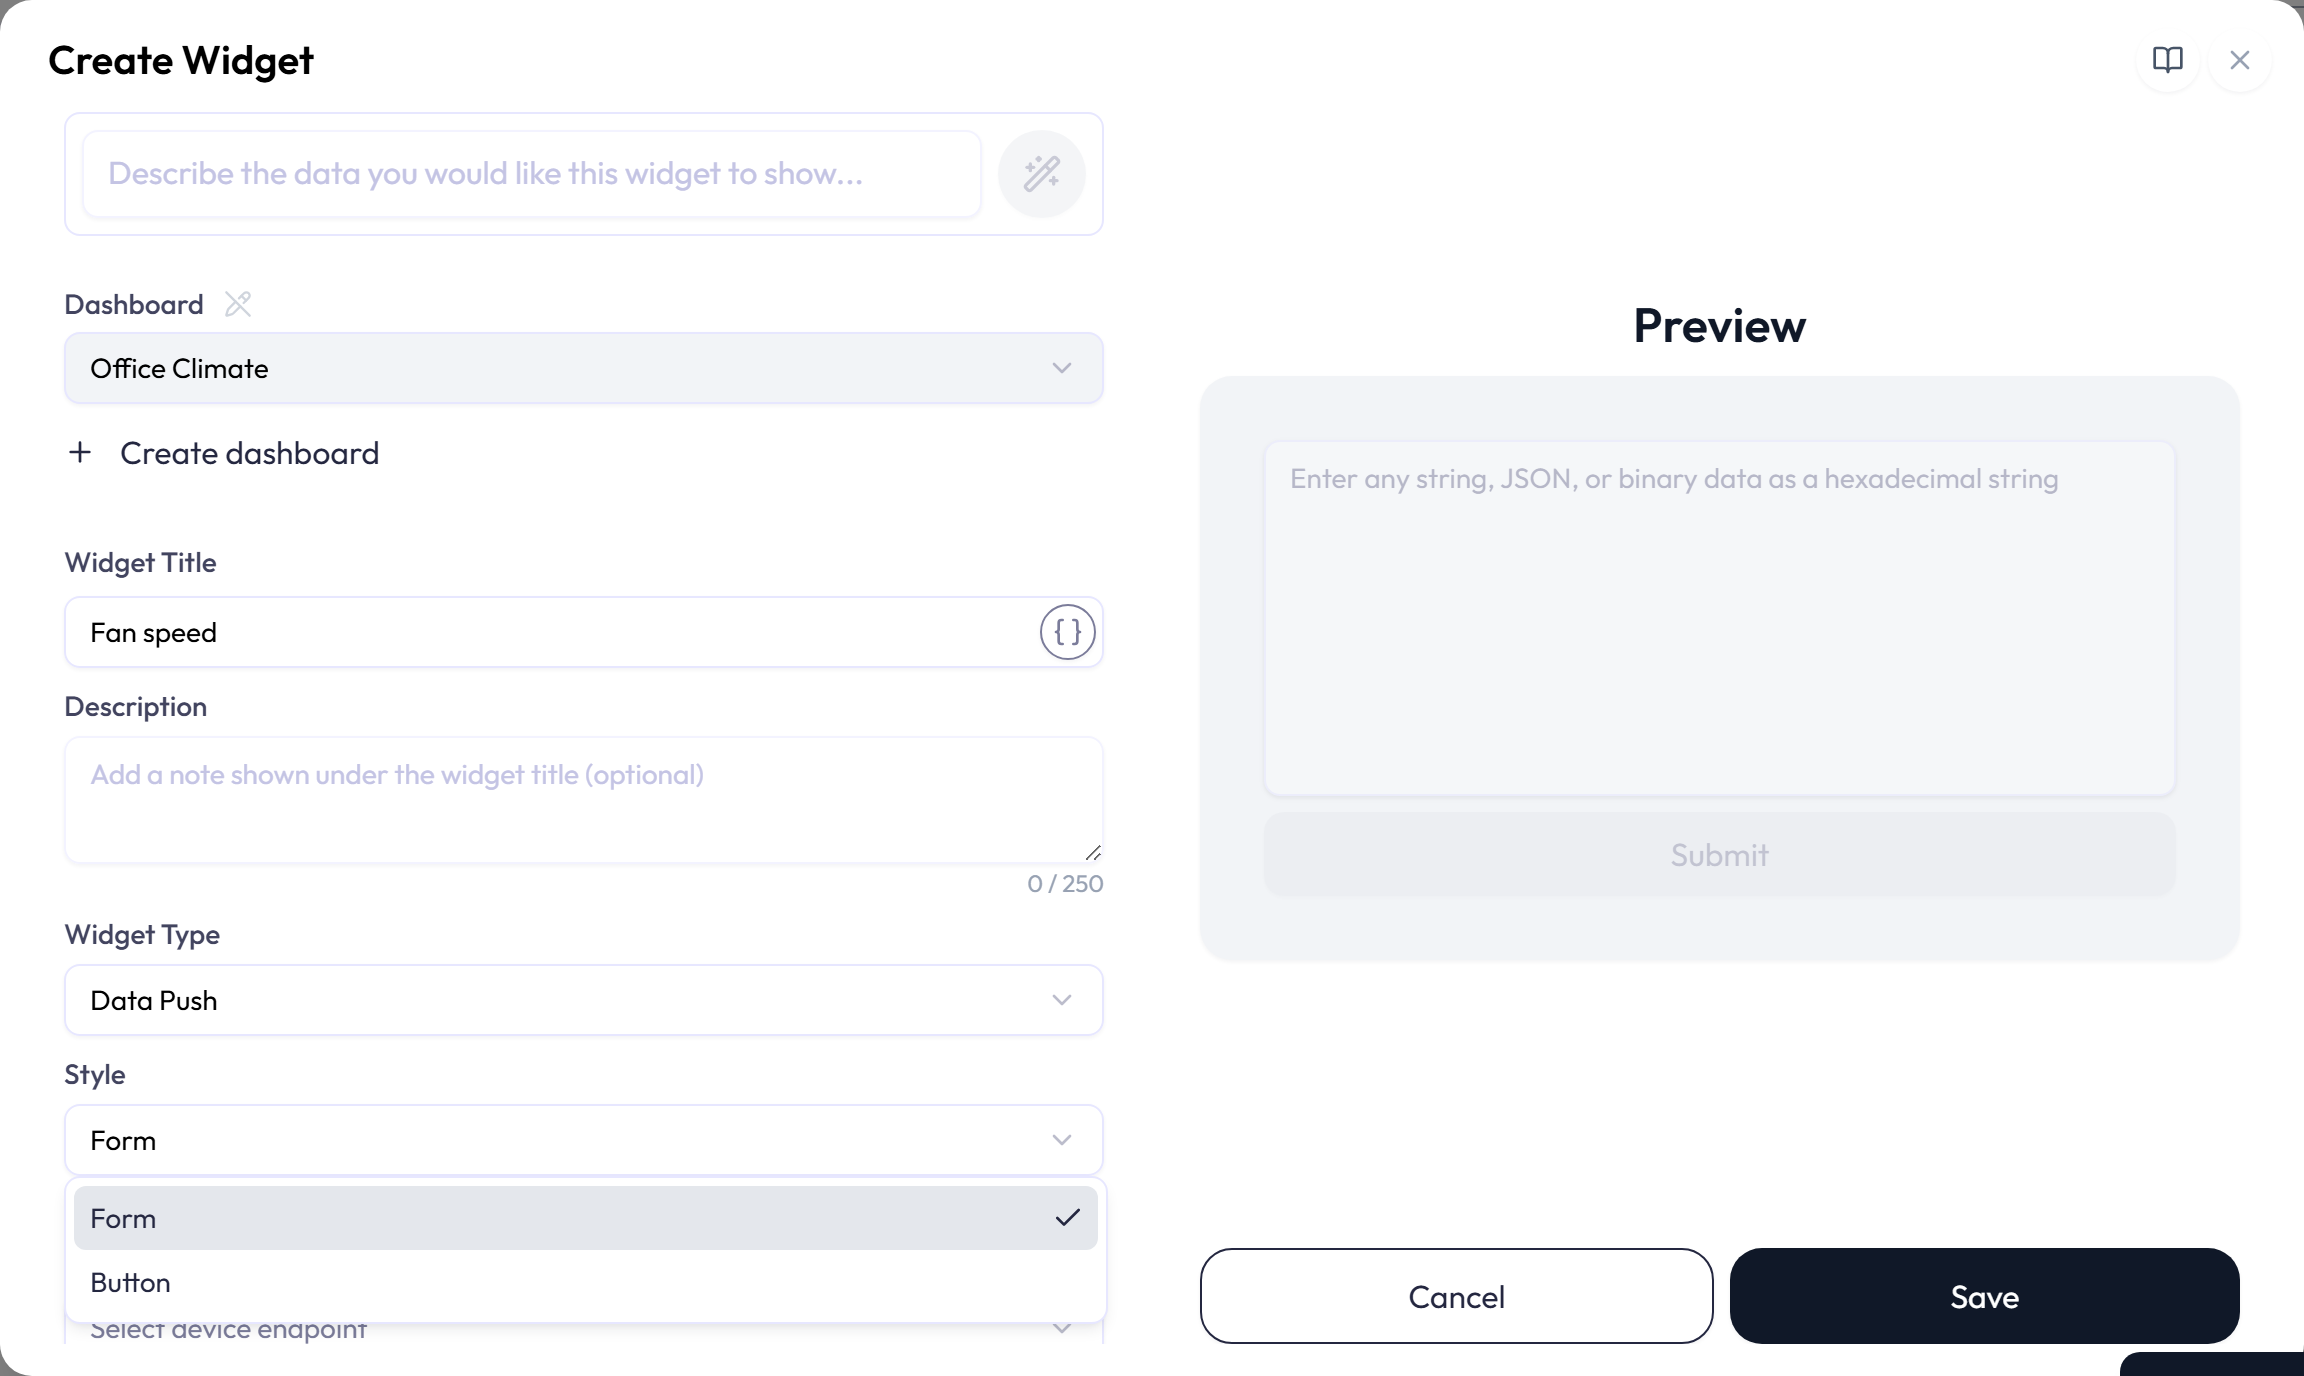
Choose whether users enter a payload or run saved commands. -
4Select the destination Device Endpoint. MQTT and WebSocket endpoints are available; HTTPS endpoints are shown as unsupported and cannot be selected.
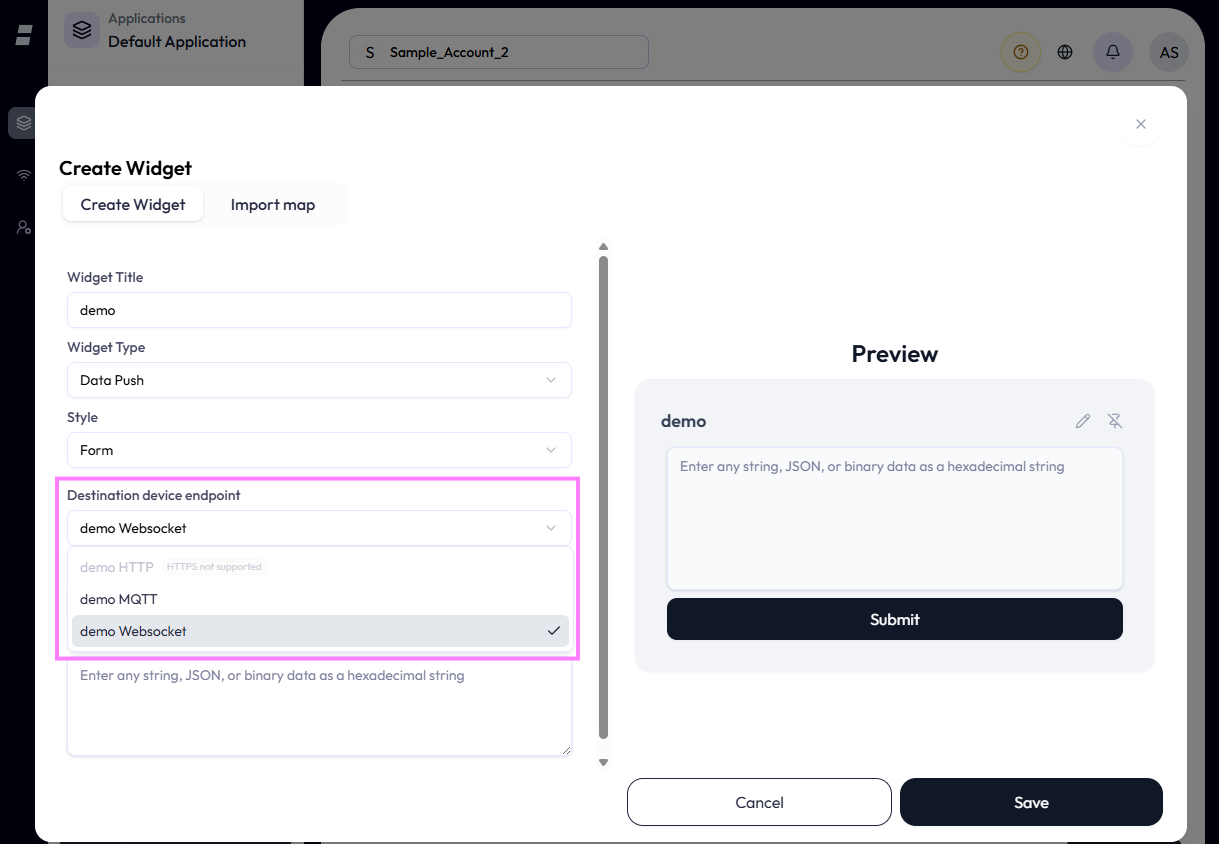
Select an MQTT or WebSocket destination. -
5Enter the required Button Label, then configure the selected Style:
- Form: optionally enter a Default Payload. It pre-fills the dashboard field, and the person using the widget can edit it before each send.
- Button: enter the saved command payloads. A Button has at least one command slot and supports up to four. Use + to add a command or the delete button to remove one when more than one exists.
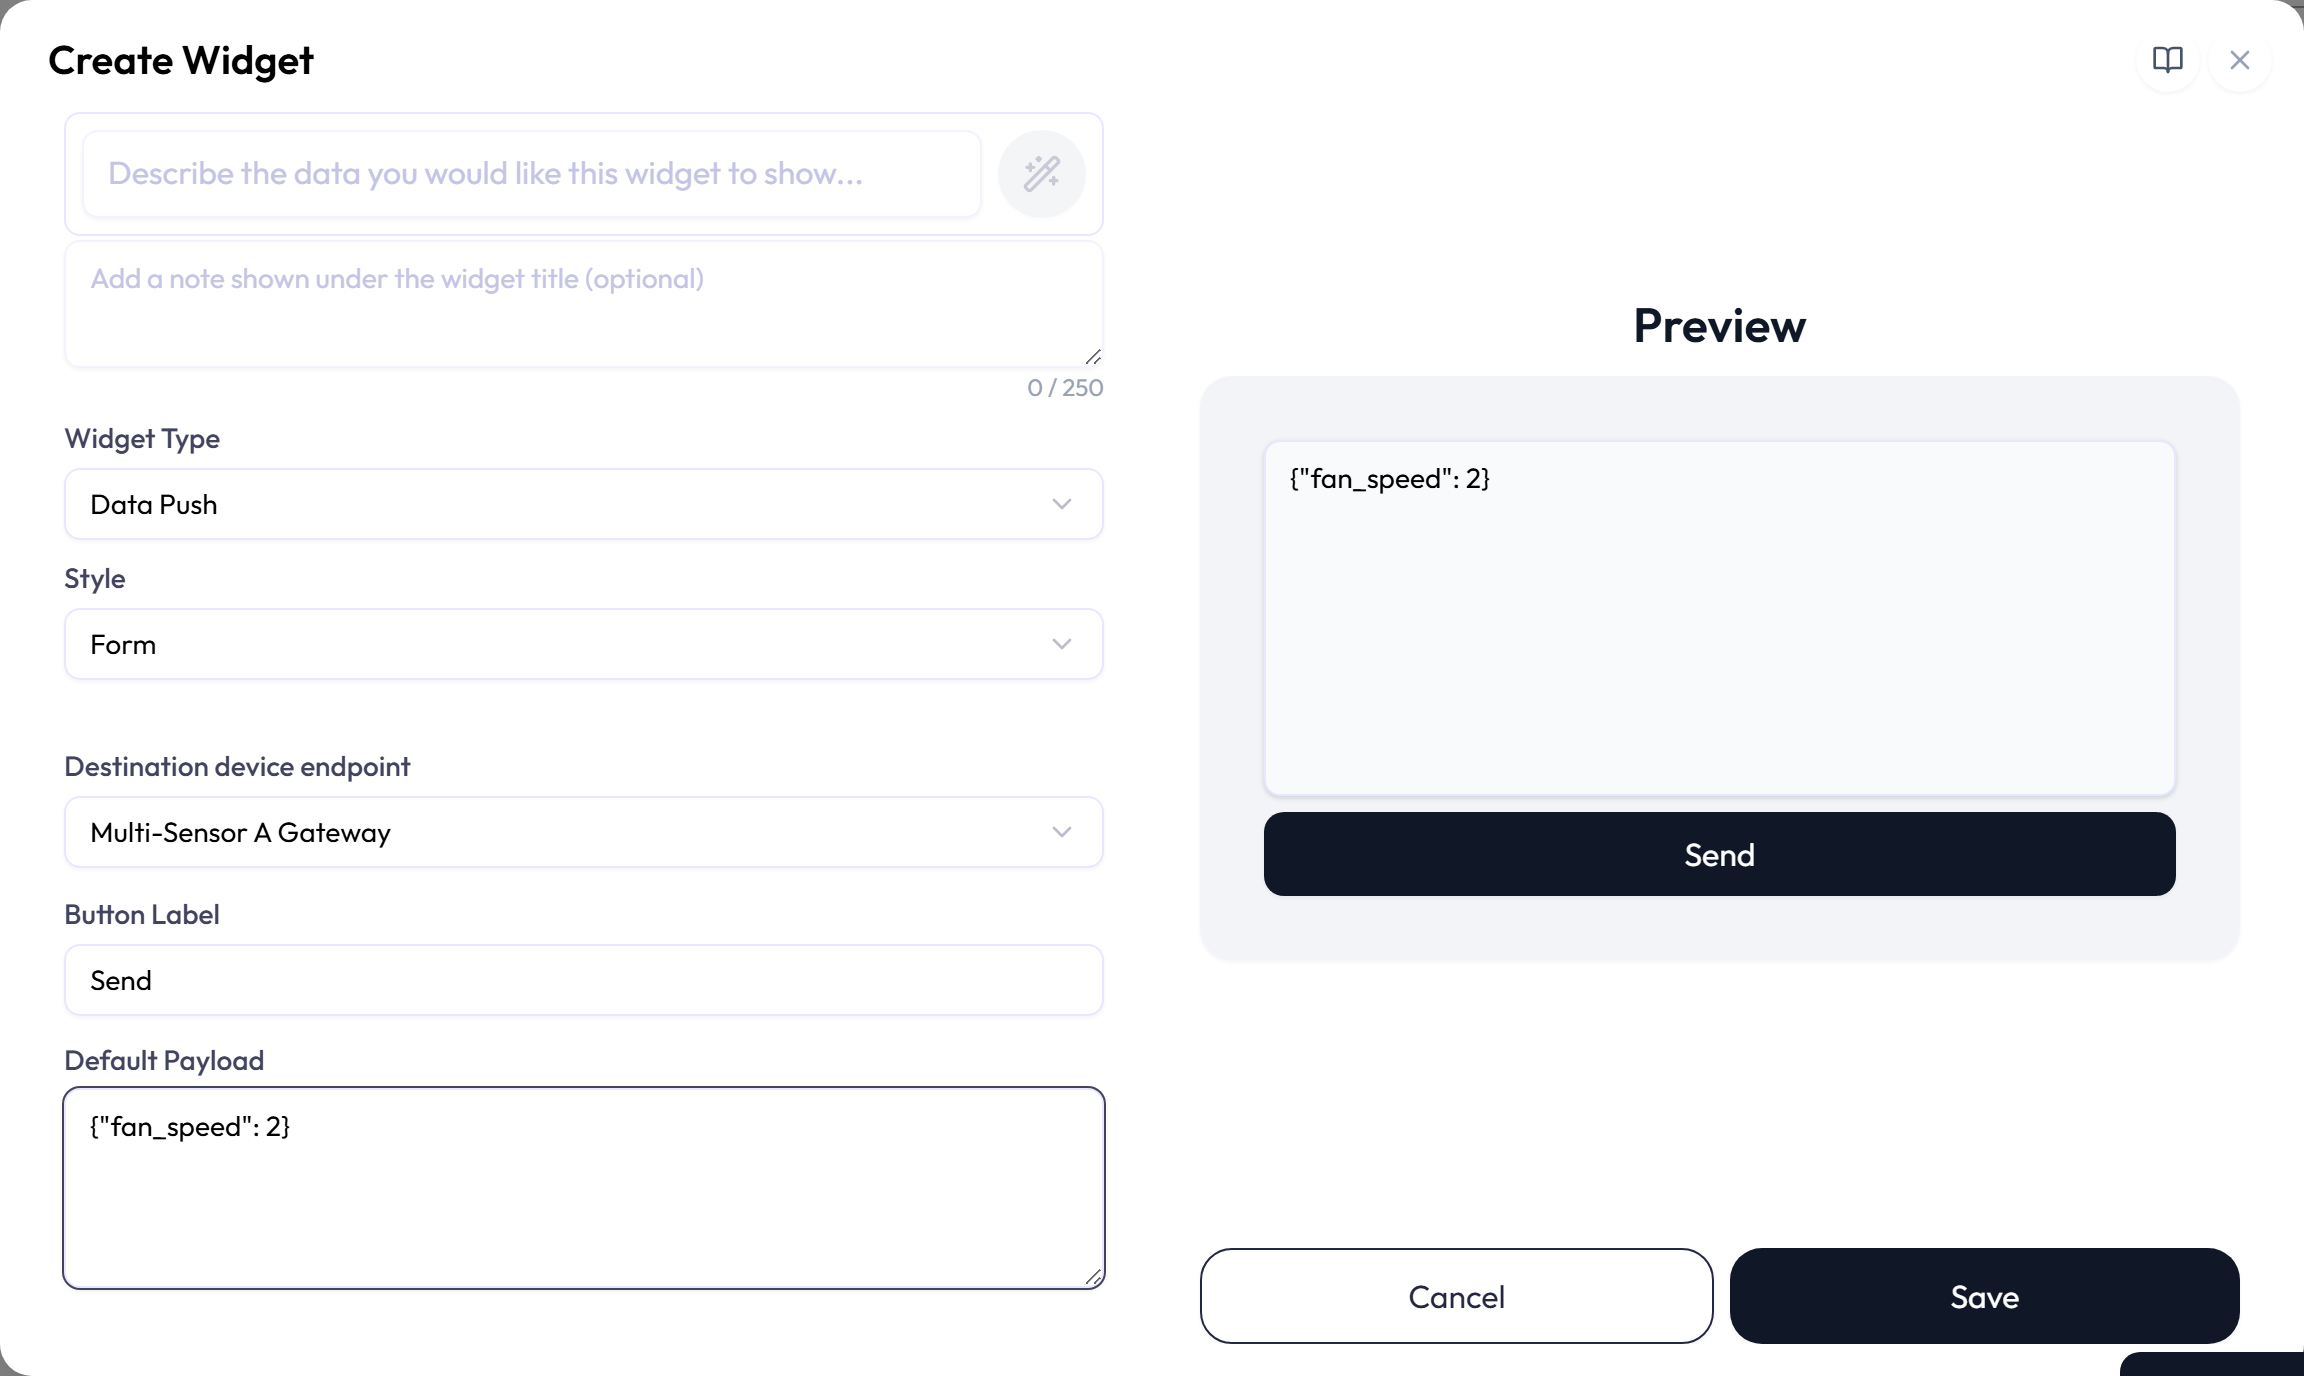
Form Style can start with an optional default payload. 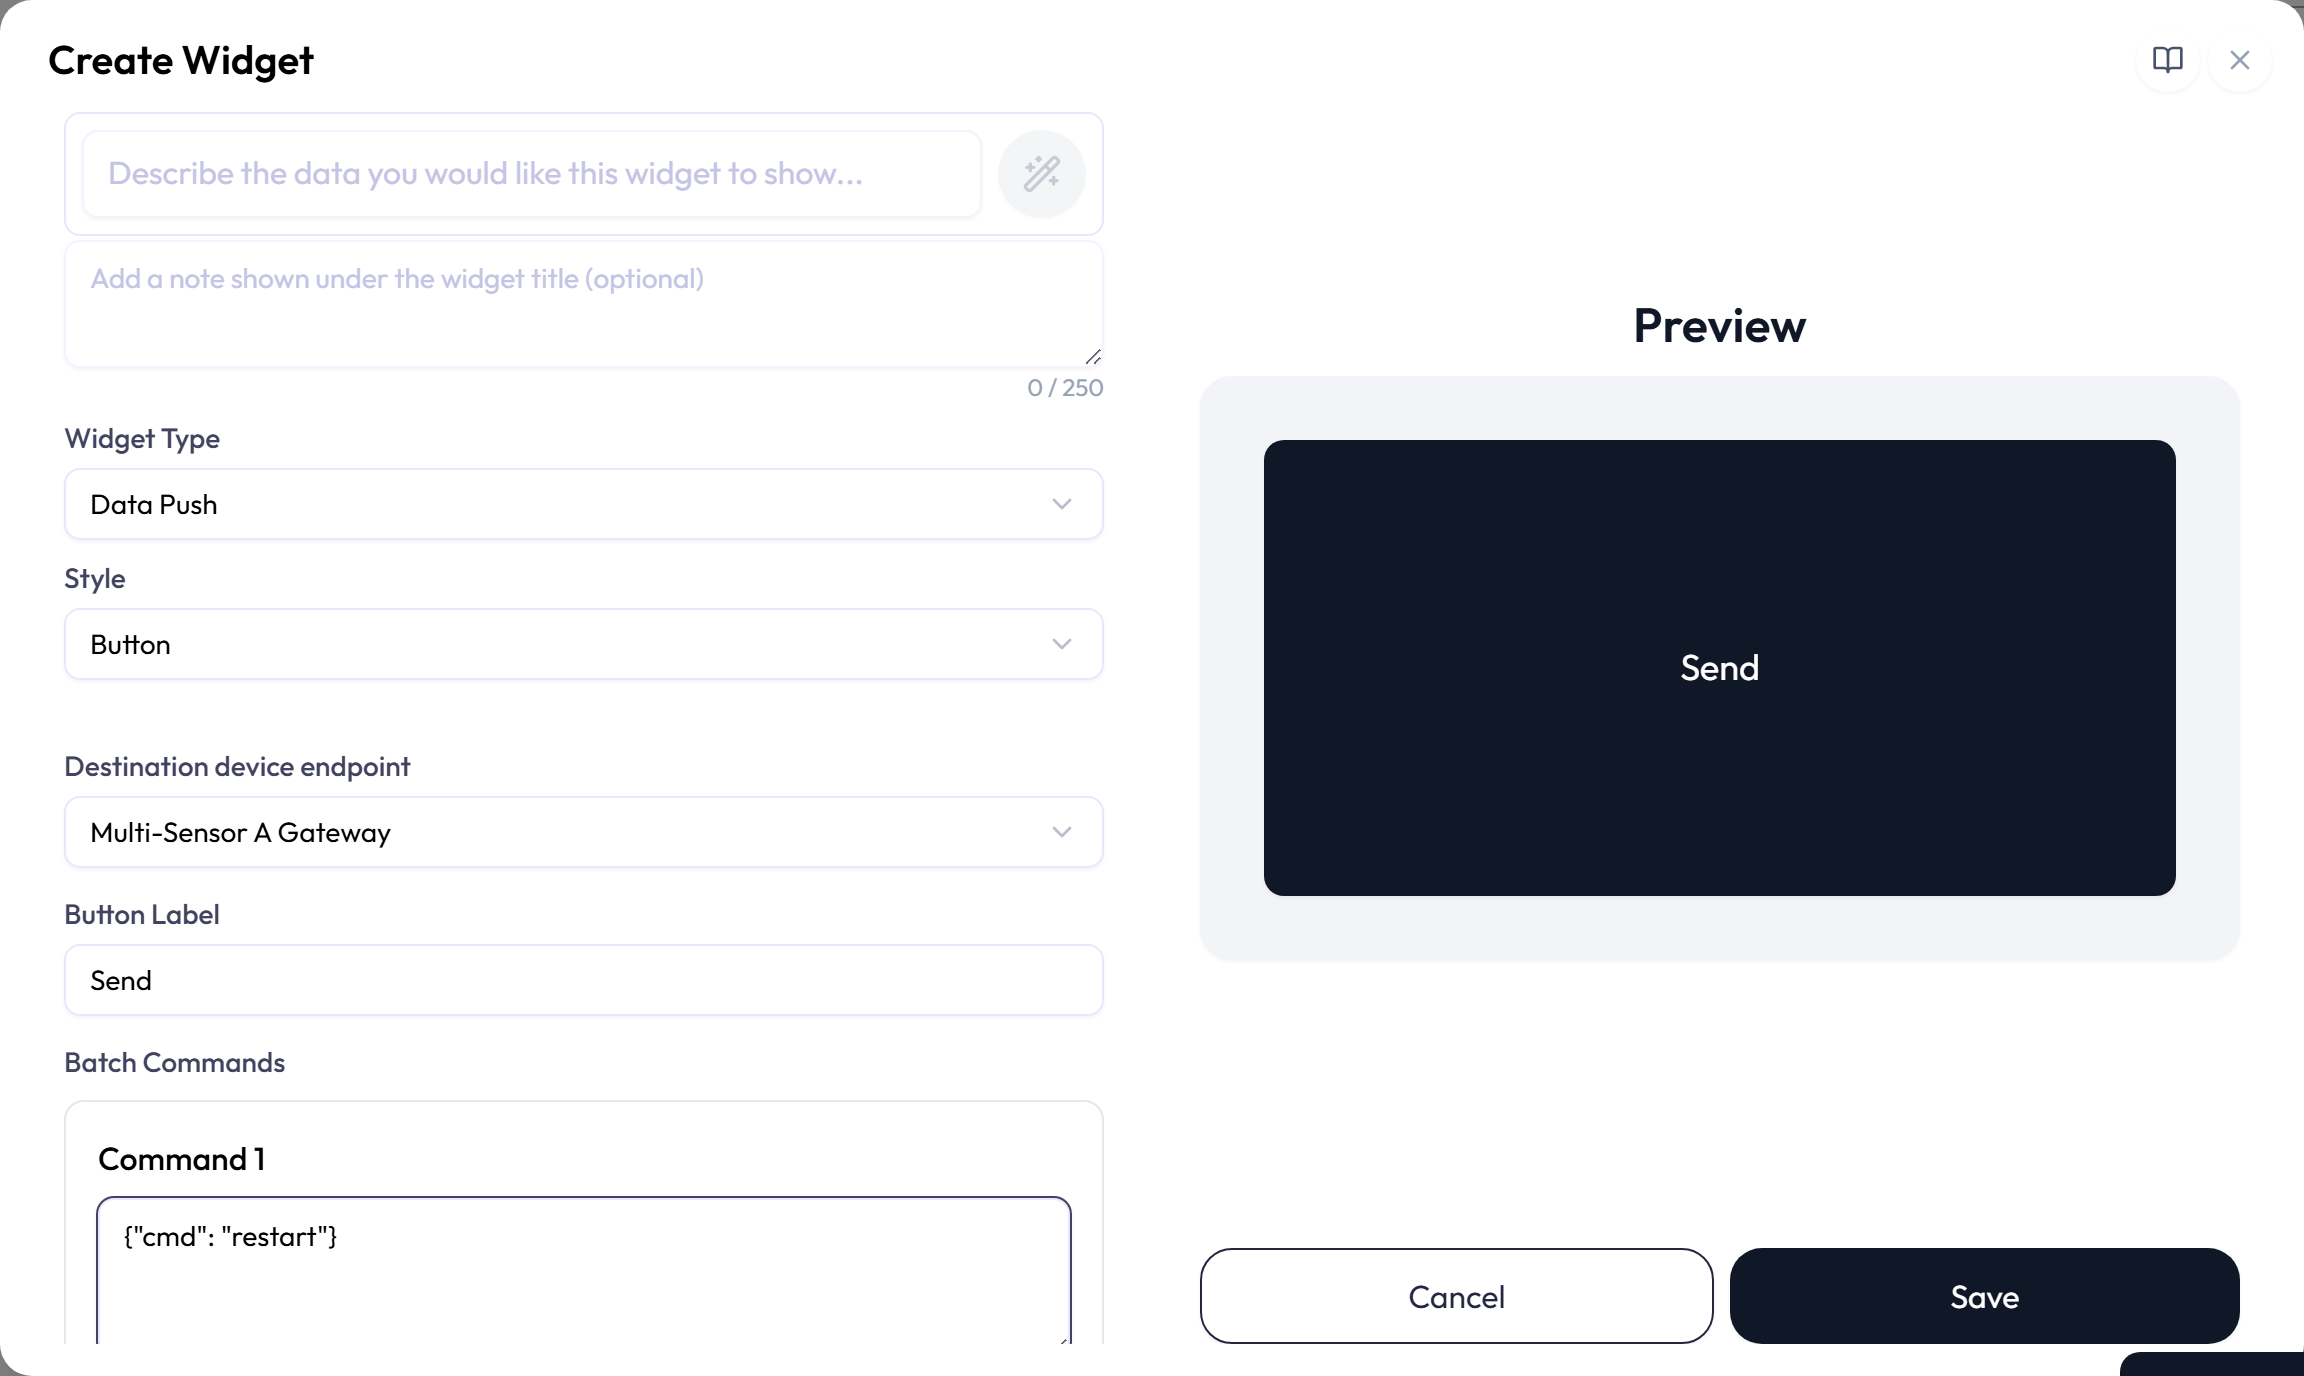
Button Style stores up to four command payloads. -
6Select Save. The widget is added to the dashboard.
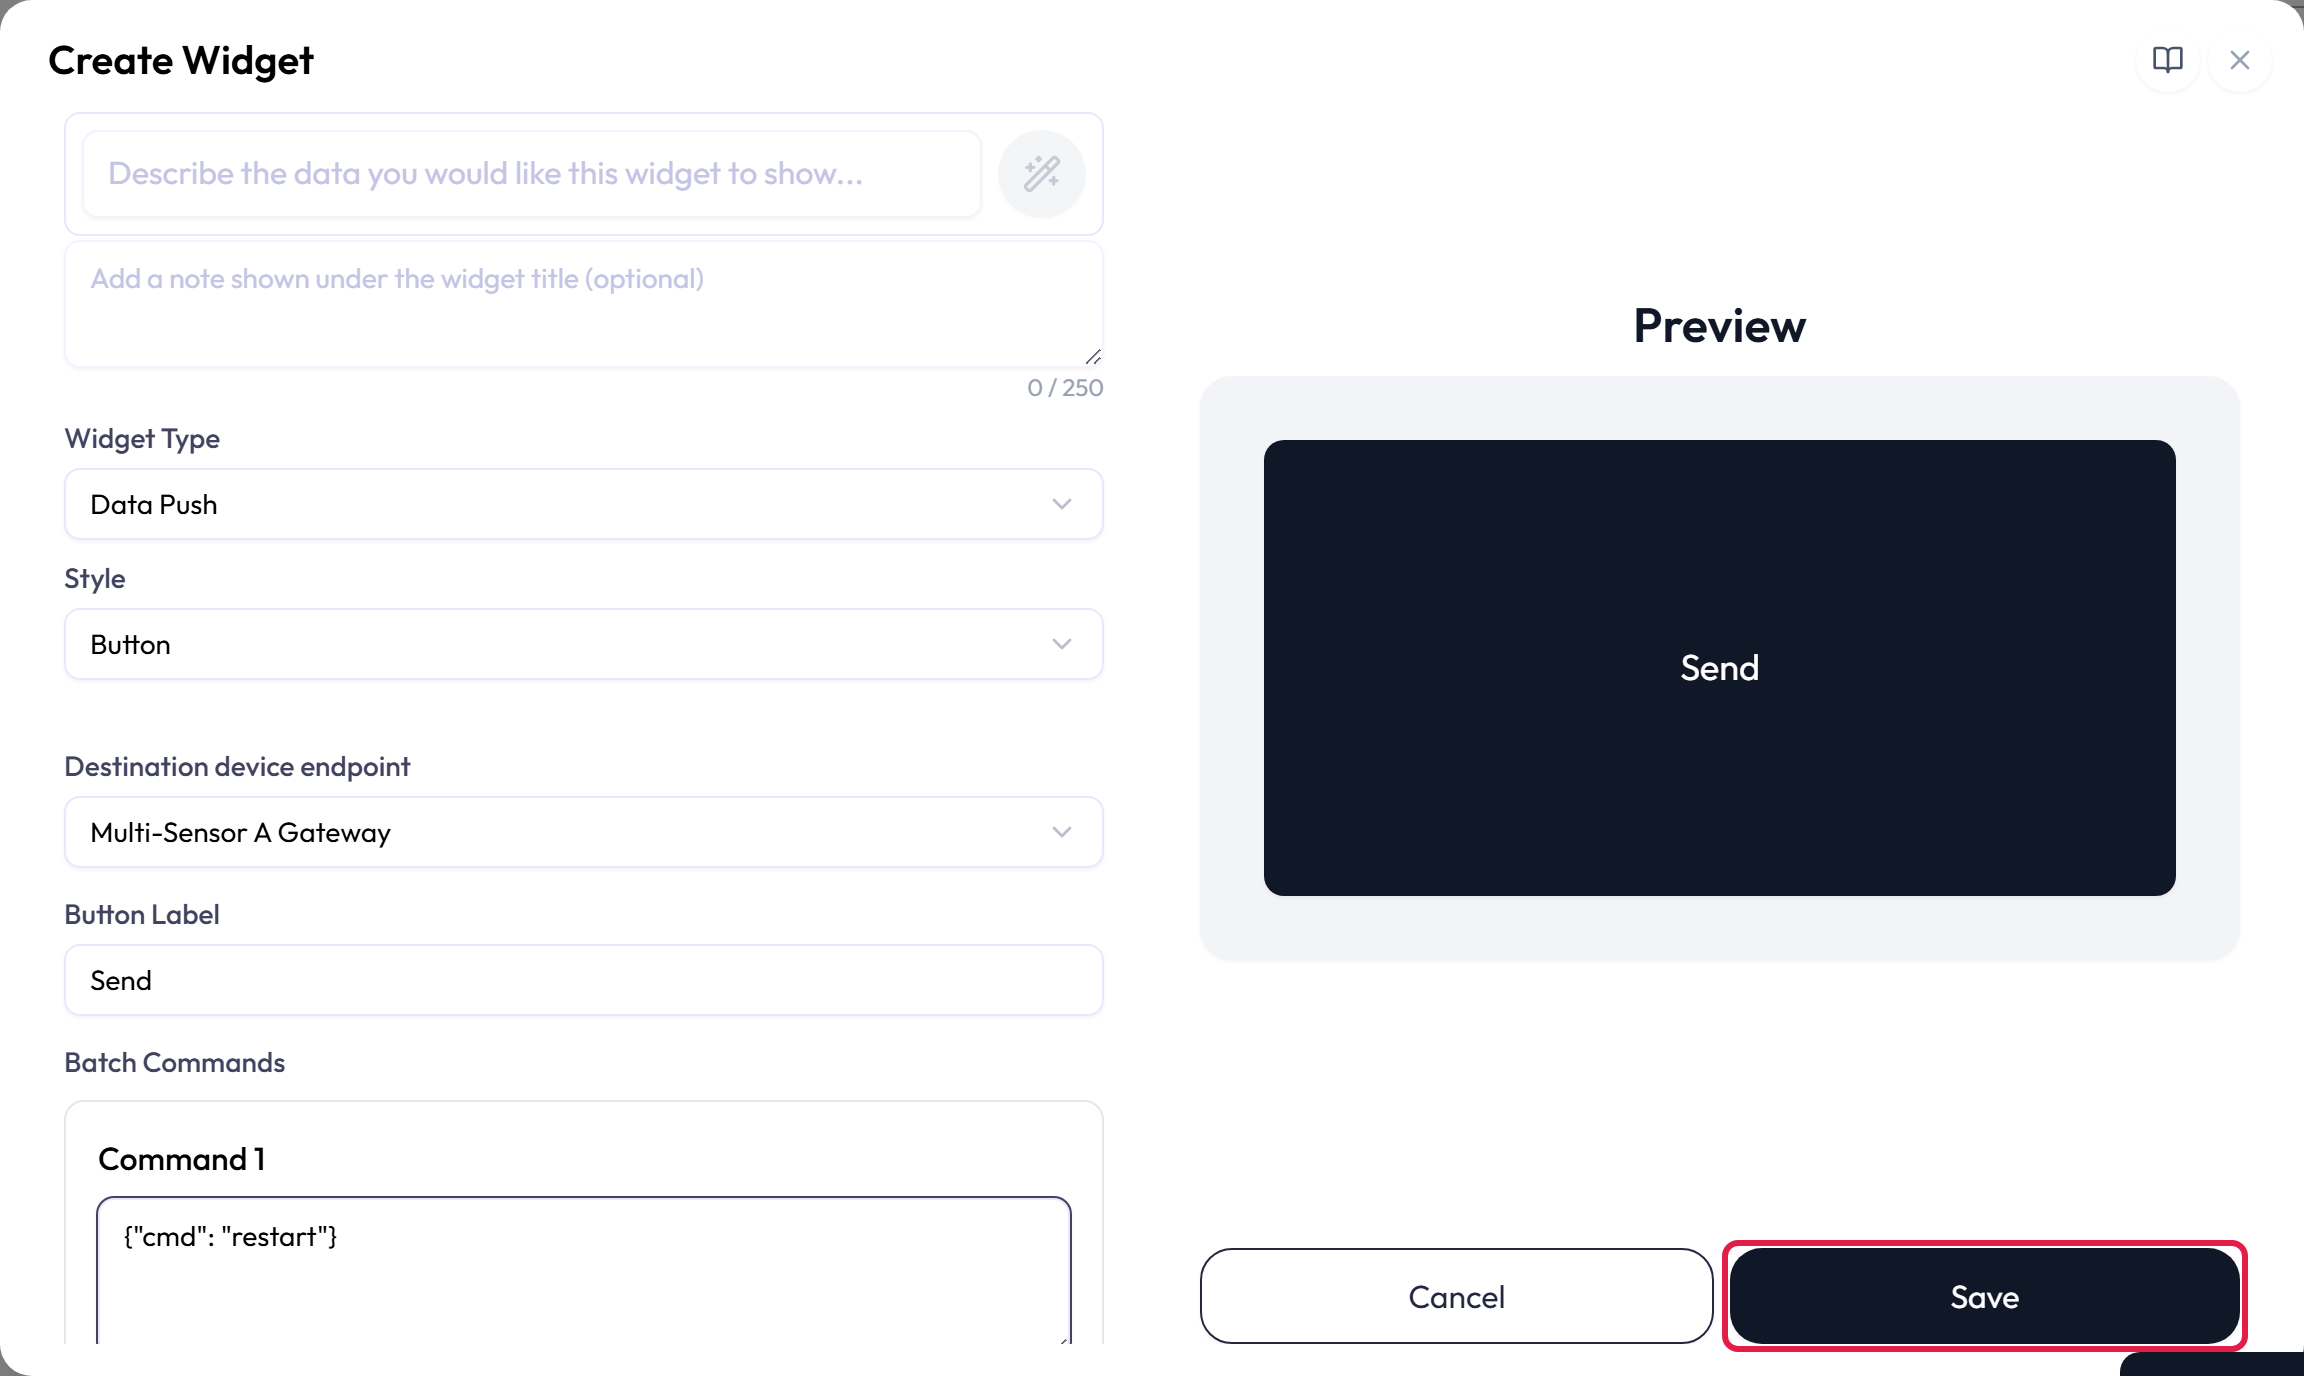
Save the configured widget. 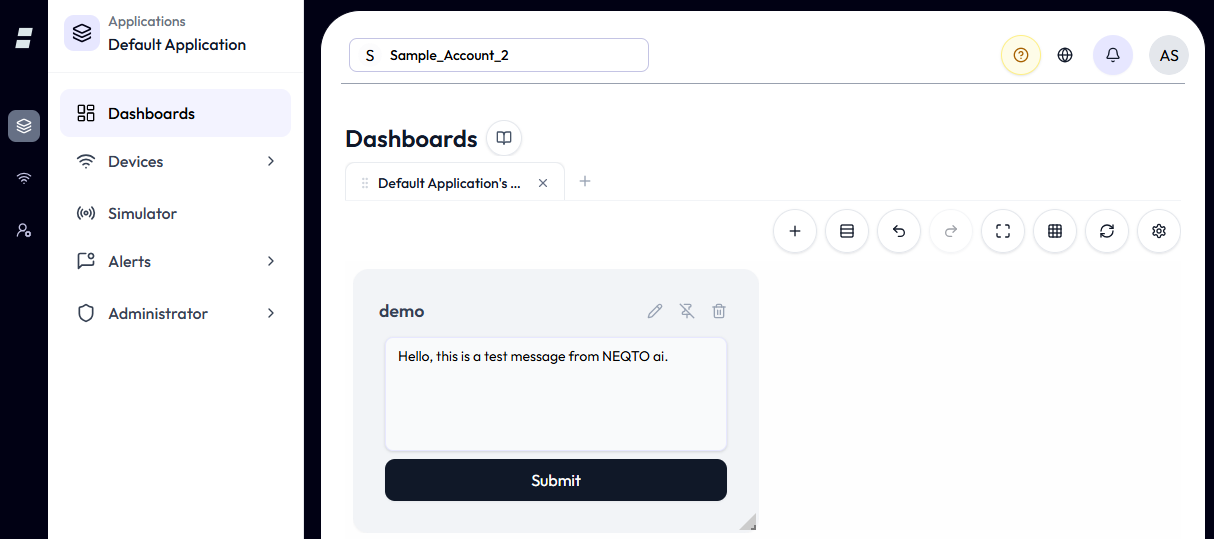
The saved widget is ready to use from the dashboard.
Send from the saved widget
- Form: review or edit the payload, then select its submit button. The current field value is sent once.
- Button: select the button once to send every configured command sequentially in the displayed order. If one request fails, the remaining commands are not attempted.
A success toast means each attempted push request was accepted. Check the endpoint’s Data Push history for the final processing status, especially when the endpoint’s connection may have changed.